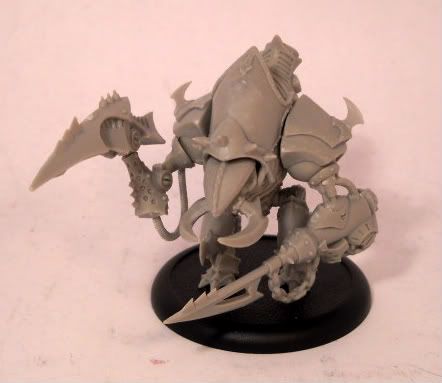
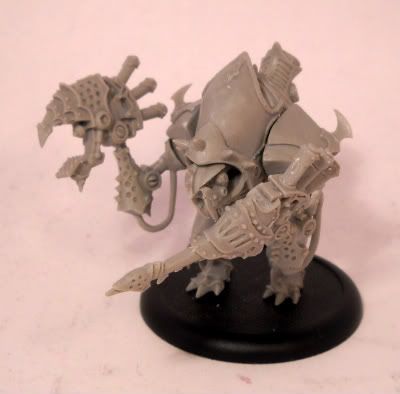
Well, if you're a regular on the PP Forums, you may have seen the
Tutorial Finder thread in the
Modeling and Painting section. One of the big hits is the section on how to magnetize the plastic 'jack kits. However, there's always been a missing tutorial. One for Cryx 'jacks!
Luckily for me, when I gave away a magnetized kit for celebrating my
100th blog post, the winner (Tha Brotha of
Can A Brotha Get A Six) chose Cryx! This gave me the perfect opportunity to write what you're about to read!
For this kit, I used only one type of magnet: 1/8" diameter x 3/32" thick Grade N42 magnets by KJ Magnetics. Leftovers from my menoth kit.
So without further adieu, the tut.

As you can see, you get one torso, a pair of legs, a pair of shoulders, and for each 'jack, a head and pair of arms. Pretty standard for these plastic kits.
After cleaning up the mold lines, flash and so forth, I glued on the legs. They're keyed specifically, so you can't really put them on backwards.

After gluing them on, I pinned the model to the base. I didn't glue it on though. I'm not sure what basing will be required, but I wanted to be sure poses would work, and putting the model on the base is the easiest way to make the model stand up.
This was done per my usual method. Pins deep into the legs, holes into the base, insert and bend.
I started with the heads. I drilled holes into the back of each head and stuck magnets in, making sure they all had the same polarity. I followed that up with a hole into the center of the head cavity, again paying close attention to getting the polarity correct.
Now, on to the arms!

I started with the right arm for no particular reason. I sticky tacked the shoulder in place about where I liked it and then sticky tacked an arm to the shoulder. Much like I did on the Menoth 'jack and Khador Battle box, I marked on the shoulder the outline of the joint.
After that, I drilled a hole for a magnet. I picked a random polarity because this is the first side. I'll swap polarities for the other side, that way arms can't be accidentally put on the wrong side.
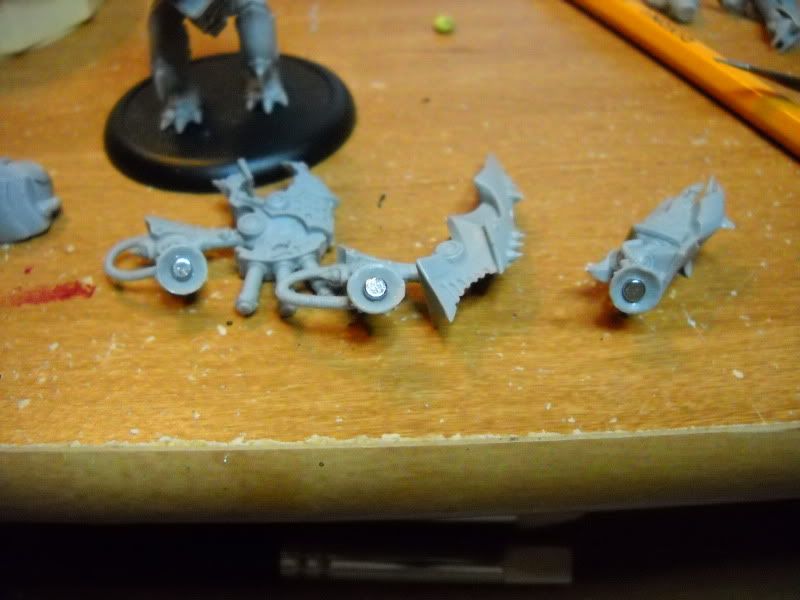
Now, the Cryx 'jack arms have really shallow cuffs - those rings all the 'jacks seem to have where they join to the ball part of the shoulder. They're too shallow to house an entire magnet. So, I drilled the shoulder hole deep enough for the magnet to be recessed a bit. The holes into the arms were then fairly shallow. Here's what I mean:
You see how the magnet isn't flush with the outer surface of the ball? That's because I can't make the magnet in the arms flush with the concave surface of the joint. By allowing the magnet in the arm to protrude a bit into the shoulder, I don't have to order new magnets specifically for this kit.
Now, to get the magnets into the shallow arms, I had to do some slow drilling. Like usual, I drilled using a small, 0.85mm drill first. Then I stepped up through 5/64" to 1/8". At each drill level, I went as deep as I could until I saw the plastic turn white. This happens when the plastic is stressed, like when a drill bit is about to break through. By doing this, each magnet in the arms is as deep as possible.
I then rinsed and repeated for the other side, switching polarities so arms can't be put on the wrong side.
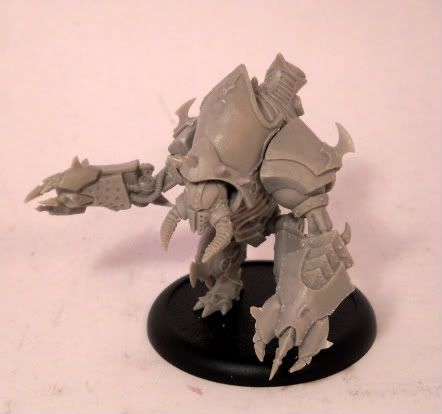
Viol
à!