Sunday, July 31, 2011

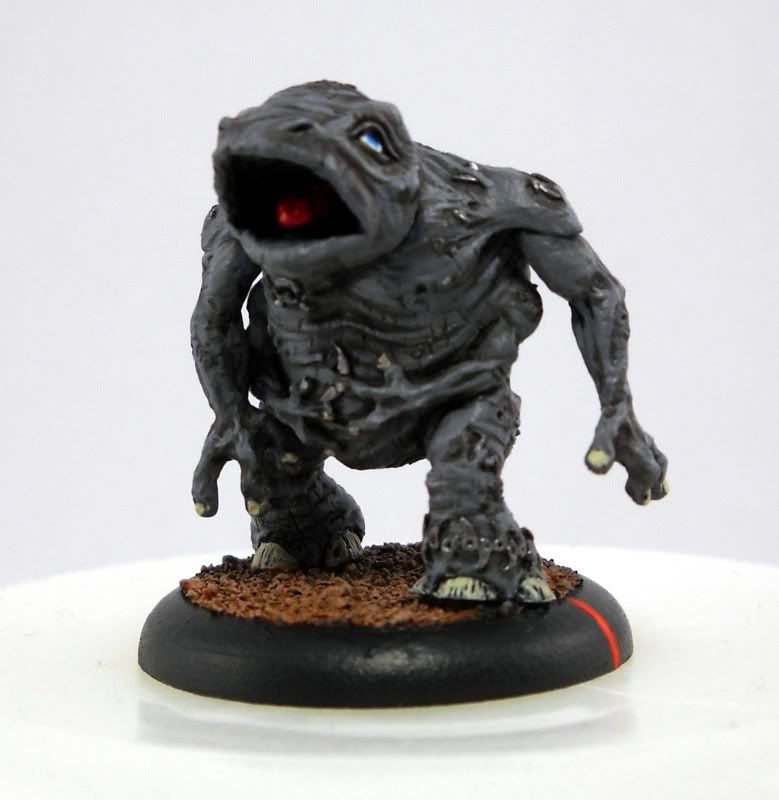
Skorne Flesh

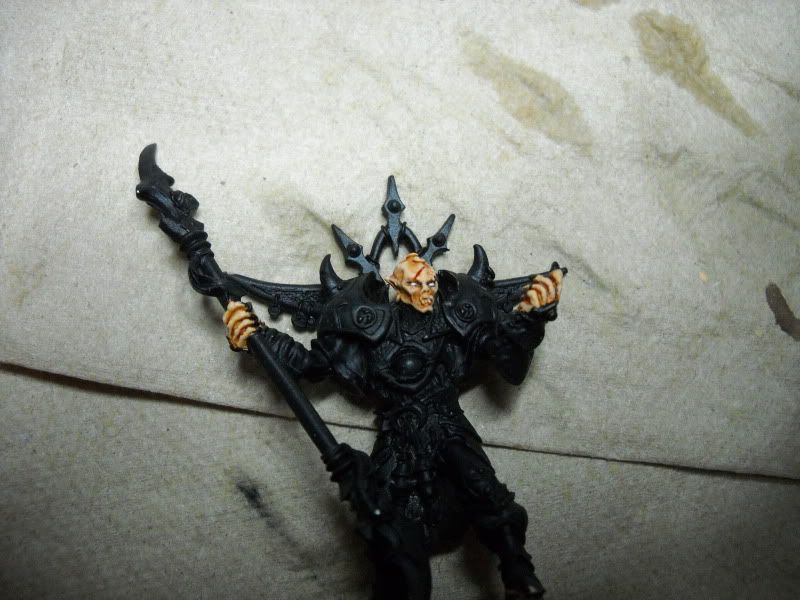
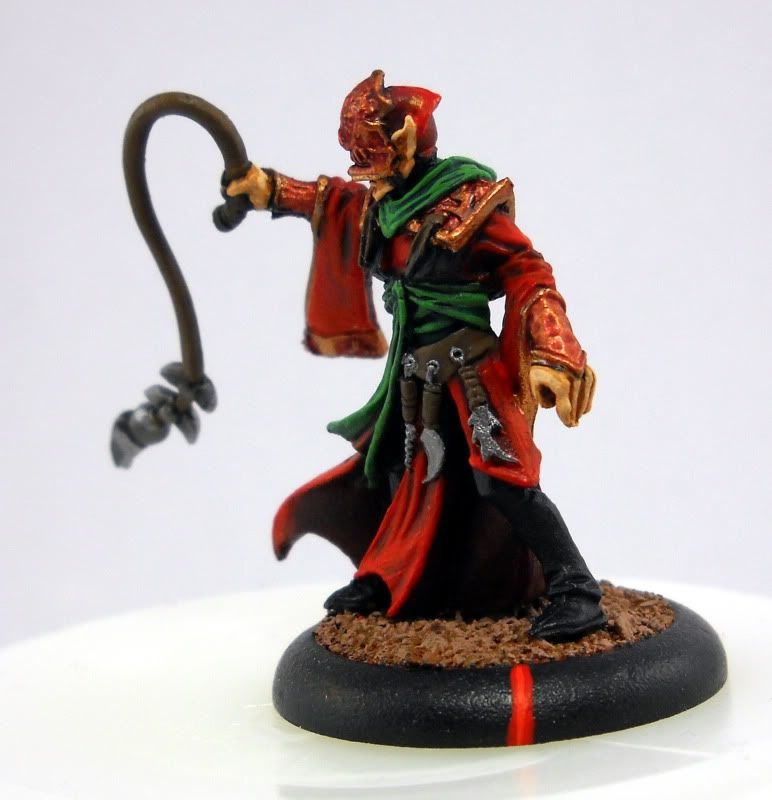
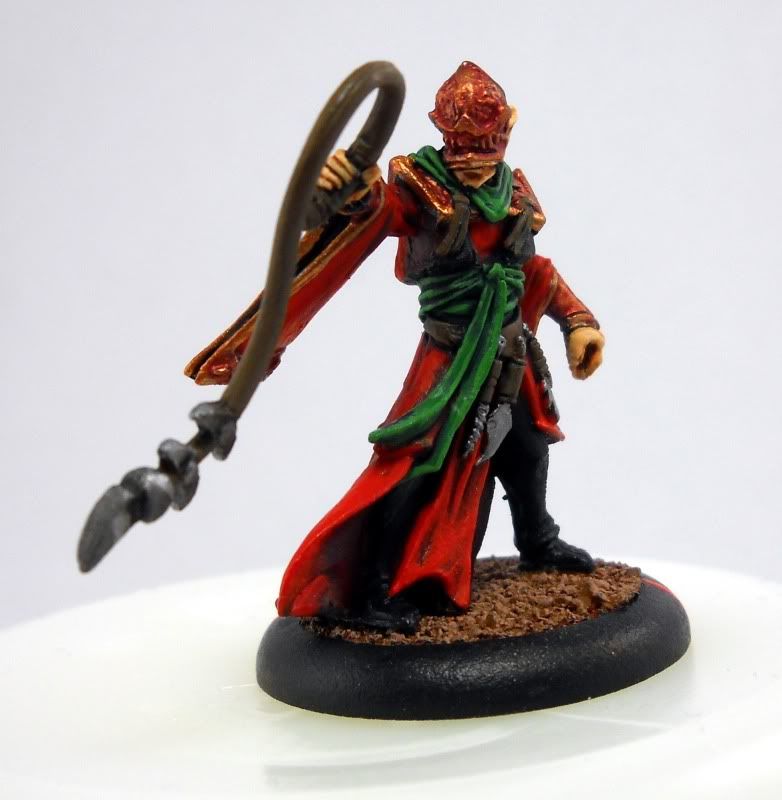
Skorne flesh in the Forces of Hordes: Skorne book has a bluish, almost undead feel to it.  I, of course, had to do something different.  Instead, I went with a paler, fairer skin.  In the background for the Skorne, it's clear that they are an offshoot of the Iosian elves.  They had different religions beliefs and left Ios in order to pursue their own ideals.  They ended up in the far reaches of the desert, surrounded by strange creatures and over time, developed into their current society.

Rather than go the "undead vampire elves" direction that Skorne always gets lumped under, I went the opposite direction.  These folks revere their elders, the ancient warriors, their ancestors.  To me, that means they also take very good care of themselves.  Not because of arrogance or vanity, but so that they are as capable and worthy to carry out their daily tasks.  So, in that regard, I went for a lighter, fairer flesh.  To me, that played off the red and bronze better.  Since they live in the desert, having some dirt and grime in the creases of their skin made sense too.  So, the end result was something very light on the edges, and very dark in the creases.

Here's how I do my Skorne Flesh.

  1. Prime Black
  2. Two light coats of Foundation Tallarn Flesh
  3. Two coats of Citadel Elf Flesh
  4. One coat of Citadel Gryphonne Sepia
  5. Drybrush / highlight with Citadel Elf Flesh
  6. Details (White Eyes, red scars, silver piercings)
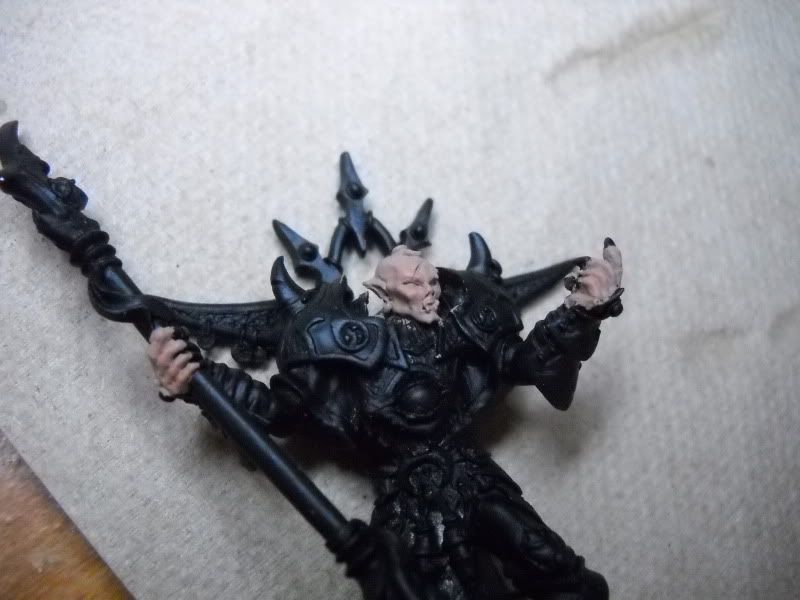
Step 1 & 2:  Prime Black, then some Tallarn Flesh to set the base tone
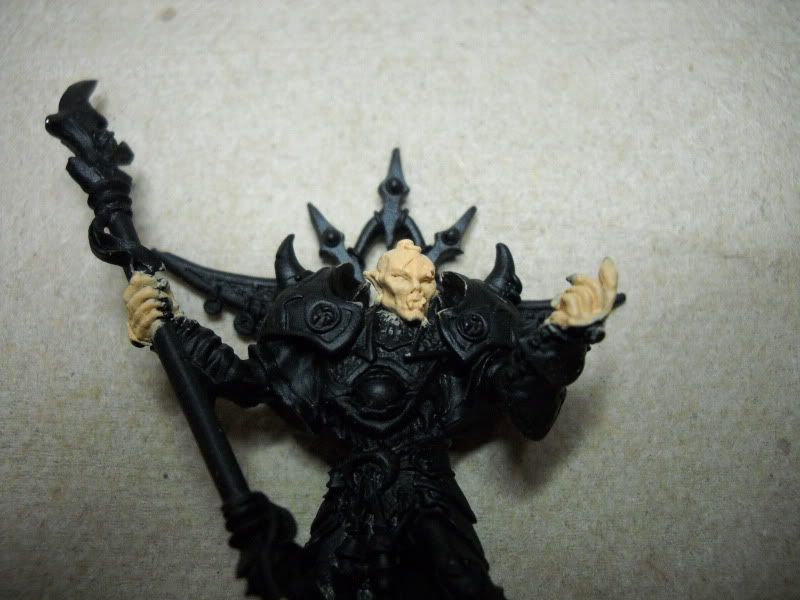
Step 3: Two coats of Elf Flesh to get that fair, light skin tone

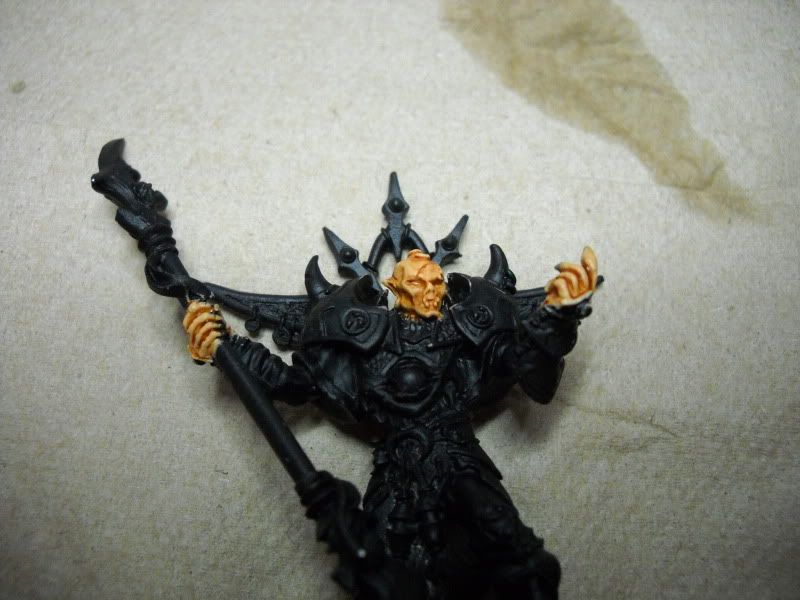
Step 4: Gryphonne Sepia wash to give us some depth and dirt in the creases
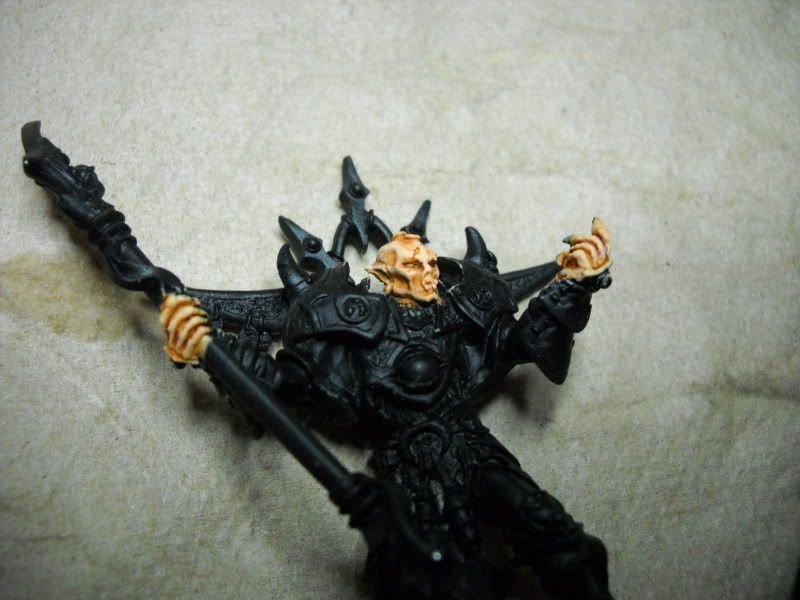
Step 5: Highlight parts of the face with Elf Flesh, the base color
When highlighting the face, I pay special attention to the cheeckbones, jaw line, eyebrows, nose & nose ridge (think Worf from Star Trek) as well as the ears, crown and center head ridge.  Also, hit the top of the upper lip, and the top of the bottom lip.

Step 6: Details
All my Skorne are getting white eyes.  They're creepy desert elves who have no afterlife!  Of course they get creepy eyes!

Also, the scar on Hexeris' head was hit with Citadel's Red Ink, so it looks nice and fresh.  I also blacked out his fingernails, so I can paint them later.

The last step will be to paint all his piercings silver, but I'll do that with the rest of the metallics later.

Wednesday, July 27, 2011

Rotterhorn League Finale

The Rotterhorn League was my first leage as a PG, and I must say, it was fantastic!  I had 17 players, and while not all of them could see the entire thing through (life, ya know?) we still had several duking it out to the last.

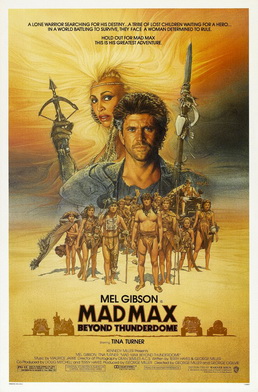
The Finale Event was two weekends ago, and it was meant to be a fun, laid-back endcap to the competitive league.  We played two alternate formats:  Portals and Thunderdome.
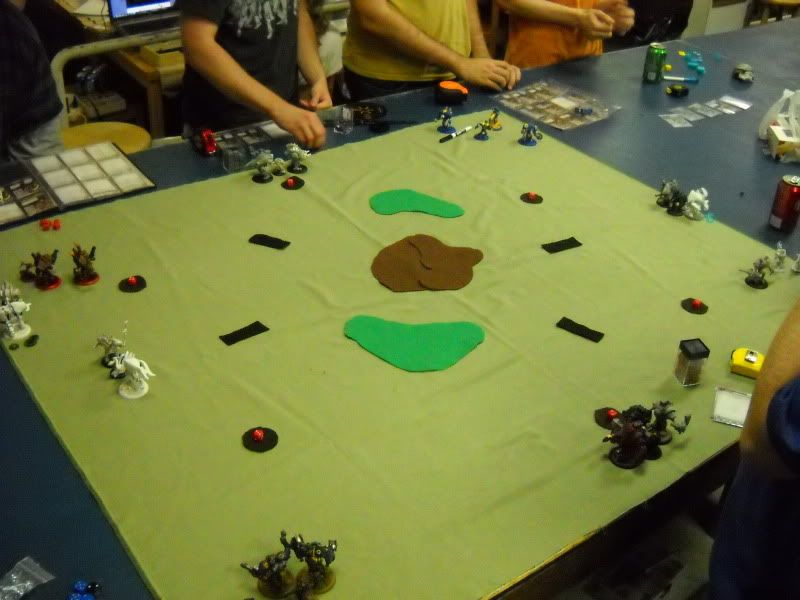
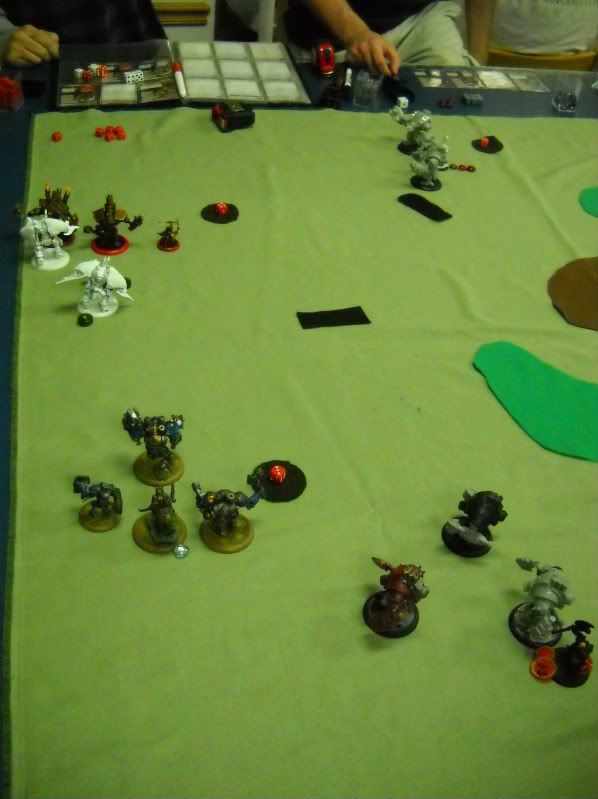
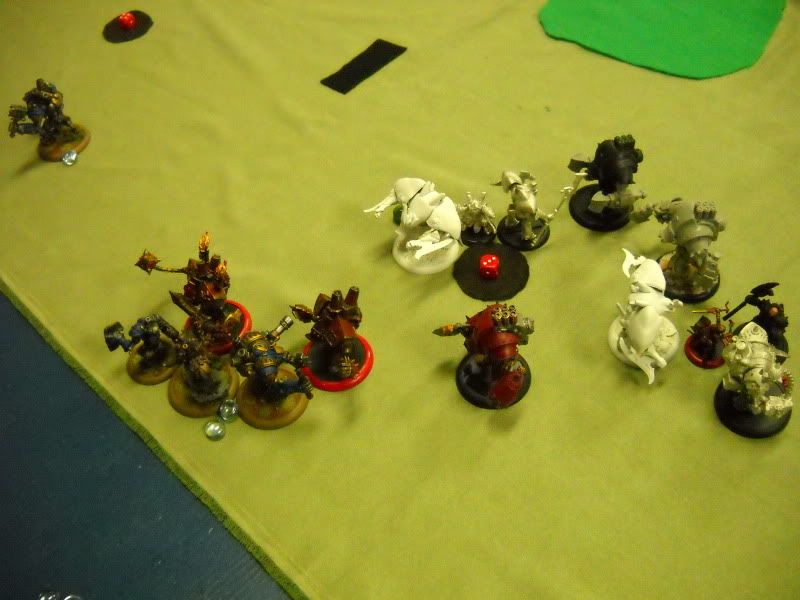
Both formats were a huge success and everyone had a blast!  I was able to take a few pictures, so here's a taste of the awesomeness from the Finale.

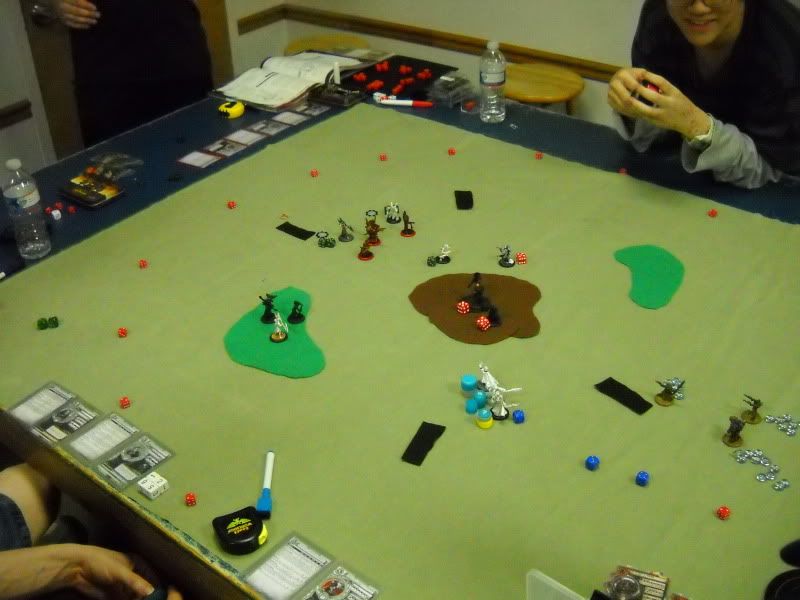
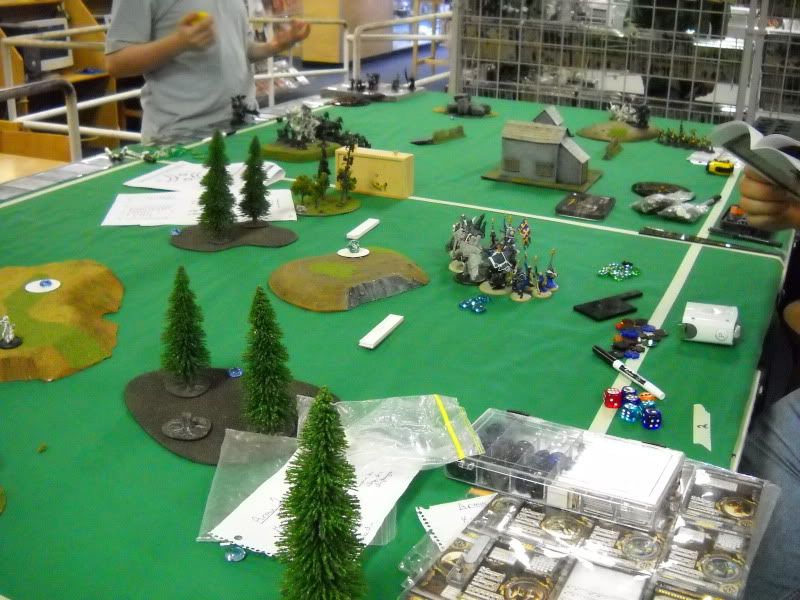
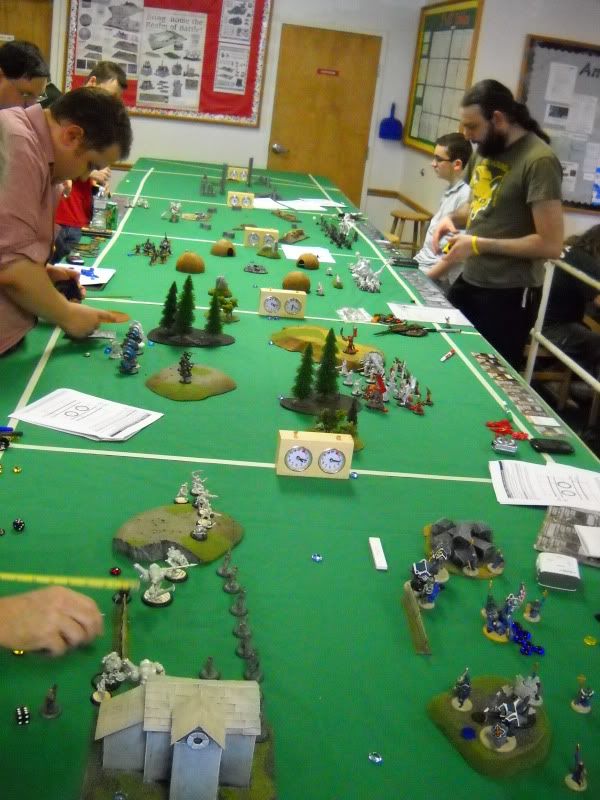
Portals deployments - 8 players on a 4' x 4' table was crowded!

Everyone's running away from Kevin's Butcher force...  Why?

Three players rolled portal 3 in a row.  It was awesome!

Portals ended after two hours with no one scoring higher than 1 pt...  I think having negative points for a death really put a stopper on the scoreboard.  Next time, positive points only!

Thunderdome was a riot.  Two Garryths on the board completely shut down the table for two rounds - feats may have to be changed to CMD rather than CTRL for Tunderdome.  Ah, you live you learn!


Overall, the alternate formats were a lot of fun!  There are a few things I'd change for the next time, but that's just a part of the process.

UP NEXT

I'm going to use Hexeris as a vehicle for a tutorial on painting faces.  Get a model assembled and primed so you can follow along!  That should go up sometime this weekend (hopefully Friday night).

If you have any questions on faces that you want me to address during the tutorial, post them below and I'll be sure to include them in the write-up!

Tuesday, July 26, 2011

Fixing Drago's Biceps

Studio Drago Model
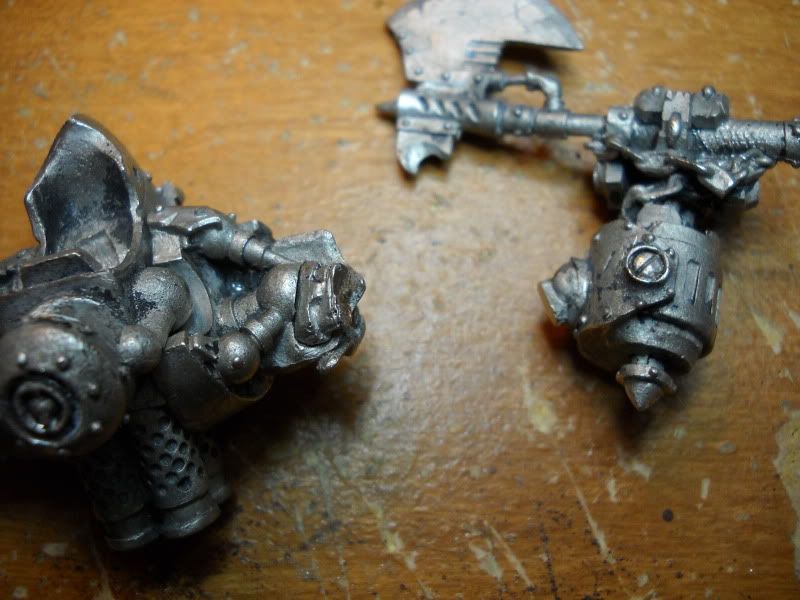
One of the biggest complaints about the awesome model that is Drago, the character Beserker, is that his upper arms are incredibly short and wimpy.  They have to support the massive weight of his arms and axes, and since they stick out from his body, they take lots of wear and tear.

The used Drago model that I got in a trade was no different.  One arm was already broken, and the other was starting to break apart.

So, when I got the itch to convert last week, I knew I wanted to get some Khador rolling, and so I worked on Drago.  Here's what I did:
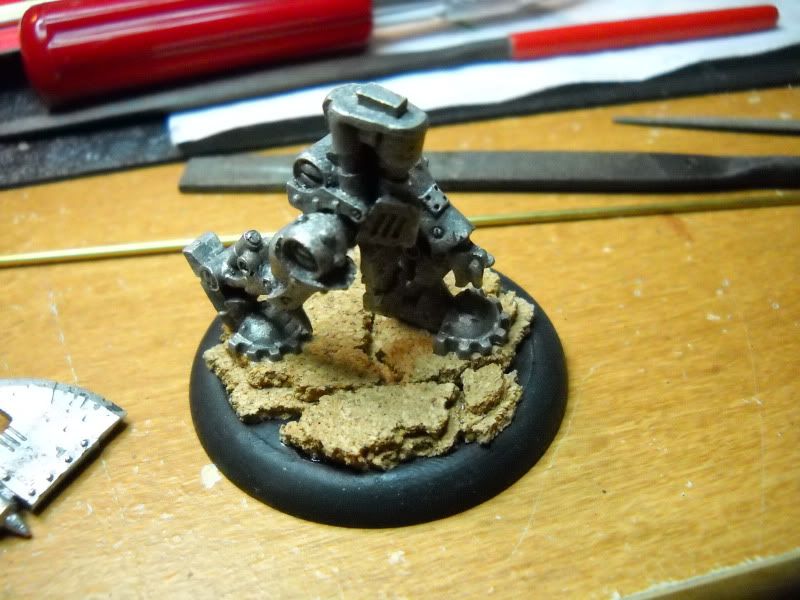
First, I based the model with cork to match my other northern armies, and assembled the legs.  One pin in the back foot, and two in the other.

Since Drago's leaning so far forward, I got the legs as far back as possible.

After that, I assembled the torso - center and shoulders.  I then clipped off the tops of the two arms and glued them into the shoulders.  I also cleaned up the cuts.


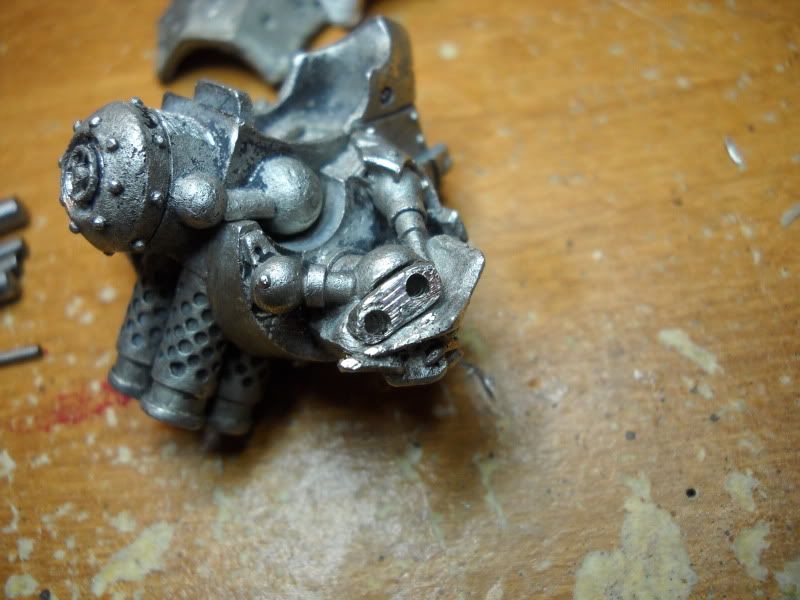
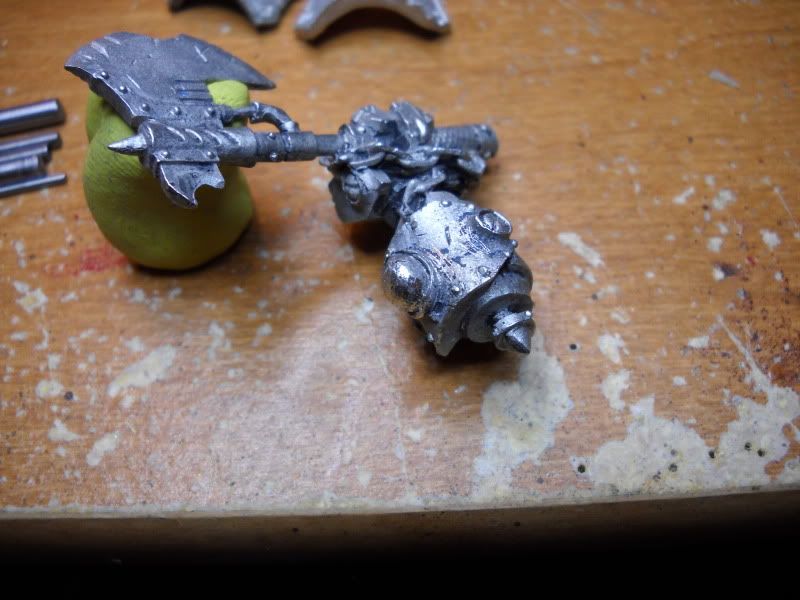
Next, I pressed two points into the shoulder bit with my pick, and drilled two holes.  Unfortunately, the holes were a bit big, and I had to cut off and file more.  I was drilling for 1/16" brass tube, and apparantly, that's the size PP used for the outer parts of the pistons.  I'm adding bulk, so this is good - my tube will be bigger and stronger, which is the entire reason for doing all this!


The holes weren't perfect, but no one will be looking at the model from this angle, so I really don't care.  I've drilled these holes deep.  They go about halfway through the shoulder.

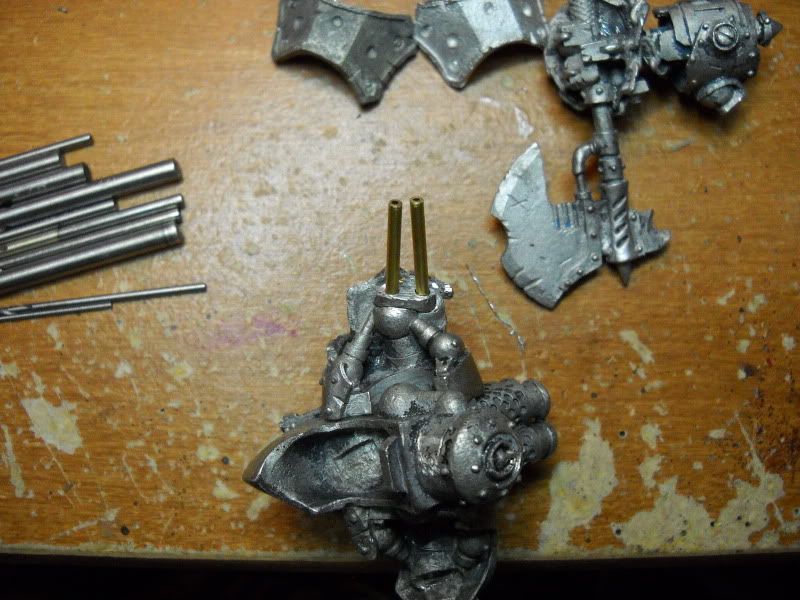
The next step was to test fit some brass tube.  I've cut two sections the same length and dry-fitted them into the holes.


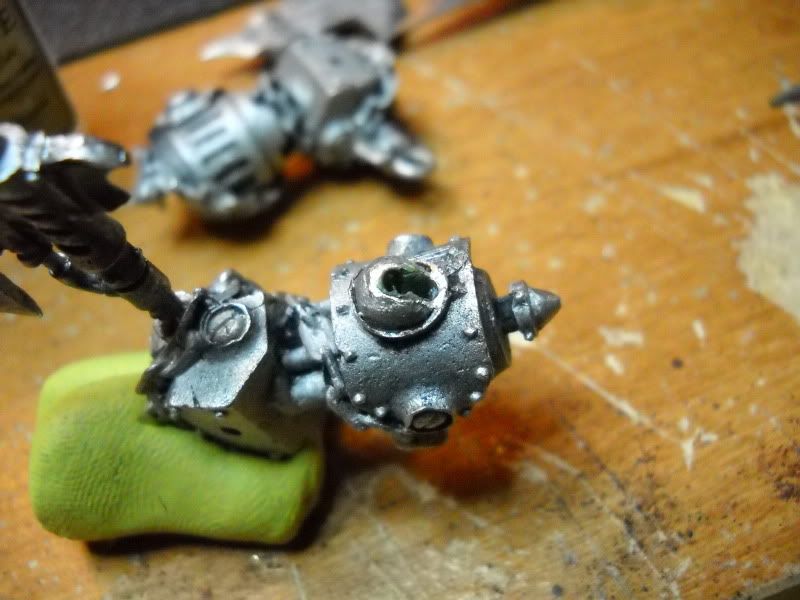
I then cut off the block bit on the arm, leaving just the ball.  I cleaned that up with a file and drilled a pair of holes into the arm.


I then had to use a ball shaped milling bit in my Dremel to deepen and widen the hole inside the arm.   When drilling the second hole into the arm, the bit tends to slip into the previous hole.  When that happens, there isn't enough room in the bottom of the hole for two brass tubes, since the holes converge.  You have to widen the bottom of it so that both tubes can slide all the way down.  During this process, it all became one, giant oblong hole, which is fine.

While I was recharging my Dremel for a bit, I cut some tube of the next larger size, which conveniently slides right over the stuff I'm already using.  These short bits became the outer tube of the pistons I was trying to create.


I also decided that my original tubes were a bit too long (or drilling deeper was too much work) so I shortened them by a hair.  I filled the hole in the arm about halfway with greenstuff, dunked the now glued in place tubes into water and smushed them into the arm.  I held it there for a 10-count and then carefully pulled the tubes free.  


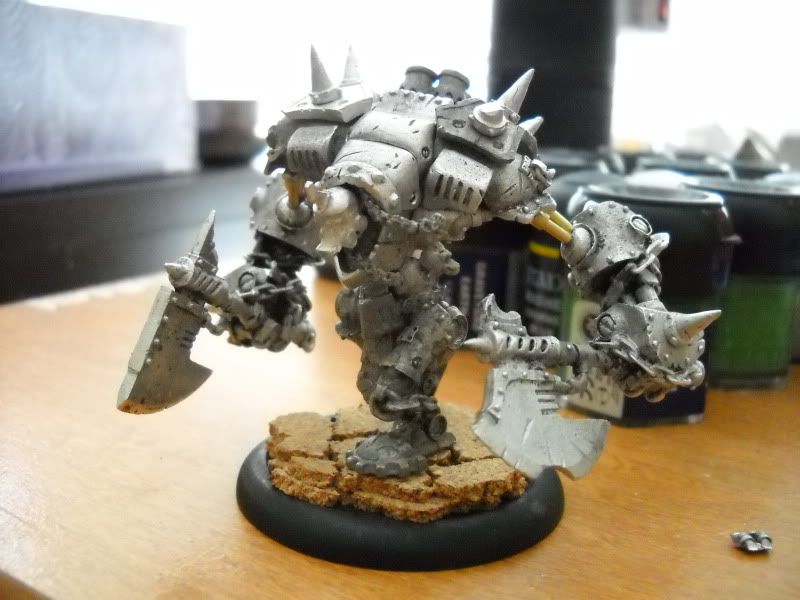
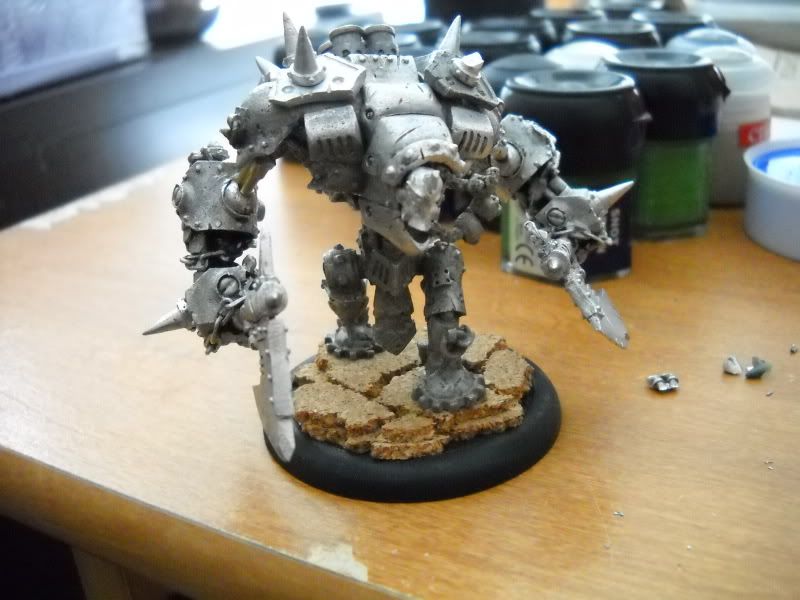
Setting the arm aside, I repeated the process on the other side.  Once the greenstuff was dry, I finished the assembly.


The arms are now rock solid, and if they do break, it'll be far simpler to replace a tube or re-glue than to try and pin those itty-bitty arms he used to have.

Cheers!

Sunday, July 24, 2011

Pump Wagons in Action

The Snotling Pump Wagons made their way safely to their new owner, and have made their battlefield debut!

Here are a few in action shots taken by a fellow gamer at the store during the wagons' first game!

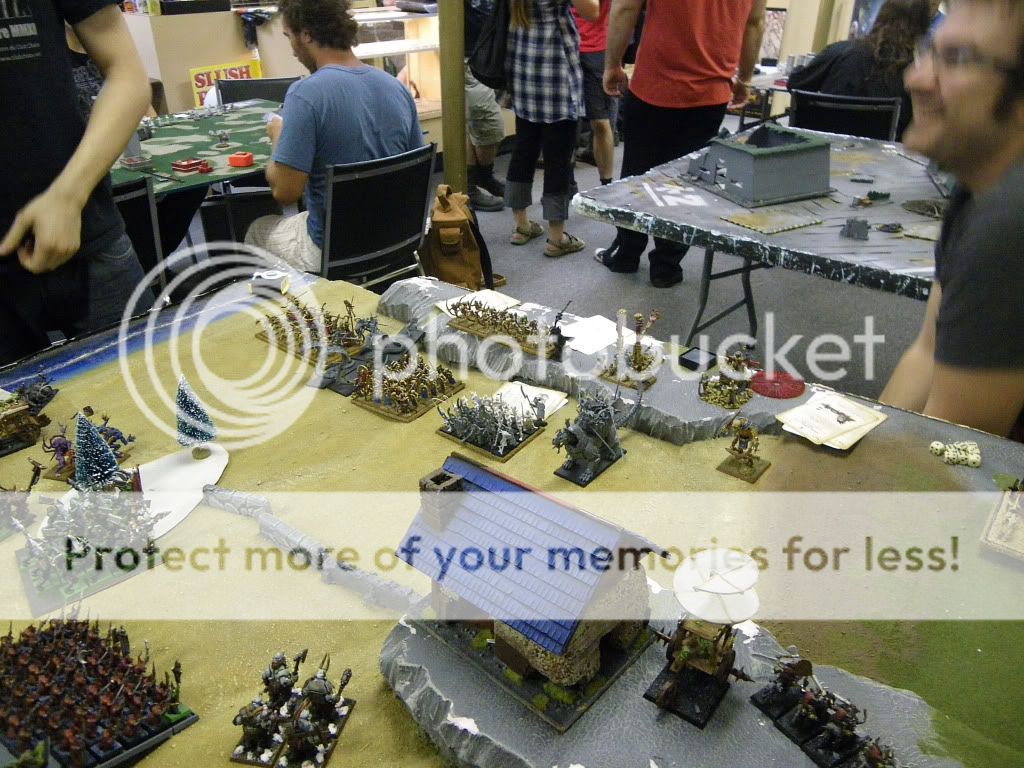
In this first picture, we see the pump wagons deployed and ready to charge in.  The whirlybird is near the center of the photo, and there are two other wagons in the far bottom left corner.

Photo by Yaum

In the next shot, the winged wagon and one with mushrroms strapped to the front are beginning their attack run.  Stay on Target!

Photo by Yaum

In the last two photos, we get to see the wagons alongside their fellow greenskins - charging into the fray!   WAAAAAAAAGH!


Photo by Yaum

Photo by Yaum

In the days to come, I'll be discussing some side projects rather than what I'm currently working on, mainly because I'll be doing little to nothing...  I have a new wet palette on order, so I'm holding off on painting until that arrives.  I also broke my last pinning drill tonight, so assembly is not really an option either.  Unfortunately, I'm at an impass.  Plus, a break will be good in preparation for the massive paint fest I'll need to get going because I have a lot to paint.

Tuesday, July 19, 2011

A change of pace

As I mentioned in my last post, I wanted a change of pace from the red and bronze of my Skorne.

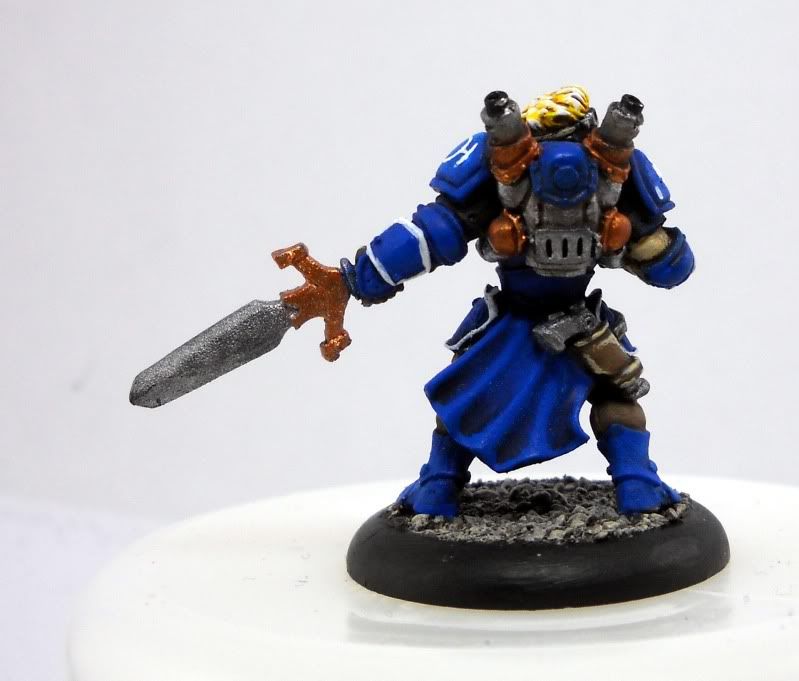
So, I picked my half finished Journeyman Warcaster off my side table and spent a bit of time on him last night.  I painted his base (Scorched Brown -> Graveyard Earth -> Bleached Bone) and did all his under armor (khaki pants, leather pistol holster, gloves, shirt, etc).  I then tried to figure out where to put my white.  I'm using white as my primary accent color for my Cygnar, and I want it played pretty heavy on my characters.  Luckily, most of Jr.'s armor has rims, so those were picked out in white.


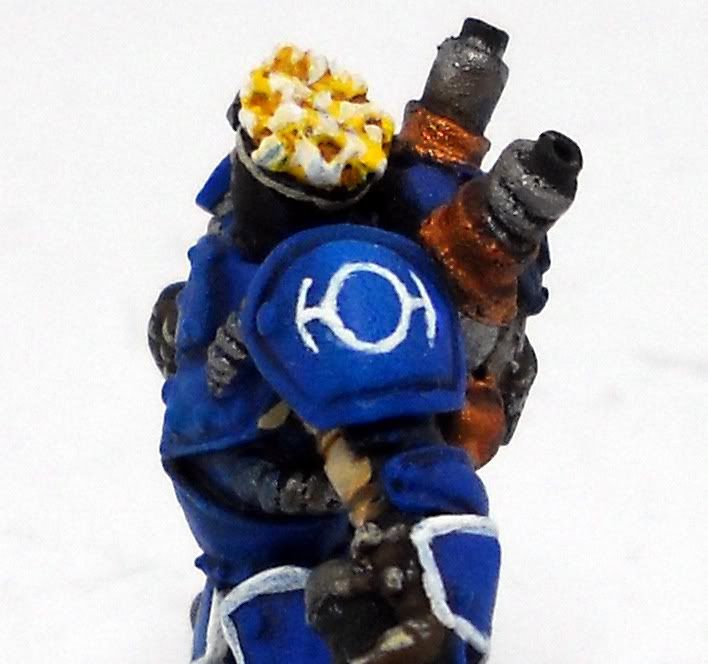
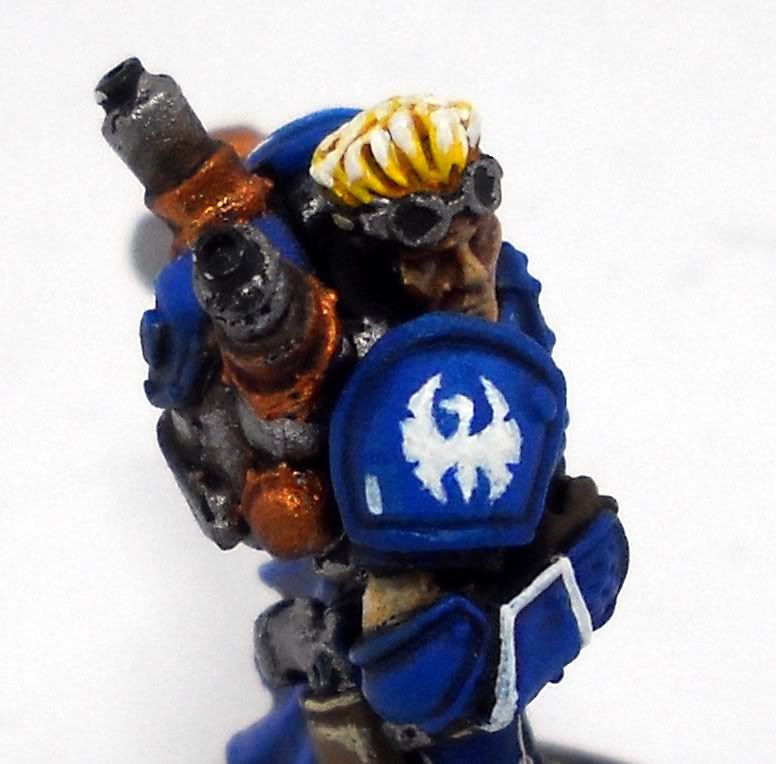
I thought about doing the rims on his shoulderpads, but I wasn't sure if it's look too Space Marine or not.  Instead, I went all out and did some freehand painting on his shoulderpads.  For what is essentially my first attempt at freehand, I'm very pleased with the results.

Let me know what you think.


The TIE Fighter looking symbol is seen on the Journeyman Warcaster's art, and I believe is a symbol indicating that he is in the warcaster academy.  If you are a fluff person and can give me more details on the symbol and it's meaning, I'd love to hear about it so I'm knowledgeable when asked..

The Swan is obvious, and the little hash mark was primarily to help fill out the extra space on his armor, but it could be a sub-ranking.  He's only allowed one 'jack?  He has one kill under his belt?  Not sure.

To Do:
 - Static Grass
 - Base markings
 - More defined corners on the armor.  Likely a 50/50 Enchanted Blue and Ice Blue mixture to pick out edges to define the armor plates better
 - Lighten the face a bit - it looks too dark to me.
 - Backpack exhaust tips need some attention

Friday, July 15, 2011

Agonizing

I've been working on this guy for a few days now.  Since the skin was the same as on the titans, this model really had no surpises.

Except for those expression-filled eyes.  Talk about puppy-eyes, eh?


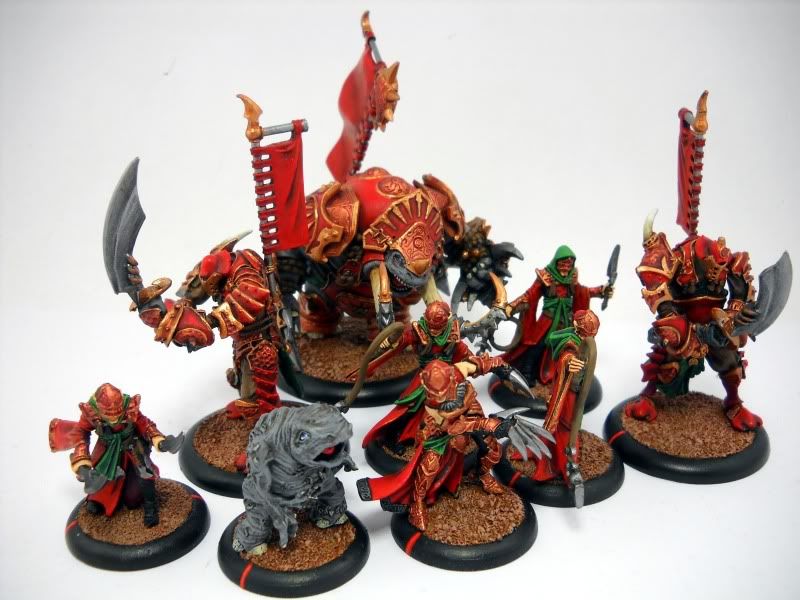
And, with the addition of the Agonizer, I have a nice, fully painted 15pt Battlebox Skorne force!


So, despite the 5 days since the last post, I'm still alive and kickin...

At this point, I'm feeling the need for a change in palette, so I may paint something completely different just to take a break.

Sunday, July 10, 2011

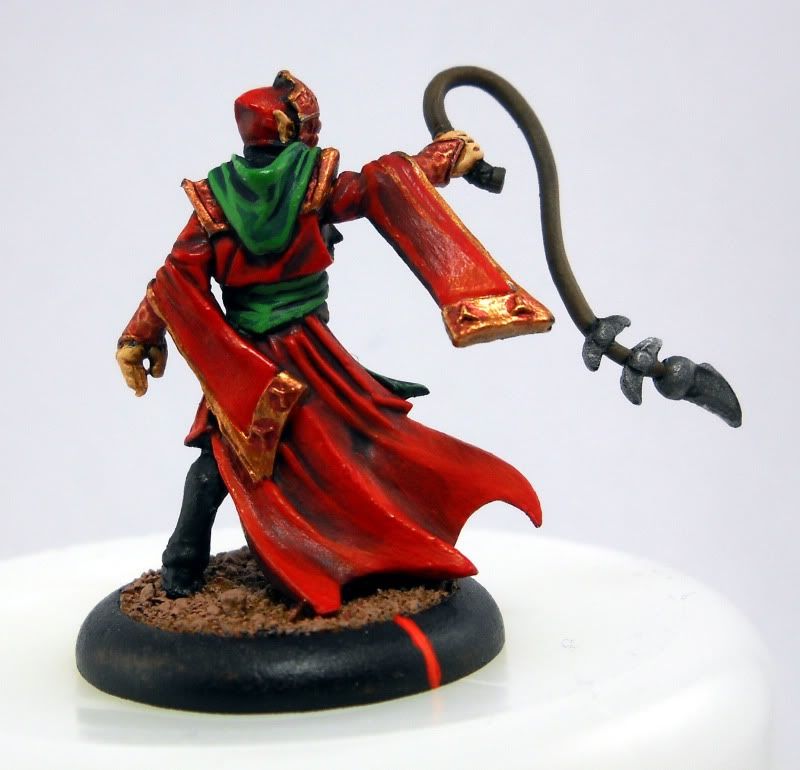
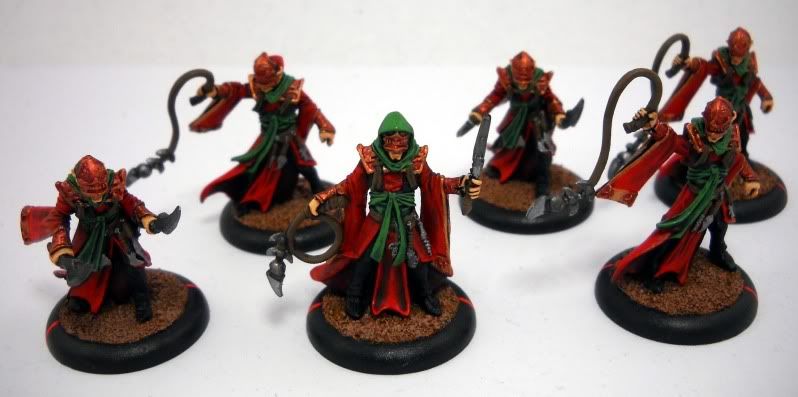
Skorne Beast Handlers

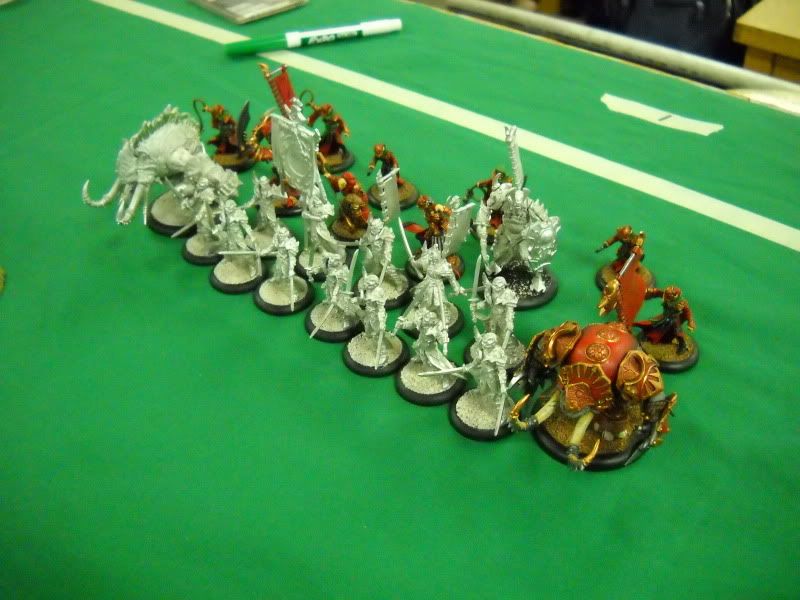
These guys took about a week - 2-3 hours a night.  Since spending most of my time on the Snotling Pump Wagons, I;d forgotten just how much detail was packed onto PP minis.  Sheesh!

No new color recipes or techniques on these guys.


And they look pretty cohesive when you put the whole unit down.


I need to touch up the bases before sealing them - some of the red got onto the sand...

Saturday, July 9, 2011

After Action Report: 35pt SR2011

My first tournament as a Press Gang Volunteer, and I have to say, I really, really enjoyed it!

Initially we had 6 players, and a 7th showed up in time to join in for Round 2.  I entered play for round 2 as well, so we had even numbers.

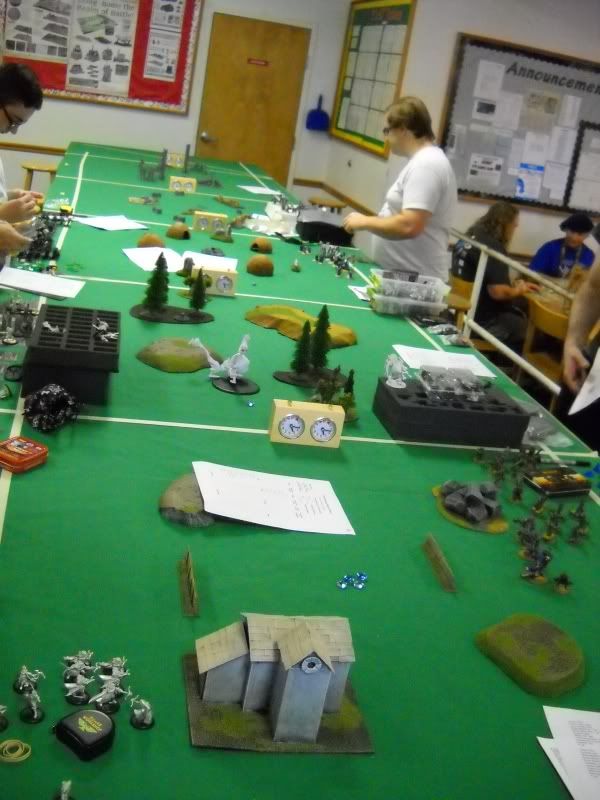
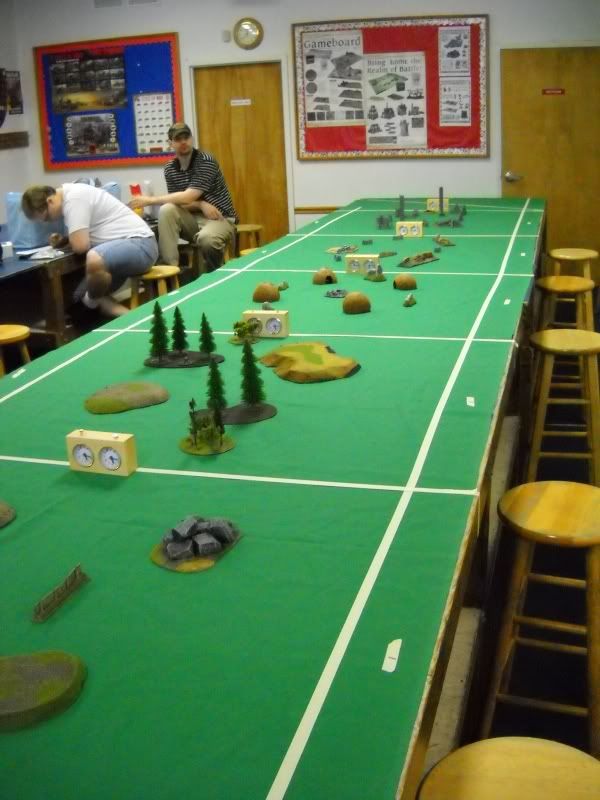
Here's the initial setup of 5 tables (I wasn't sure how many we'd have, so I set up for 10, and had stuff for more tables in reserve).


The terrain PG_Linrandir made for Digital Overload was on hand, and made for some beautiful tables.  I ws able to give each table a mini-theme.  One table has a farmhouse (outside the picture) with fences and a rock pile.  Another has coconut huts and a fire pit in the middle.  Further down is a trench warfare table, with trenched and tank traps, and some rough terrain in the middle.  The last one was some ruined temple terrain another player had that lent a good urban feel.


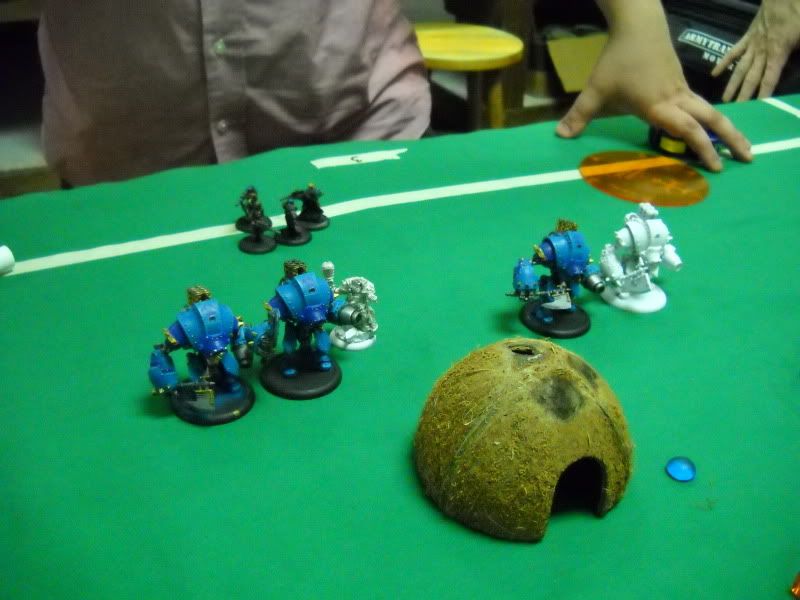
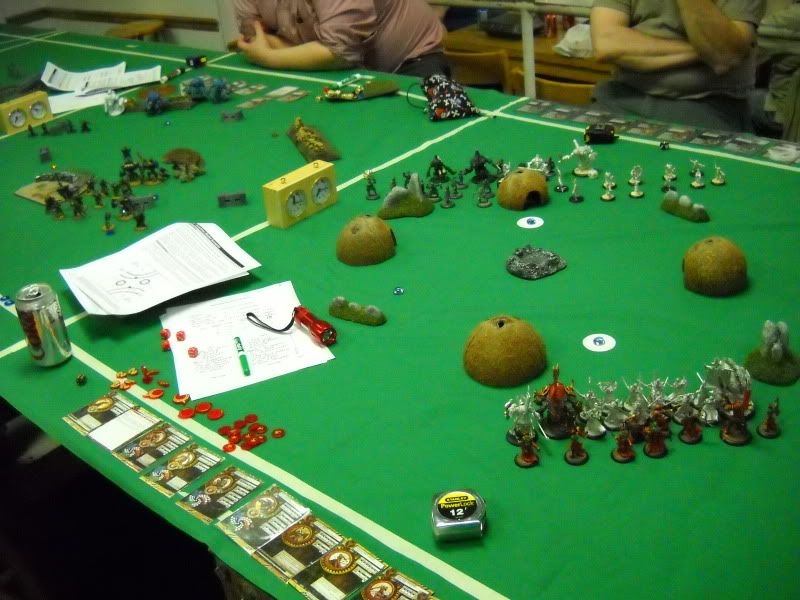
Oh radial deployments...

... how we hate you.

Brian (PG_ForsakenPoptart) came down all teh way from Baltimore to play (and aid me).  He rocked the house with his Harkevich army.  Yes, that's Harkevich with four Destroyers and Widowmakers.  It was deceptively fast, and very annoying.  Four ARM 23 'jacks with free assault charges on feat turn?  Ouch.

KABOOM!!


I was able to end my loosing streak, winning one of the games I played!  My Beast Handlers even took out some toughed Bane Thralls.  Go Team Speed Bump!  I guess painted models do play better...

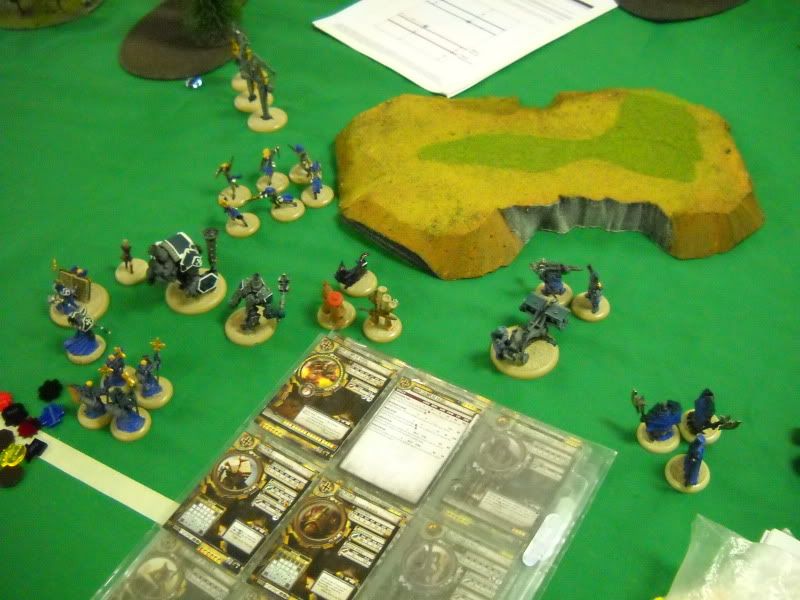
Here's a couple more misc pictures.

Round 1

Round 2

In the end, we gave out some prizes!
First Place: Coin & $15 store credit
Second: Coin & $10 store credit
Third: Coin & $5 store credit

Last place:  Wooden Spoon & $5

Success!
Thursday, July 7, 2011

zomg update

My apologies for the severe lack of bloggery lately.  It's been almost a week since I updated, shame on me.  I've been working my way through Wrath, trying to wrap my head around the new hotness and I've been working on some models.  It's been so nice to work on my own models.

I have my Beast Handlers almost complete!  While they're only worth 3 pts, they are a 6-man unit, and will be my first PP unit completed!  Yay!  I tried taking WIP pictures, but my mixing medium is just too glossy, and they looked horrible, absolutely horrible.  I just need to do their skin, the green bits, touch up the metallics and do arc markings.  Should be easy to do tomorrow, on my day off.

Tonight is game night!  The league is still going strong, and the standings ladder is all over the place!  I have plans for the finale event, and I'll be discussing them with the players tonight.  Here's what I'm planning:


Portals


Standard 4' x 4' table
6+ players
15pt MM / TC lists

6 numbered portals (large base) are placed evenly spread out along a 36" diameter circle, centered at the middle of the table.

Each player begins at a portal, and deploys within 3" of the portal.  All players deploy simultaneously.

Players earn 1 pt for each warcaster / warlock they kill, and suffer -1 pt for each death of their warcaster / warlock.

When a warcaster / warlock dies, remove their battlegroup from the table.  At the beginning of that player's next turn, they roll a d6, and deploy with full health at the corresponding portal.

First to 10 points, wins.


Thunderdome

4' x 4' table, filled with linear obstacles
6+ players
Deployment zones are 10" bubbles at table corners and center of table edges (allowing 8 players per table)

Each player brings an "army" consisting of 3 warcasters / warlocks from the same faction.
 - Warlocks use the Focus mechanic, not Fury.
These models all count as a single battlegroup.
Yes, players may triple feat.

Last person with a model standing, wins.


Those will be next weekend.  This weekend, I'm running my first tournament!  It's a simple one, 35pts, two lists, Death Clocks.  I have no idea what the turnout will be, but I'm hoping for the best!