Showing posts with label Commission Work. Show all posts

Wednesday, August 17, 2011

Ironback Scoffer

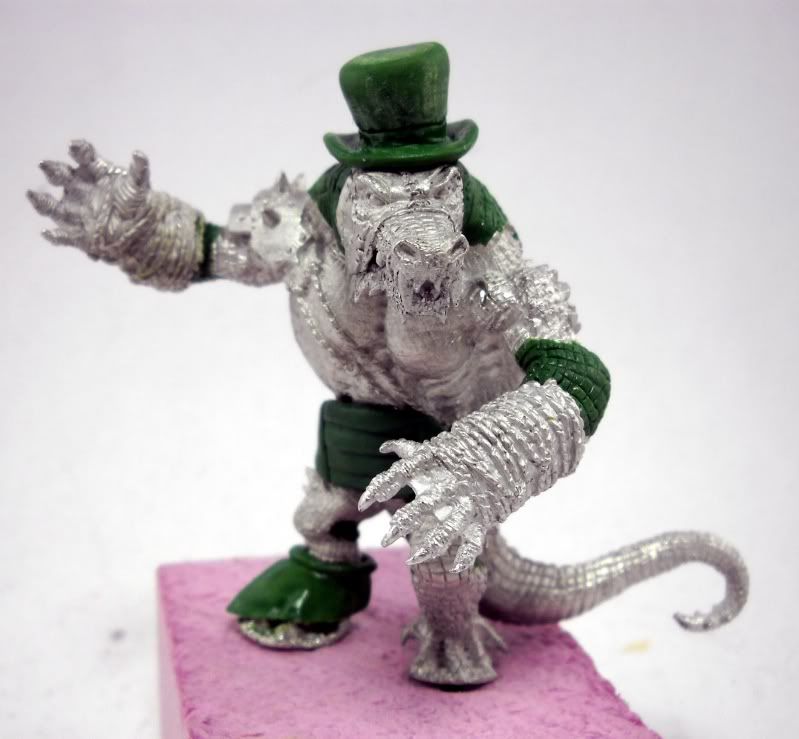
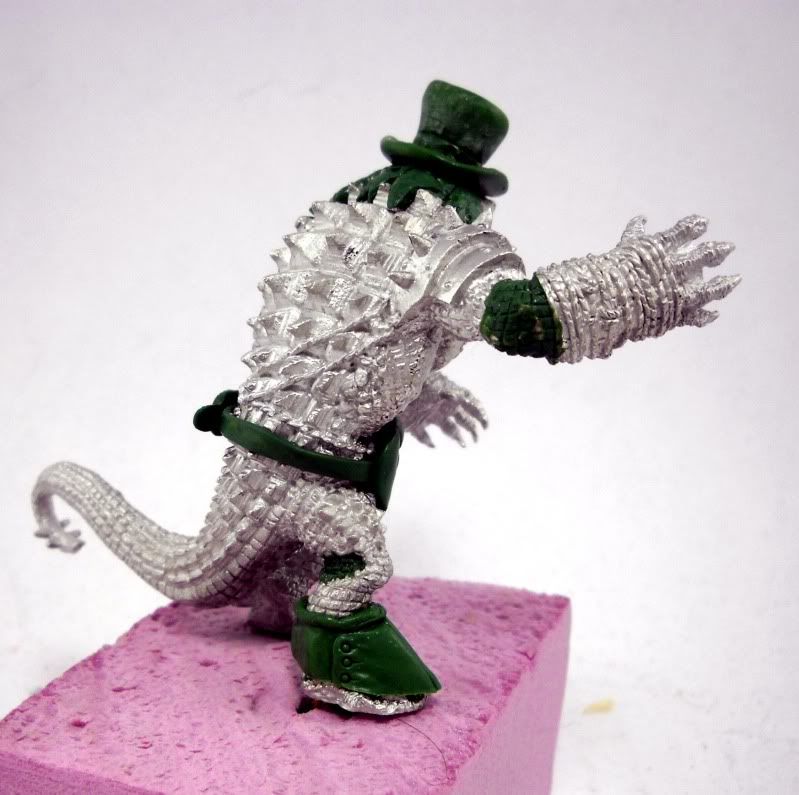
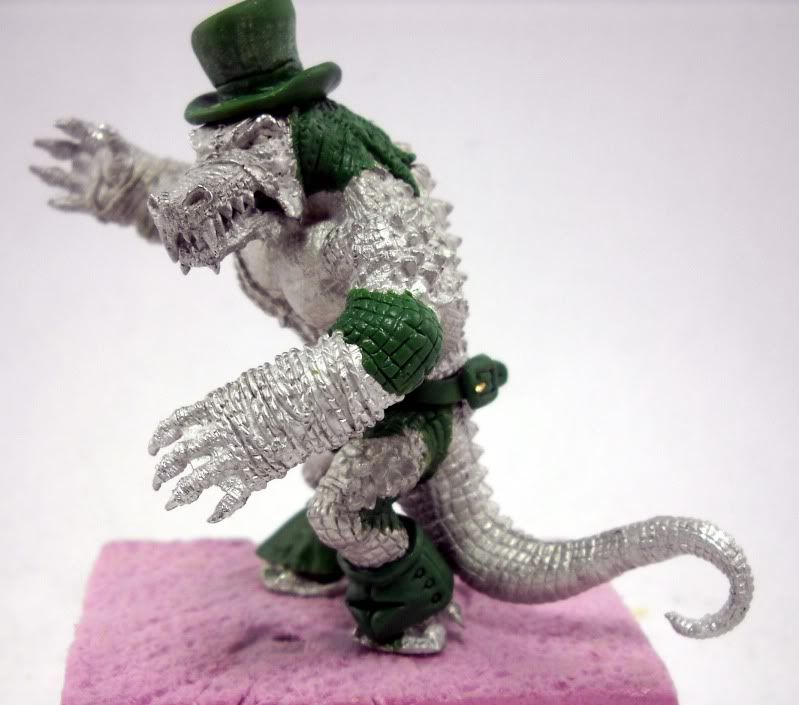
Following along with the Blacktie Wrastler in the Collective of Genteel Gatorfolk, Faultie has worked up this wonderful character:

Those who cannot do become critics. In the high-society world of the gatorgents, jealous of the acting and combat capacity of the Blackties, the Ironhide spews vitriolic criticism at his enemies, with the capacity to physically kill. Despite his foul demeanor, he is a true patron of the arts, and is never seen without his Playbill and opera glasses.

Faultie has done all mod work to the model itself, however I was charged with manifesting his anger with an Opera Box style railing, which he has ripped apart in his fury.
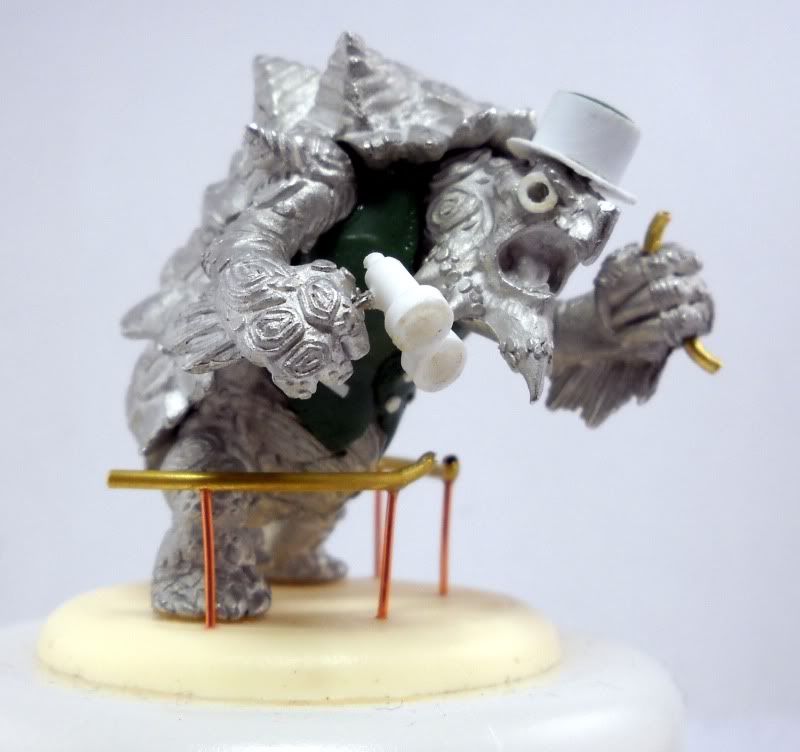
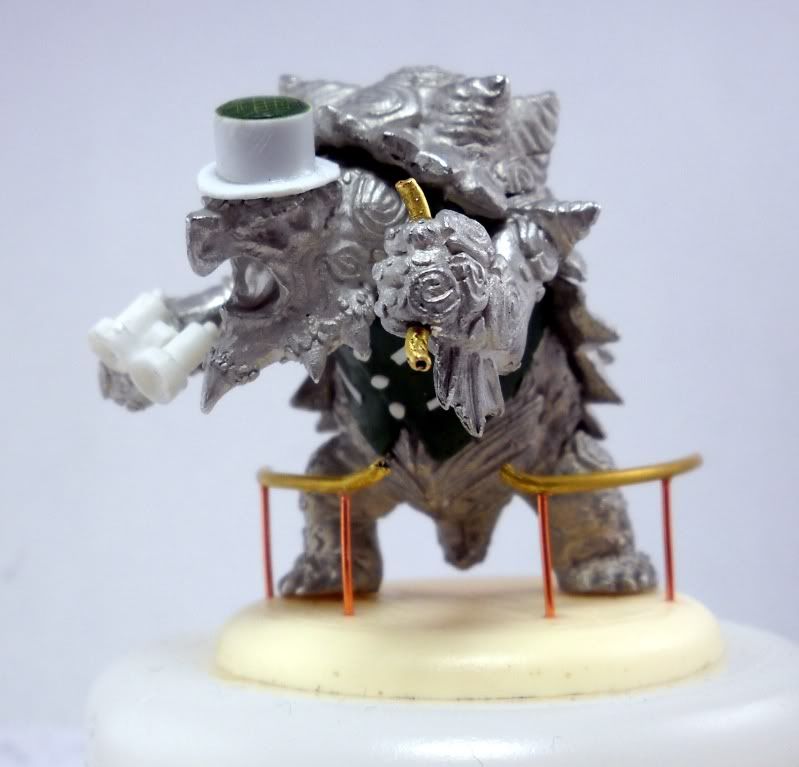

The railing is made from 1/8" (3/64"?) brass tube and 22 GA copper wire.  I bent the tube around my Master's Brush Cleaner top, which has the same diameter as a can of soda.  I then used my fingers and carefully tightened the curve, so that it roughly conformed to the curve of the base.  I then set it back on the base, towards the model's feet, to give the impression that he is leaning over the railing yelling at whomever is unlucky enough to warrant his attention.

I marked four spots on the tube, and drilled four holes.  I then cut four pieces of copper wire and glued them into the holes.  Four holes were drilled into the resin decking base, and the railing glued into place.
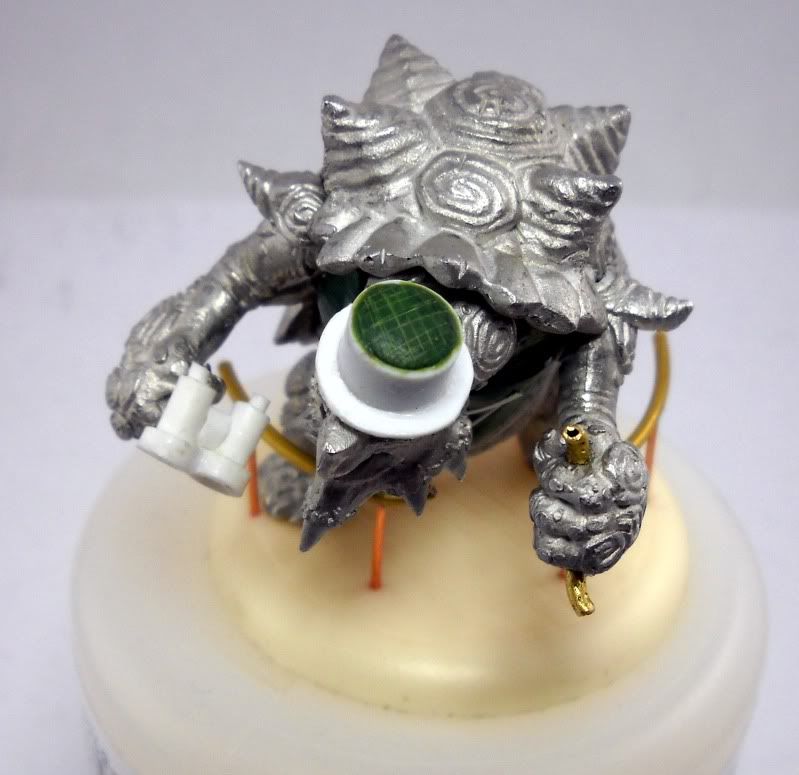


At this point, I pulled the model off the base (since Faultie will likely paint them separately) and used my jeweler's saw to cut out a section roughly the same size as the model's fist.  I used a super small pair of channel-lock pliers to warp the tube so it looked like it has been bent prior to being ripped apart.

A pair of pins went into the model's fist, so that the tube bits would have something to hold on to.  I then too the chunk of tube I had removed, beat up the ends and then chopped off the bent up ends.  After cleaning the hole in the tube with a drill bit (so it would fit over the pins) the two tube bits were glued onto each side of the fist, giving the illusion that the broken part of the railing is crushed in his grip.
I think Faultie's modifications came out splendidly, and I'm very happy I was able to contribute something to this awesome, unique model.  Look for it completely painted in the next Clash of the Titans entry on Lost Hemisphere!

Sunday, July 24, 2011

Pump Wagons in Action

The Snotling Pump Wagons made their way safely to their new owner, and have made their battlefield debut!

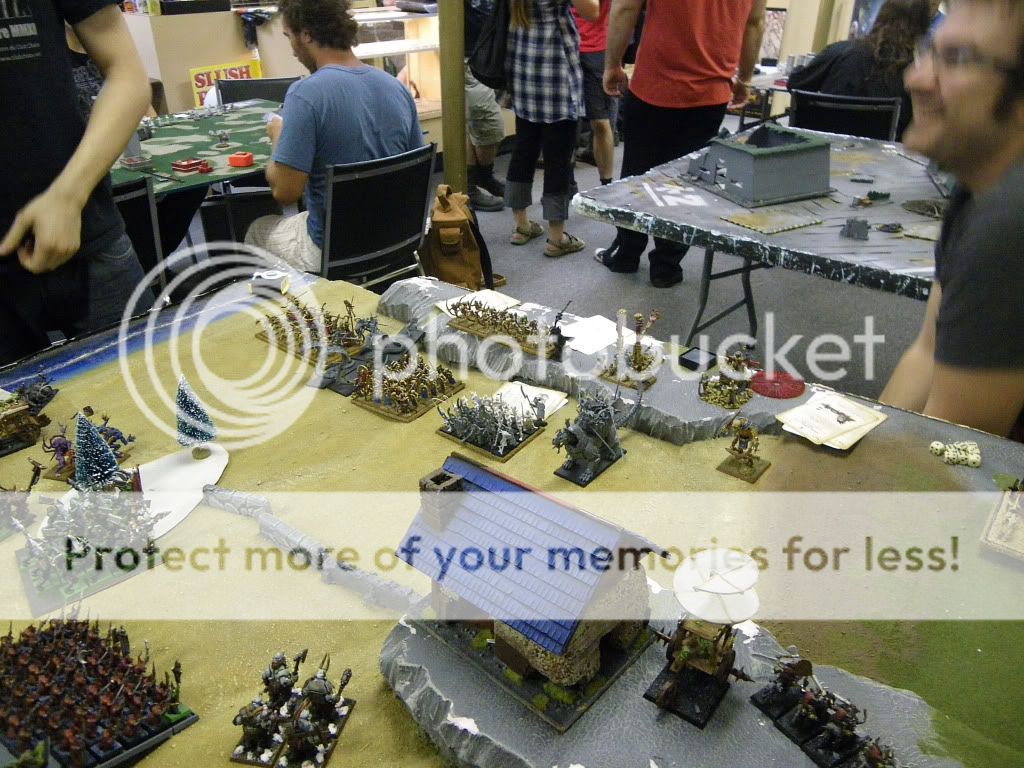
Here are a few in action shots taken by a fellow gamer at the store during the wagons' first game!
In this first picture, we see the pump wagons deployed and ready to charge in.  The whirlybird is near the center of the photo, and there are two other wagons in the far bottom left corner.

Photo by Yaum

In the next shot, the winged wagon and one with mushrroms strapped to the front are beginning their attack run.  Stay on Target!
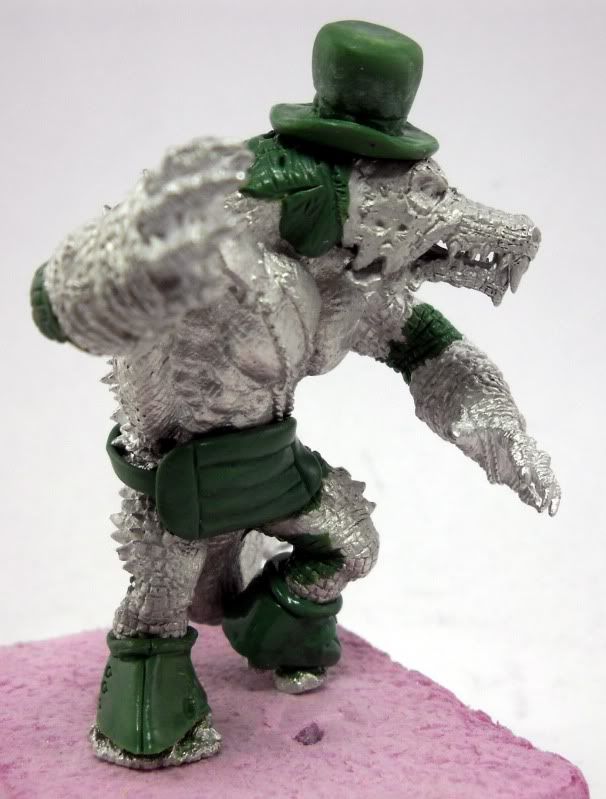
Photo by Yaum

In the last two photos, we get to see the wagons alongside their fellow greenskins - charging into the fray!   WAAAAAAAAGH!


Photo by Yaum

Photo by Yaum

In the days to come, I'll be discussing some side projects rather than what I'm currently working on, mainly because I'll be doing little to nothing...  I have a new wet palette on order, so I'm holding off on painting until that arrives.  I also broke my last pinning drill tonight, so assembly is not really an option either.  Unfortunately, I'm at an impass.  Plus, a break will be good in preparation for the massive paint fest I'll need to get going because I have a lot to paint.

Wednesday, June 29, 2011

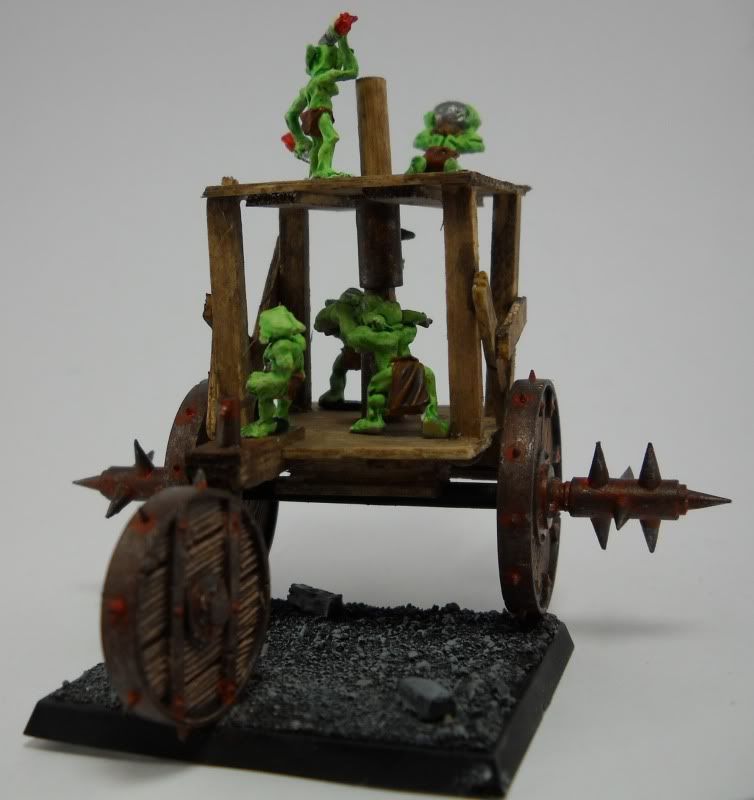
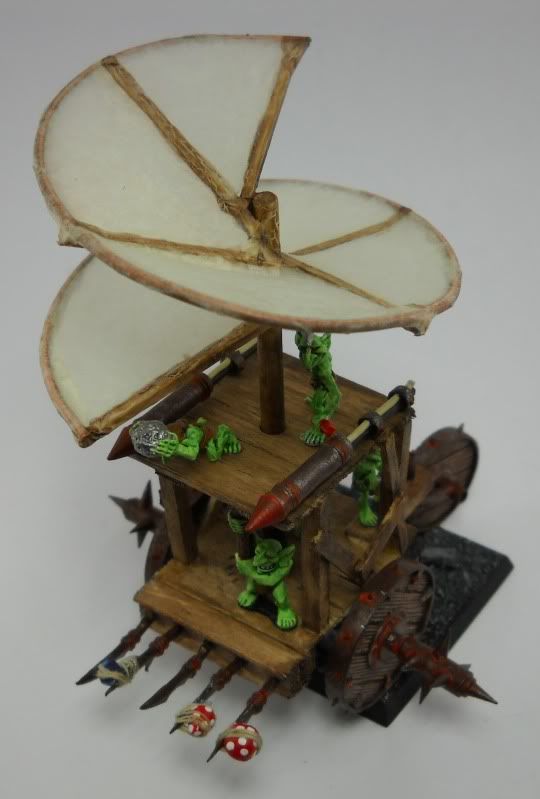
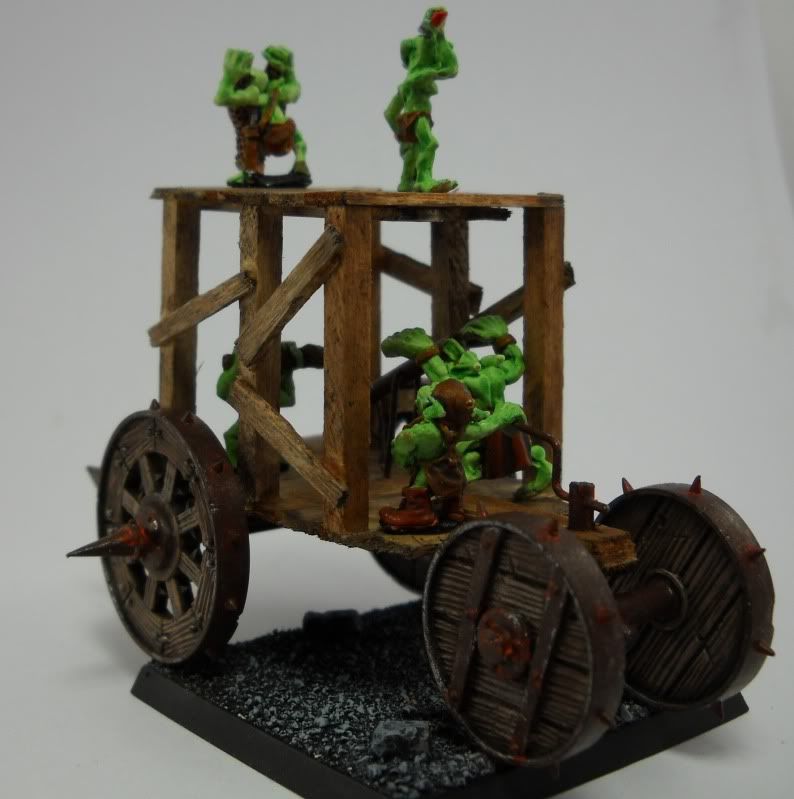
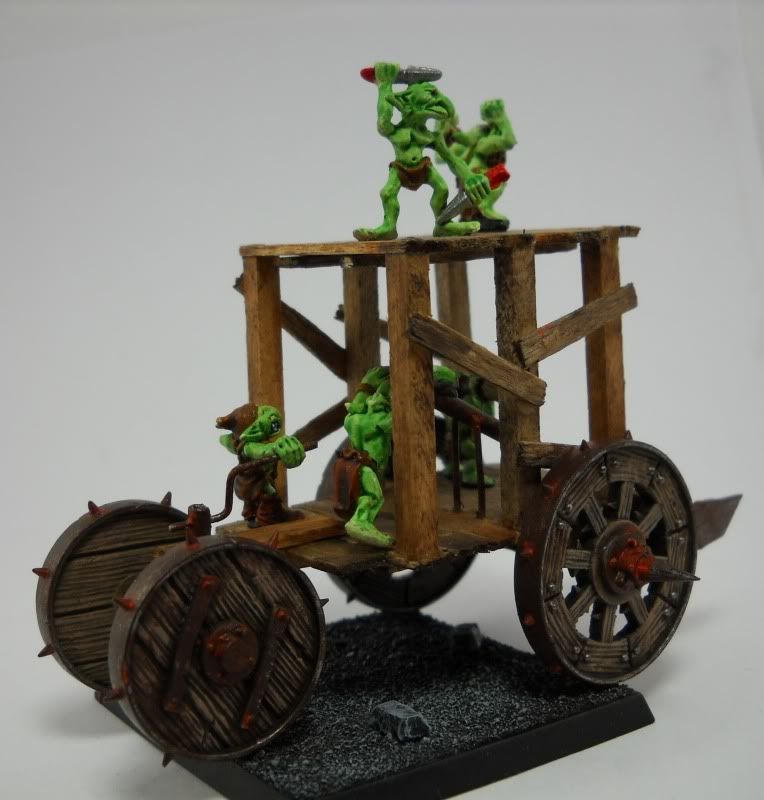
Snotling Pump Wagon Final Update

It's been a while since I talked about the snotling wagons, and that's because I've been hard at work trying to finish them ASAP.  The client's very enthusiastic about fielding them, and wanted them as soon as possible.

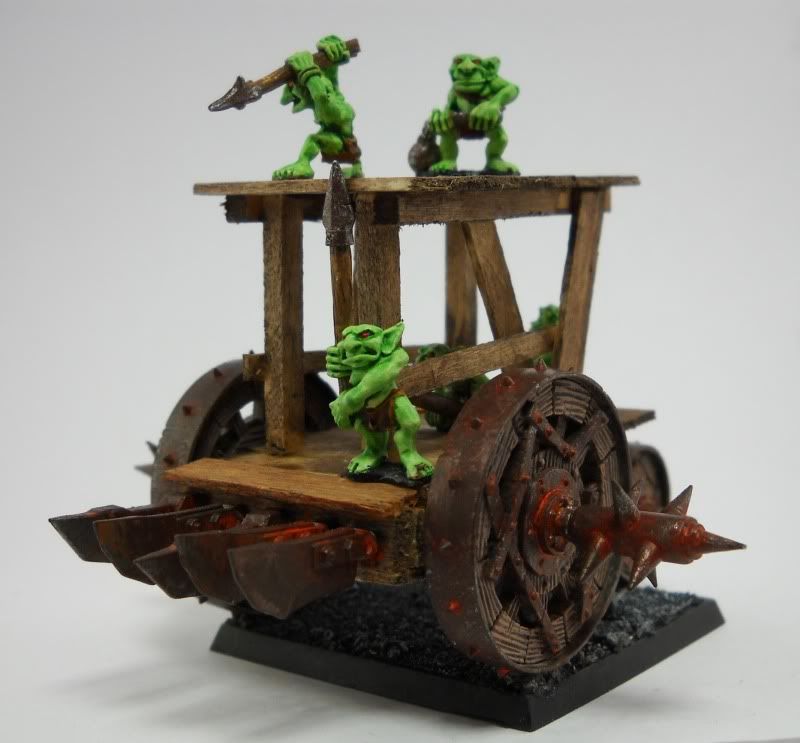
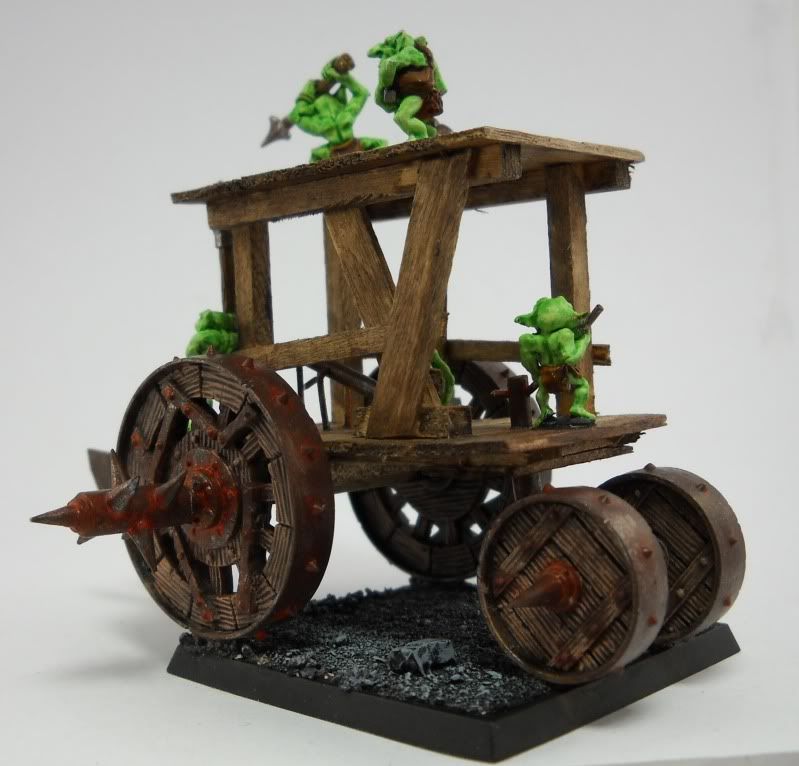
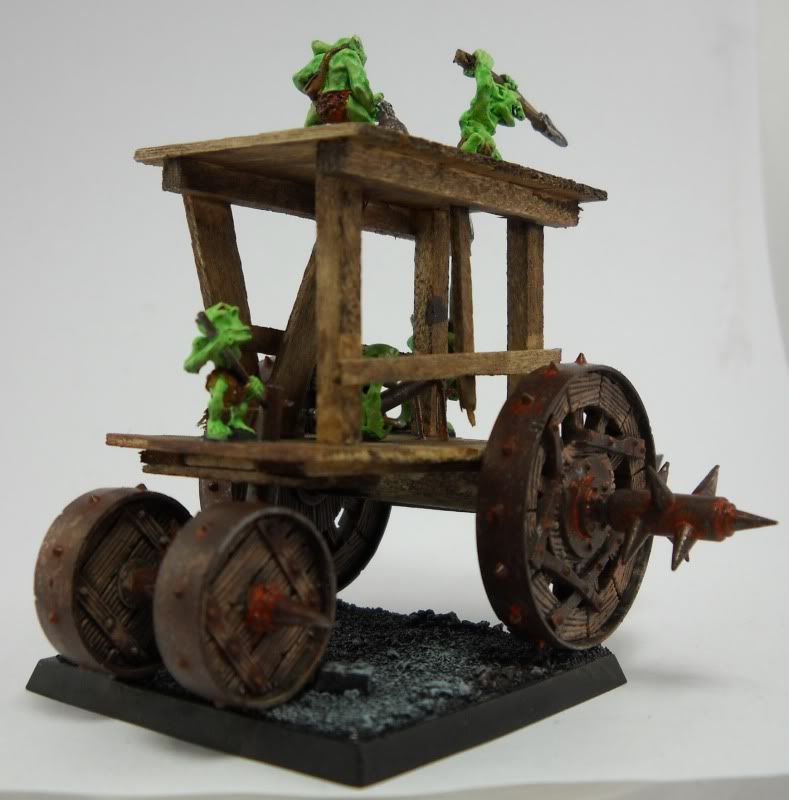
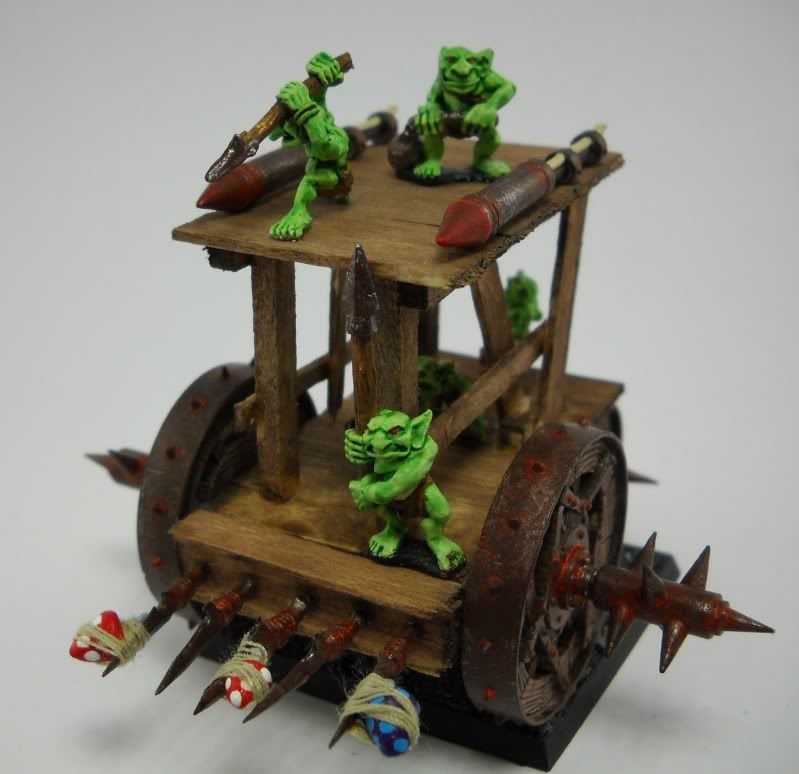
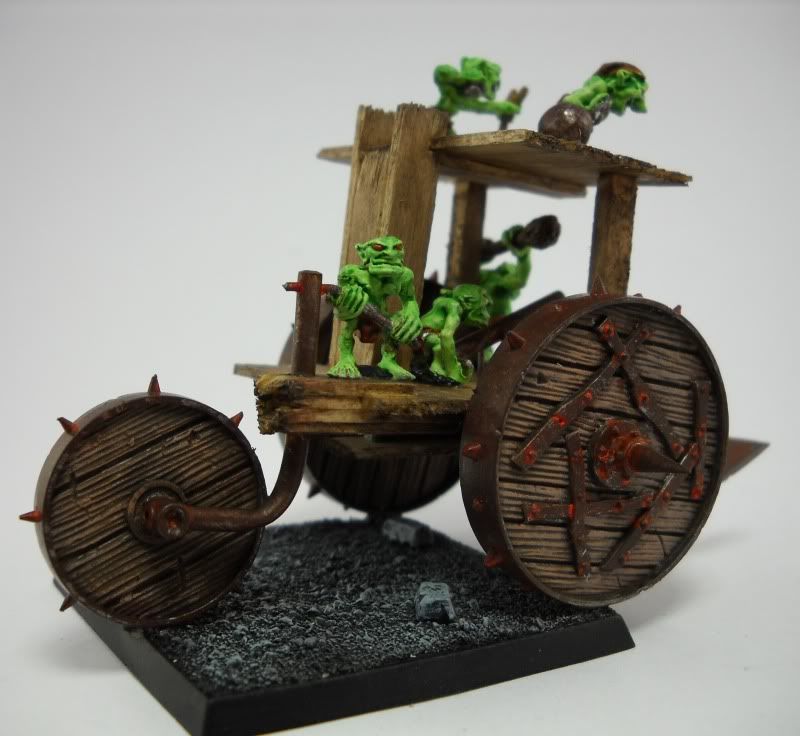
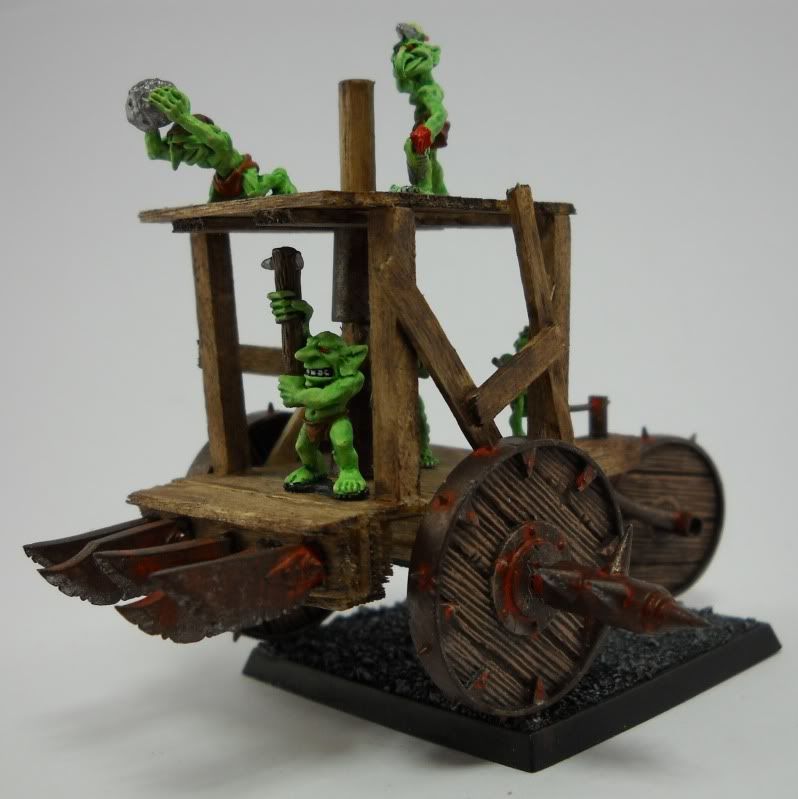
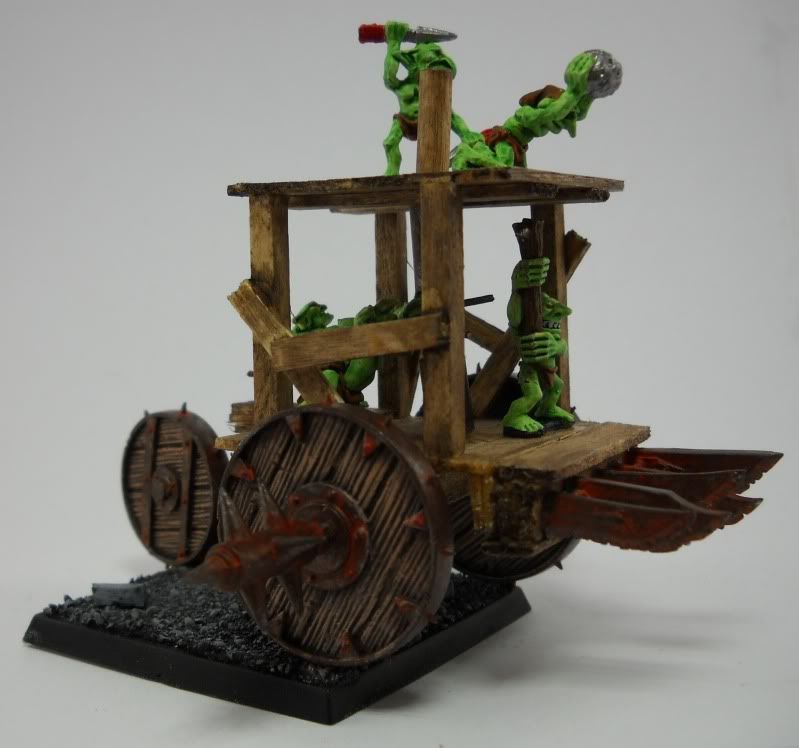
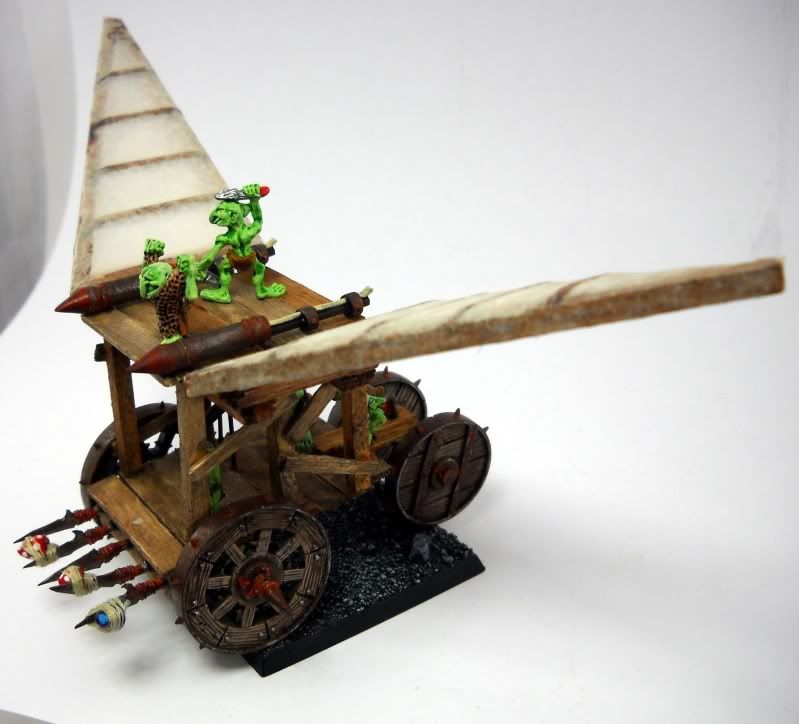
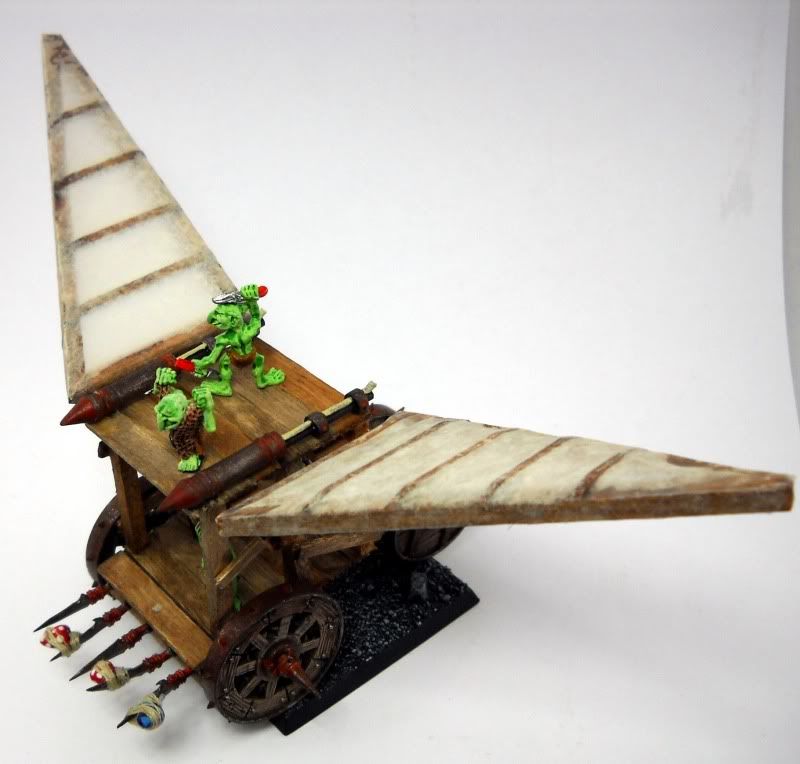
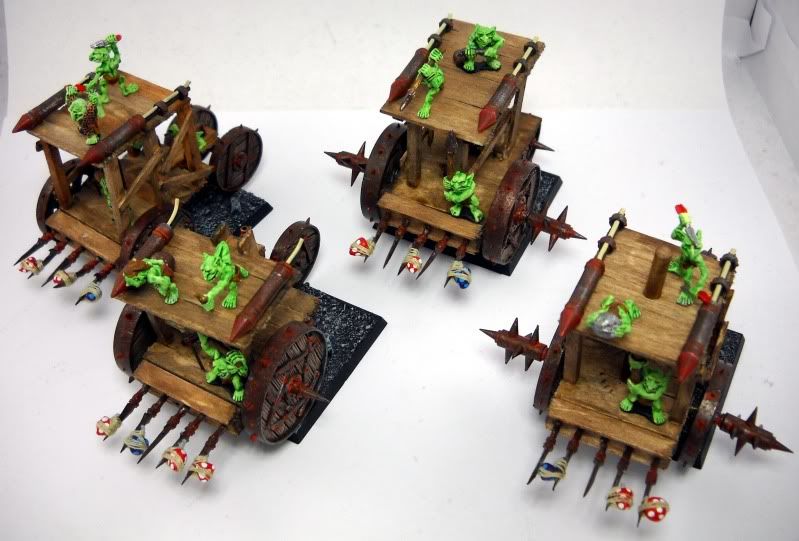
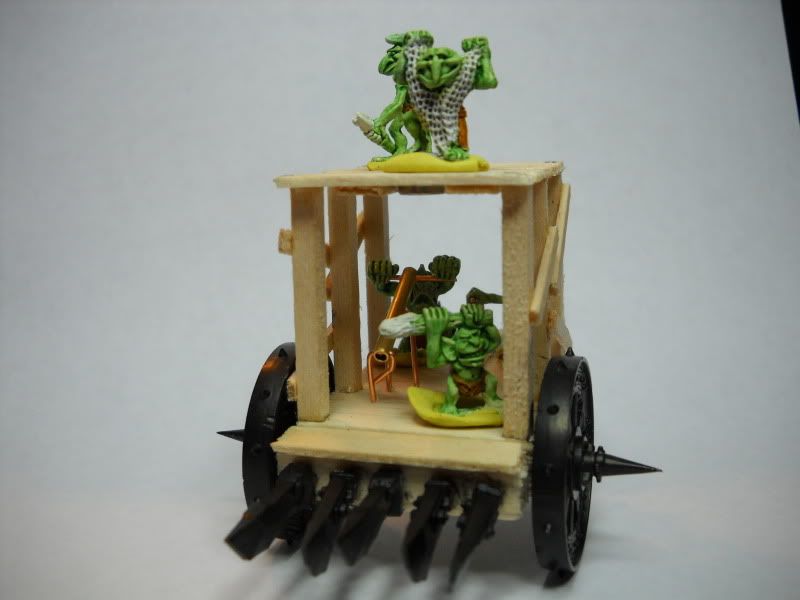
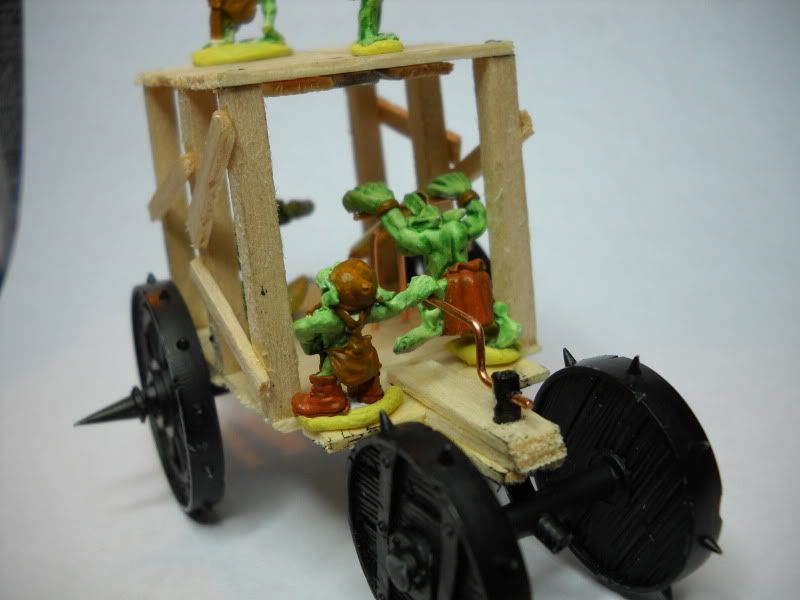
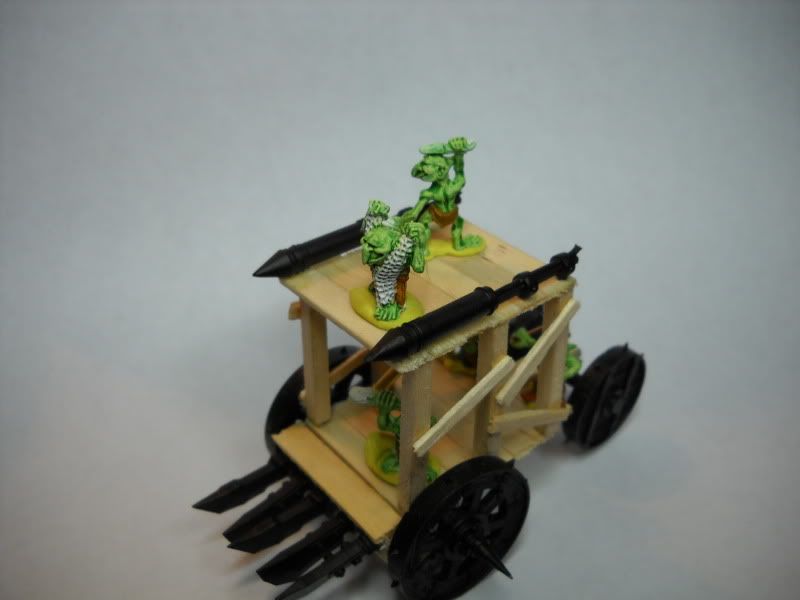
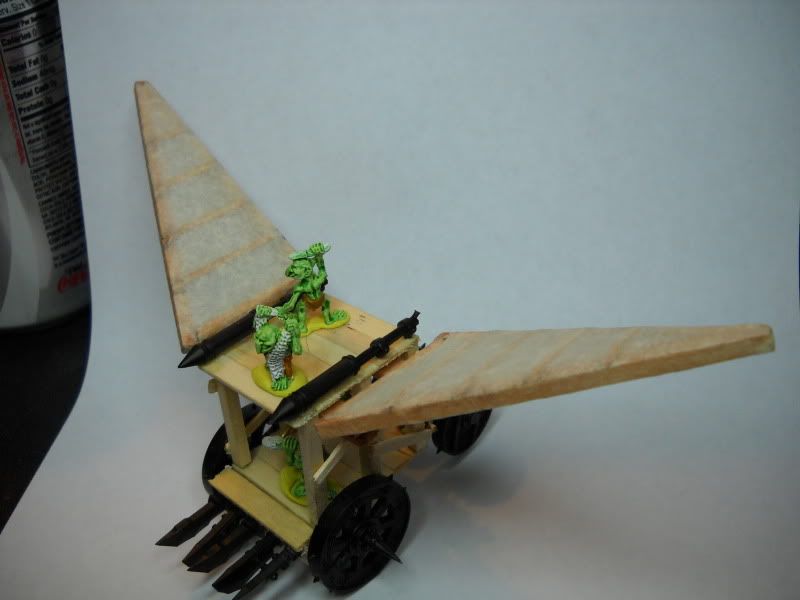
Remember, each wagon is on a 50 x 50 mm base, and needed to have some optional upgrades.  All four wagons needed "Spore Attack" upgrades, and "Speed Boost" upgrades.  Two of them also needed "Flying Adaptations" upgrades.  So, you'll see mushrooms strapped to the front spikes for the once-per game "Spore Attack", and some pilfered rockets for the "Speed Boost" upgrade.  Lastly, we have a set of wings, and a 'whirlybird' DaVinci style air screw.

I'll go over color recipes later, for now just enjoy the pictures!


Wagon 1


Wagon 2


Wagon 3


Wagon 4


Group shots:


Monday, June 20, 2011

Shotling Pump Wagon Update

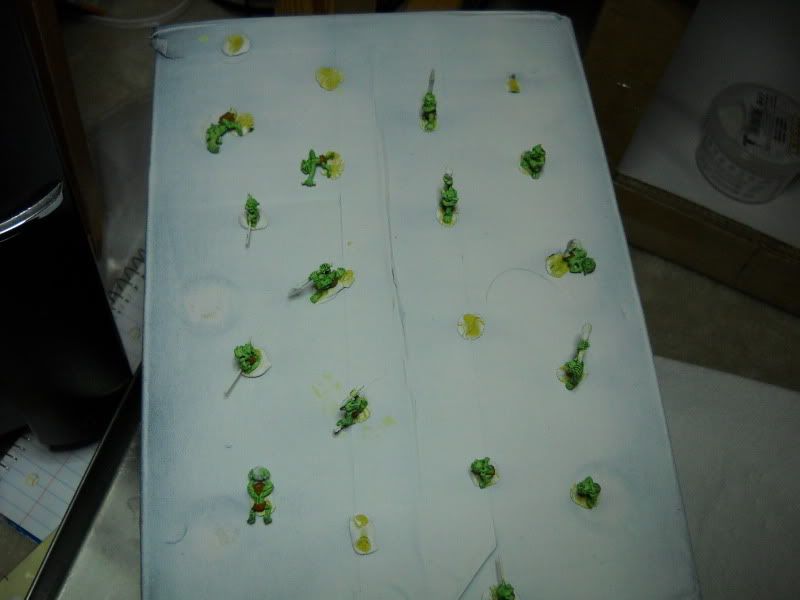
The rockets came in mid-week, and I separated them, cleaned them up, magnetized them to the wagons and primed them.  I've also built pump mechanisms for all four wagons.  Mushrooms have been attached to half the spiky front ends, and are awaiting paint.  The wagons themselves have had all metal bits base coated black, and the snotlings themselves are over 50% done.  Once I get the shotlings finished, I'll glue them down and then begin staining the wood.  From there, it's just metallics, red splashes of paint, and some touchups.  Optimistically, I'm hoping to have them in a box, in the mail in under two weeks.

Here's a few pictures:


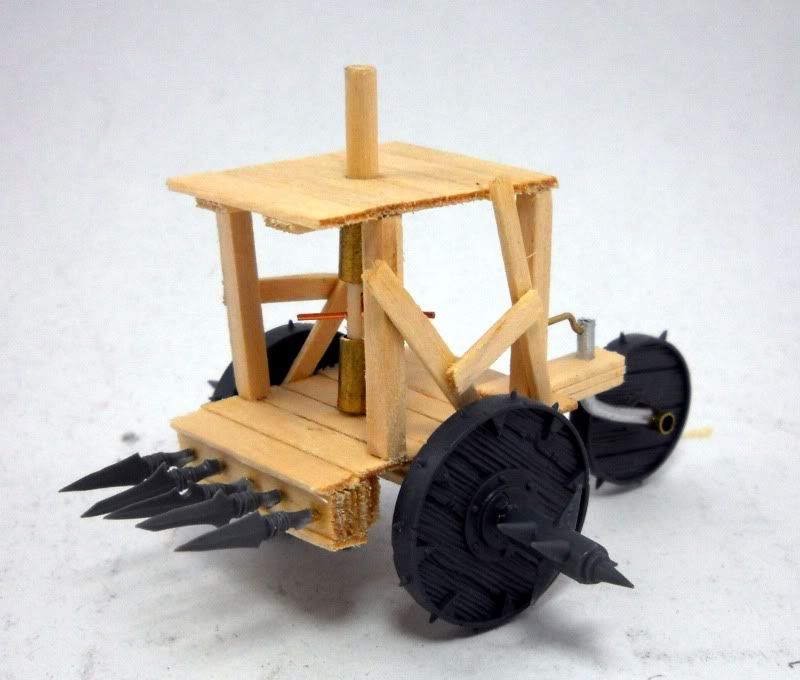
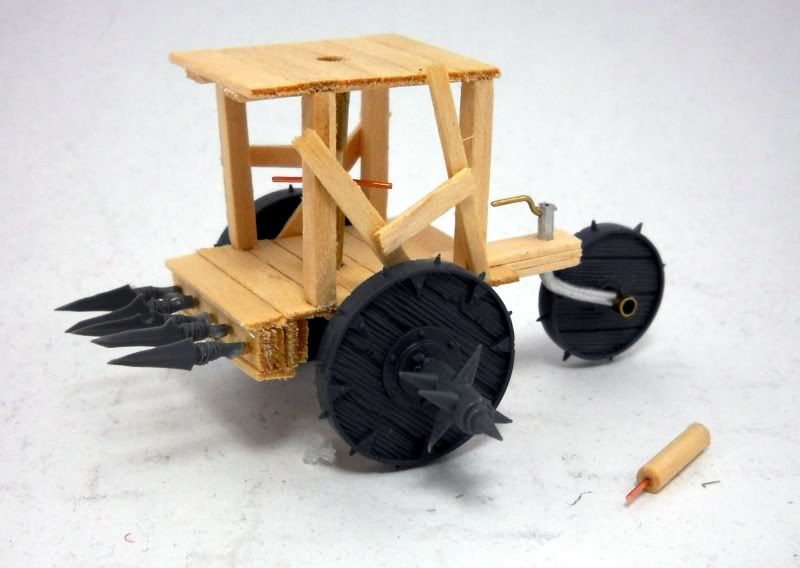
The rockets were the perfect length.  They hang over the front and back of two of the wagons and and are a hair short on another.  One wagon's top is so short, I shortened a pair to fit, but other than that, they're all completely interchangeable.


And, here's an almost fully loaded wagon.  It has the rockets and the wings.


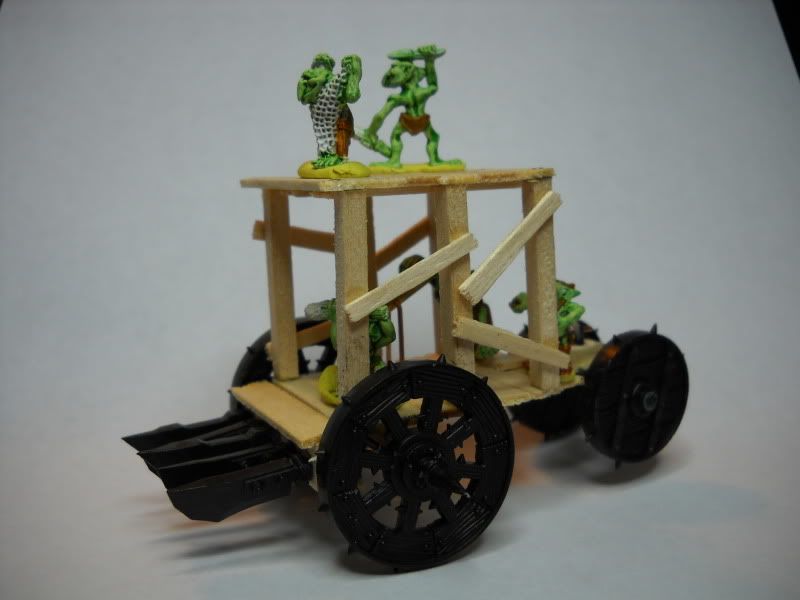
I have 20 snotlings in the works, enough for 5 on each wagon.  Each wagon will have a driver, a pumper, and three weapons guys.  I figure three on each bottom level and two on each roof will look good.


Let me know what you think!

Friday, June 10, 2011

Spats and Snotlings

Yay for some dedicated modelry time!  I primed some snotlings and an Eldar Guardian white last night.  While they were drying, I sculpted a spat, which is a form of ornamental footwear, usually worn over the shoe by military (or marching bands).


EDIT:  I got the other spat sculpted.  Since he's up on his tippy toes, I put a fold in the front, much like what happens with shoes.


Once I had the basic shape, I used a hobby knife down the middle to represent the seam.  I used some spare brass tubing to put the three buttons on, and then used the hobby knife again to make the little split next to each button (ie the hole the button has to go through).  I'm not 100% sure how I like the tuft or roll at the top. It just sort of formed as I was working, and I went with it.  I can always cut it off.

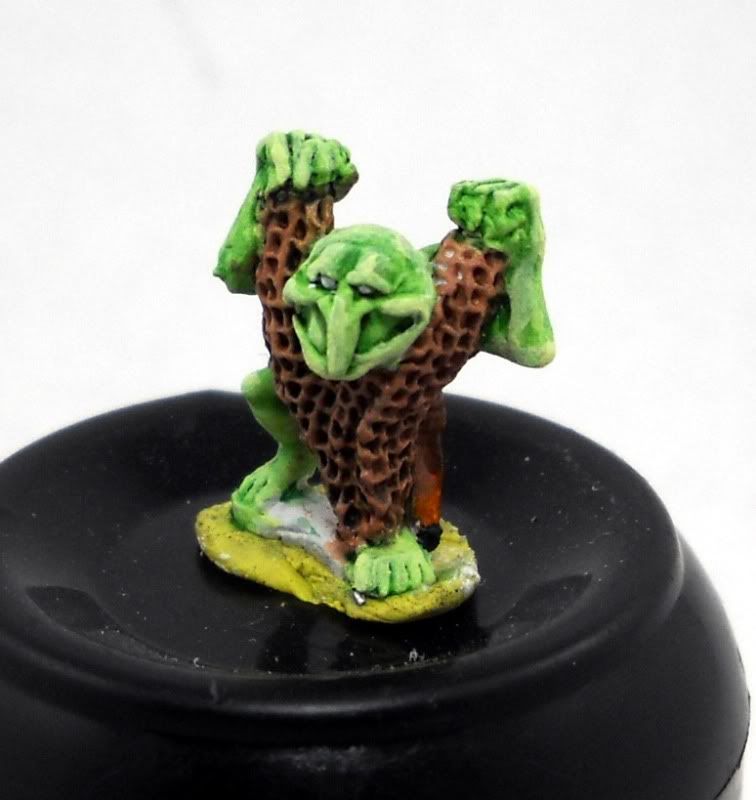
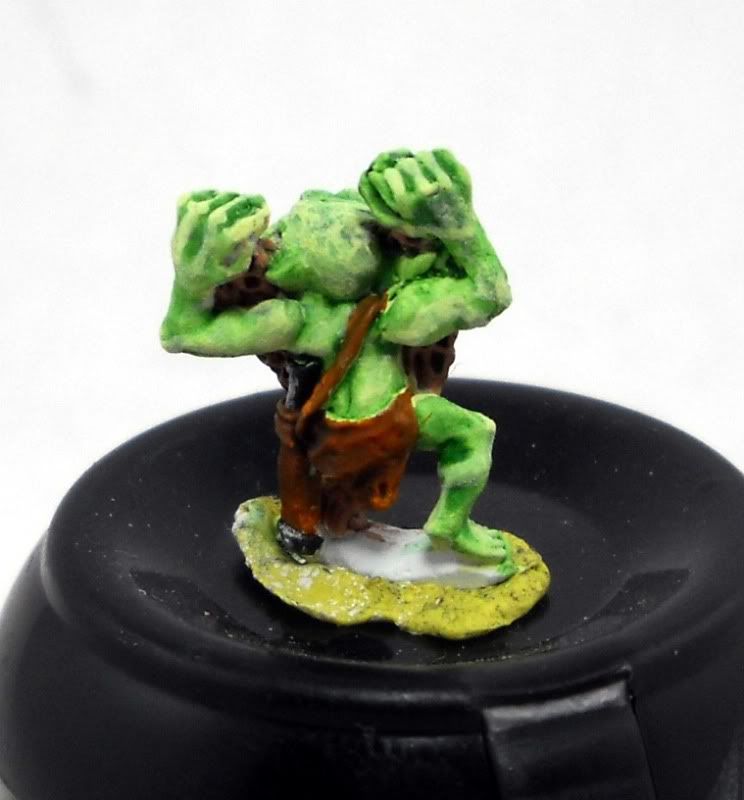
As far as snotlings go, this little guy was done in less than half an hour.  A very light green for the skin, a (human) flesh color for the net, and leather fro the leather.  The net and leather got Devlan Mud, the skin got ab Thrakka Green wash.  I then picked out the highlights on the skin with the original shade, and drybrushed the net a bit.


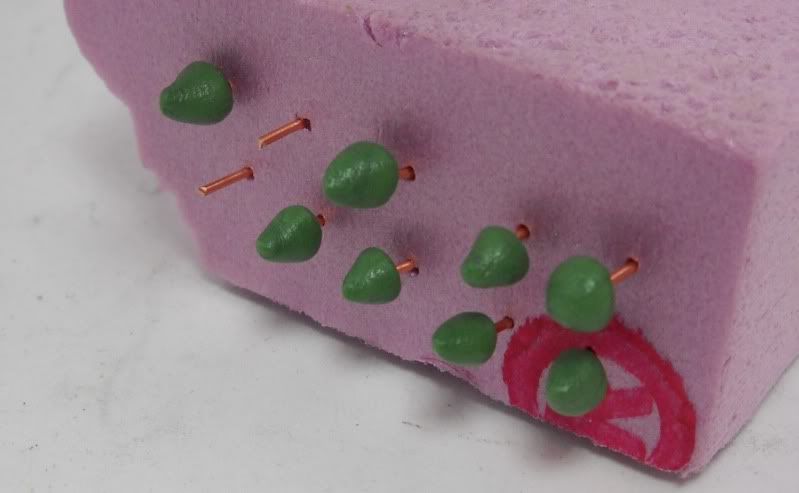
I also had quite a bit of green stuff left over (because I couldn't sculpt two spats fast enough) so before it solidified into a useless lump, I used my spare greenstuff to make a bunch of mushrooms, which will go on the front of the Pump Wagons.


They're rather simple.  Just a ball of GS, roll it a bit into a cone, then squish onto a pin.  When they're solid, pull the mushroom head off, and glue it back onto the pin.  I'll then curl the pins a bit and trim them shorter, and they'll become the stalk of the mushroom.  When painted bright red with white spots, they'll be instantly recognizable!

Lastly, while I was waiting on all of these projects to dry, I got some time in on Aptimus Marketh.  I'll save photos until he's 100% done.

Wednesday, June 8, 2011

Pump Wagon Progress

Finally got some stuff done.  All eight front pieces are assembled, so I need to make more mushrooms for the optional spore attack upgrade.

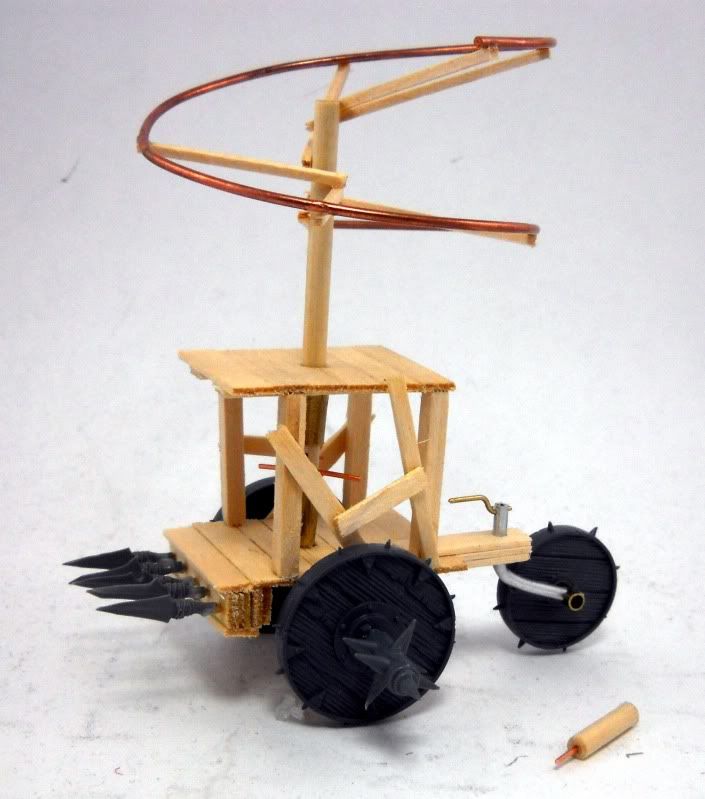
I also trimmed and worked out how the whirlybird flight apparatus will attach to the pump wagon.  Check it out:

Stock model

Pull out the plug

Add whirlybird!


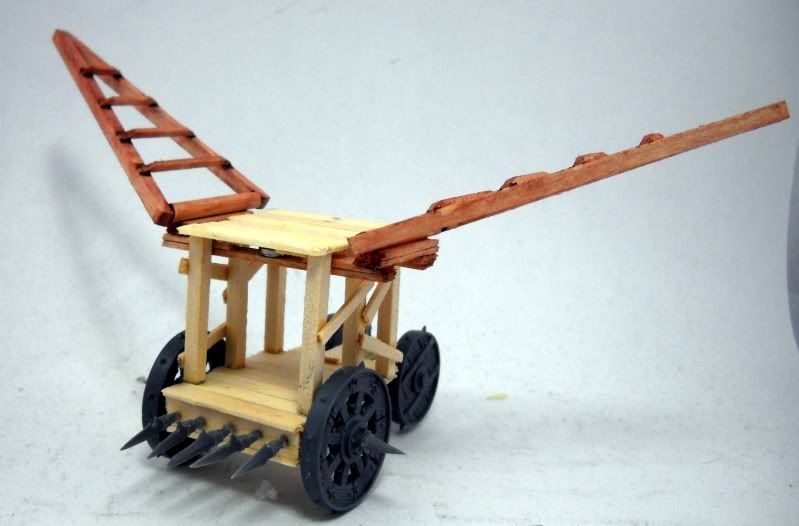
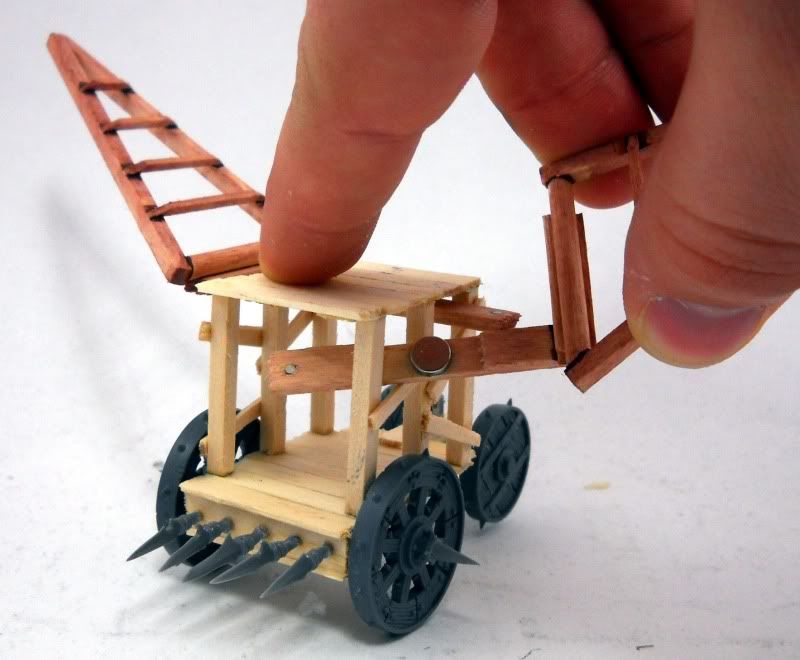
I also had the time to paint both wings of the fixed wing wagon, and took pictures detailing how it attaches and detaches from the wagon.

Wings attached
When the wings are attached, they're held on by magnets.  You simply twist - in the same direction you'd twist off the top to a water bottle or drink.  Lefty loosey.


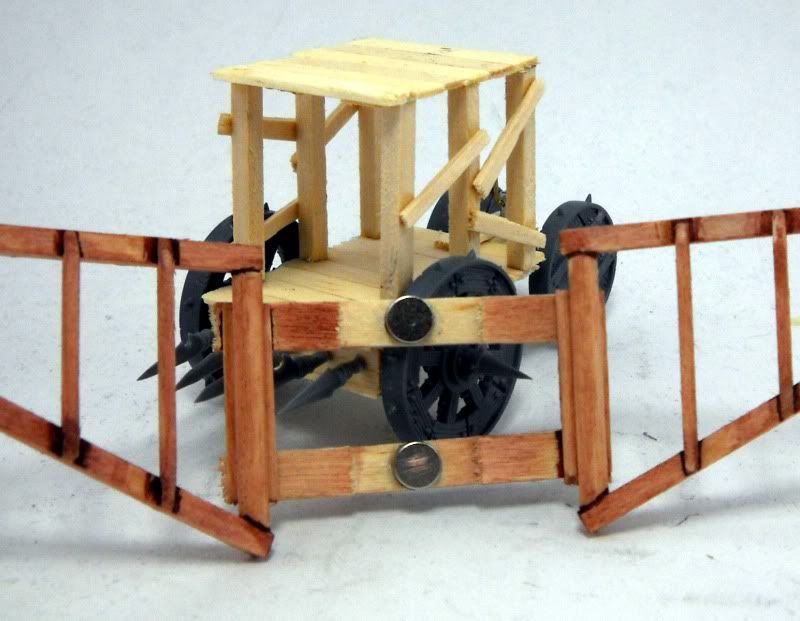
The big magnets hold the wing onto the wagon, and the small magnets help keep the wings aligned.  When the two wings are pulled off, they can be assembled together:


That's all I have for now.