Showing posts with label Cygnar. Show all posts

Monday, August 15, 2011

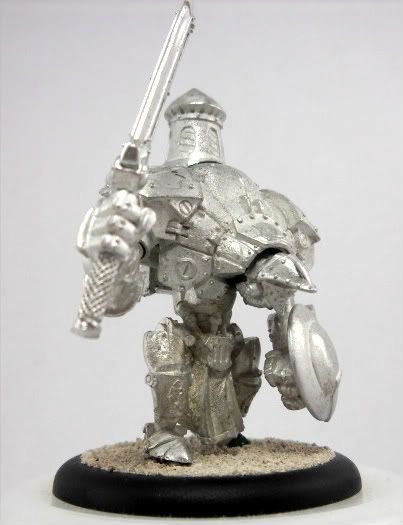
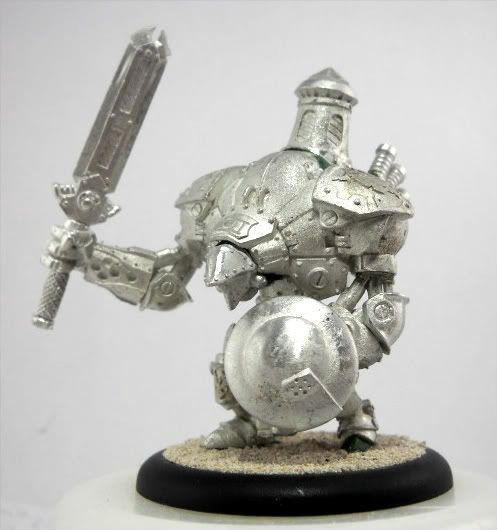
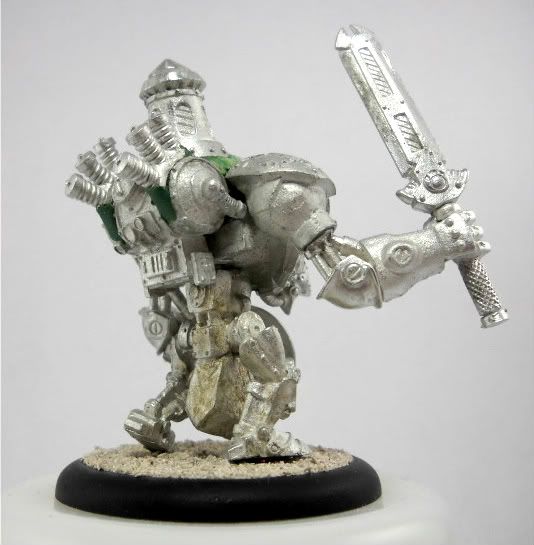
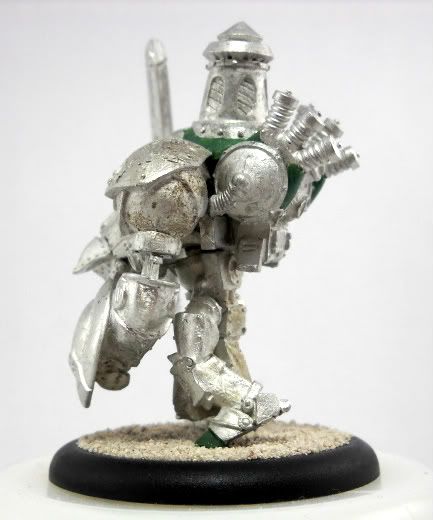
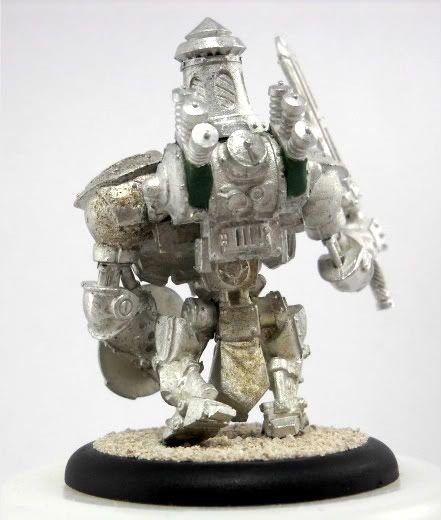
Stormclad Conversion

I hate the Stormclad's banner.  It's huge, obnoxious, and a pain to pack the model with it attached.  It also doesn't really adhere to the rest of the lightning themed models in the faction.

I decided to fix that.


The conversion itself was fairly simple.  I started with the legs (as I always do).  The stock pose is fairly static - both legs are straight, and there's no sense of movement at all.  I sliced the left one off at the hip, cut off the toes and re-assembled the leg angled back some.  The legs were then pinned to the base, and I sculpted new toes (which were really just a very small wedge).

Next, I cut off the smoke stacks, and flattened the nubs they are on.  The large coil is from the Thunderhead kit, as are the small coils (from his hands).  The large coil has a little plate on the back, and is upturned on the opposite edge.  The upturned edge mates with the top of the chassis fairly nicely, and the little plate on the back rests just above the release valve on the boiler.  I simply used a big blob of green stuff to give the coil something to sit on, and help it meld with the rest of the model.

The small coils are from the fists of the Thunderhead, and they simply got glued onto the boiler.  I used green stuff to make them look a little more integrated, rather than just slapped on.

Lastly, the head was pinned on, and the pin was left long enough for me to angle the head a bit.  Another blob of green stuff supports the head, I didn't want to leave it entirely to the pin.


Tuesday, August 9, 2011

Storm Strider: Cleanup & Assembly

Mold Shelf
One of the most common issues miniatures have are mold lines.  These form because the mold wasn't properly sealed when the two halves were joined, or if the mold is overfilled and the material squeezes through the small gaps. This forms "flash" which is fairly easy to scrape off with a hobby knife.

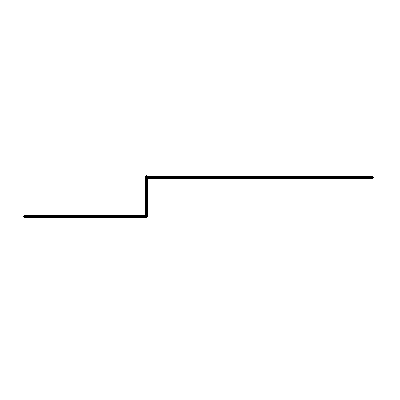
The second way mold lines are formed is when the mold is not properly aligned, what I call "mold shelves" are the result.


First Cut
Rather than just start filing or sanding, I like to smooth the step.  The first step is to cut off that sharp protrusion with my hobby knife.  Remember, this happens along a long line, so I cut the entire ridge

The general idea is to do in a few second what would take several minutes with a file.  The knife should slice right through the ridge, whereas the file has to turn all that spare material into dust.

You don't have to be very pretty right now, this meant to be a time saver.

Smoothing the Hill


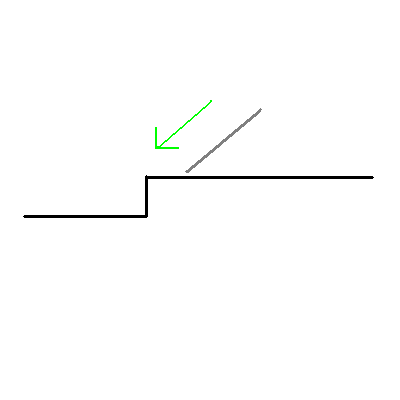
Once that initial cut is done, you should have a hill instead of a shelf.  It's steep enough that it's noticeable, but it doesn't stand out nearly as much as as the shelf did.  The next step is to smooth that hill.  We need a shallower gradient to hide the fact that the part wasn't molded correctly.


More Smoothing


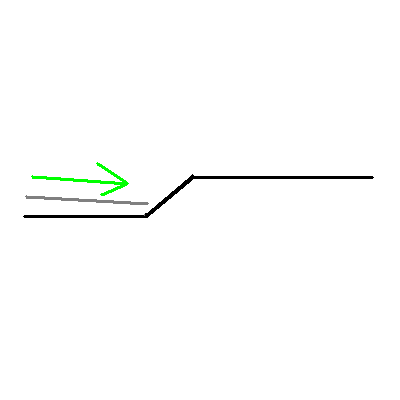
The best way to do this is to come at the hill from the low side and slowly shave off that upper part of the hill.  I usually am just sliding the cutting edge of the blade over the hill repeatedly, shaving off layers until it feels smooth.


Shallow Hill


The result is essentially a gradual hill, that bridges that original height difference.

At this point, we can attack the roughly cut hill with a  file to smooth everything out.  Also, consider emry nail pads from the drug store, in the nail care aisle.  They come in several grits, and at $1 a piece, you can cut them to slender shapes to get into hard areas.


Filing Round parts


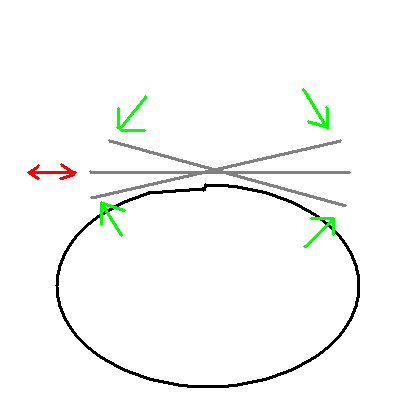
When I use a file, here's what I do.  I typically use an oval or round shaped (profile) file. That way, it contacts the part at only a single point, and won't accidentally flatten something out.

I then tilt the file (grey bar) up and down (green arrows) as I move it back and forth (red arrows).  This keep the file from hitting the same part too long, causing more flat spots.

You can do the same with nail file sticks.


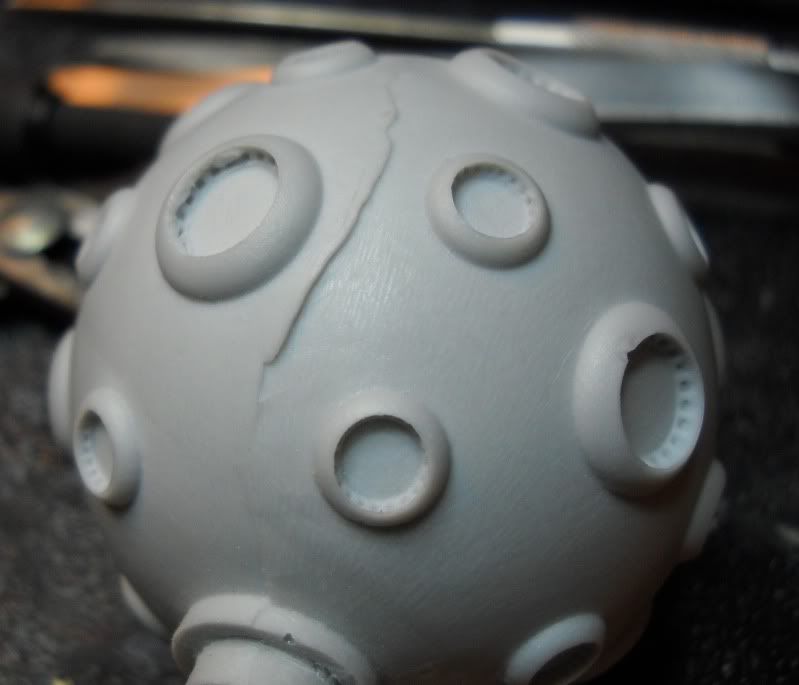
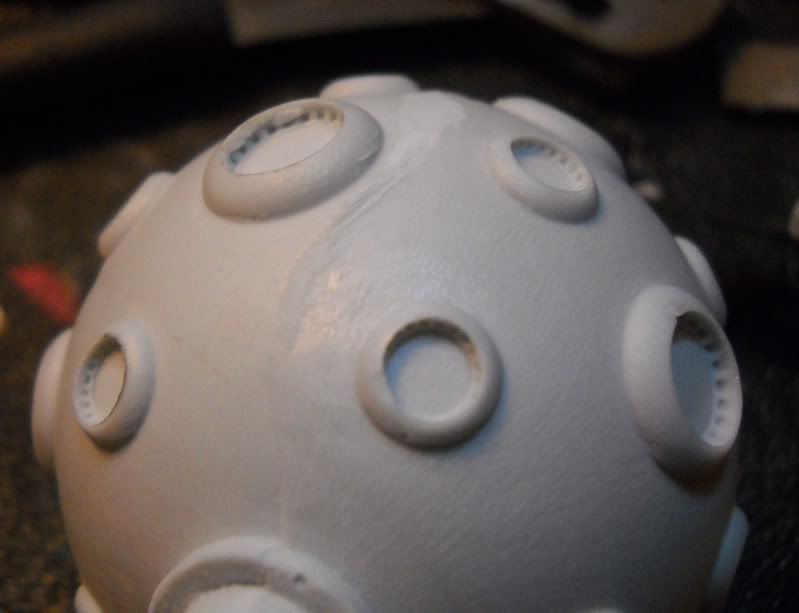
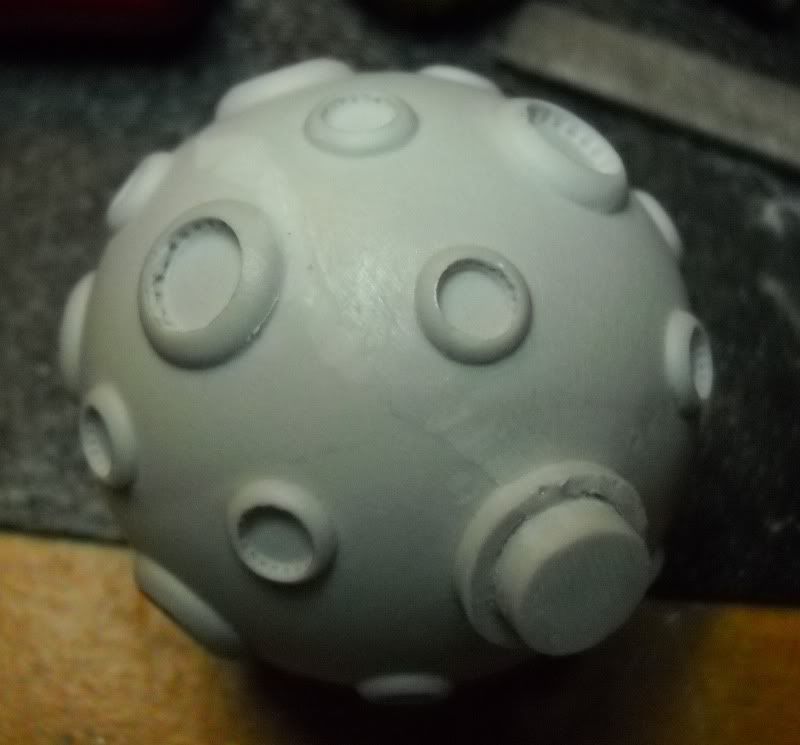
So, now that I've shown how I go about cleaning up stuff, here's some pictures of how the Storm Strider's Lightning Ball cleaned up:


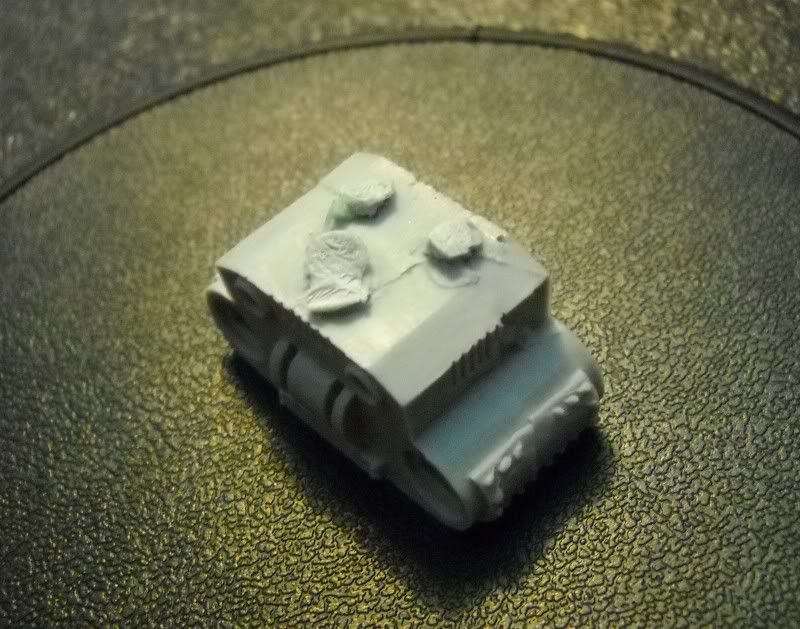
Raw part with a "Mold Shelf" due to mold mis-alignment
Edge cut off the shelf, this is at the hill stage.
The top most part has been shaved to smooth out the hill.

Mold line completely shaved and smoothed with a file.


I then glued on the gantry and pinned the top tower part.  I test fit the ball, and the nodes rubbed on the tower top.  I needed to recess the ball just a hair.  So, I used my hobby knife and cut off that flat ring on the bottom post.  I then cut off half the post, and it sits about 2-3 mm lower now, and nicely clears the top tower.


Here's a picture of the (almost) completely assembled Storm Strider.  I haven't glued down the ball yet, I'm going to leave it loose until I paint it.


I also painted the little raised arc markers on the base in bright blue, just so they're visible while I use the model for the time being until I get it painted.

ZAP!!     ZORTCH!!  

Sunday, August 7, 2011

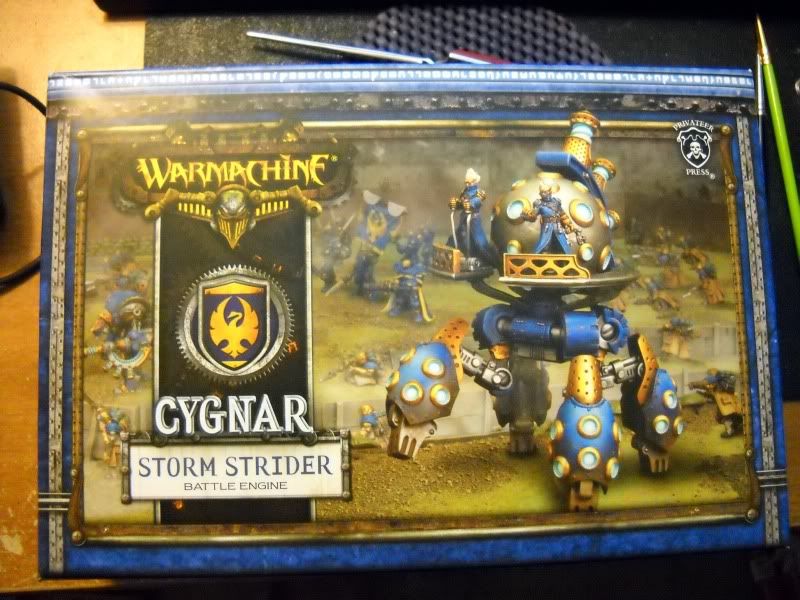
Storm Strider Unboxing (Hi-Res)

The Storm Strider is a killer model.  Hands down, I love a big, walking lightning generator any day of the week.

The kit is roughly 60% resin, 40% metal.  Anything with super high detail was done with resin, and anything fragile was done with metal.  Good stuff.

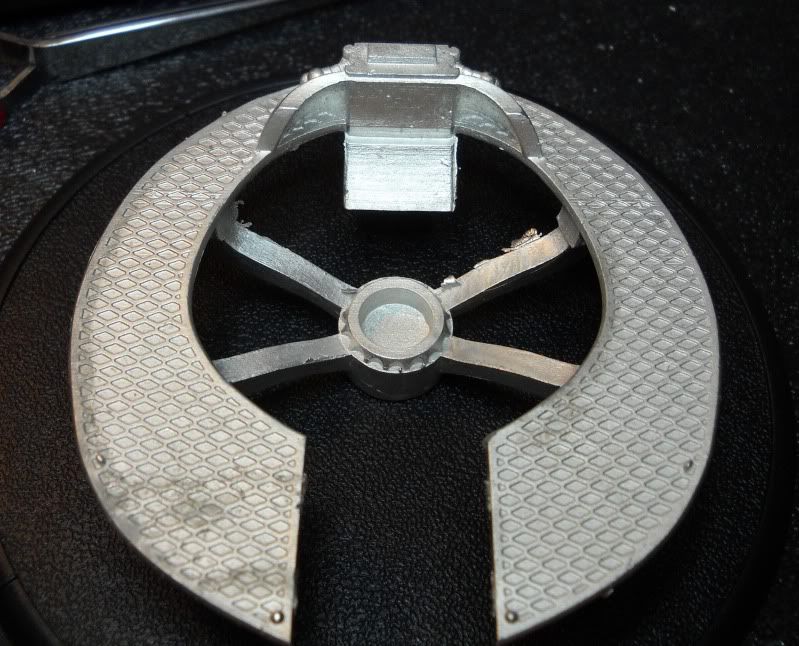
I'll start at the bottom and work my way up.  So, the first thing is the base (same size as a CD) and the lower leg parts.


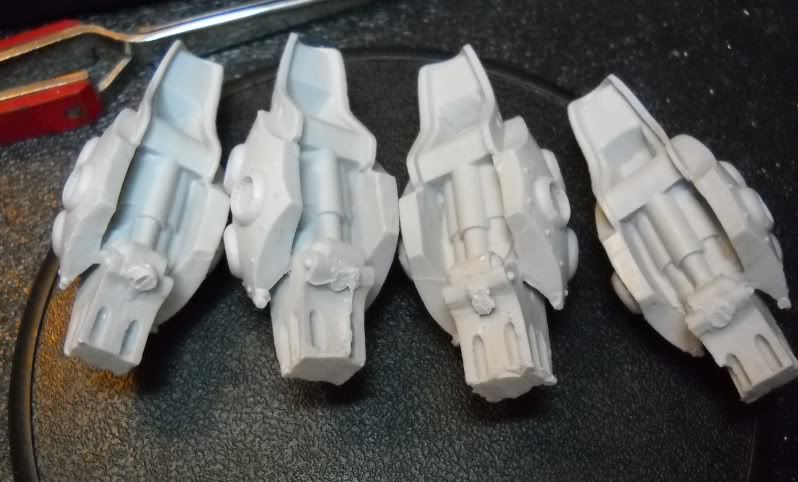
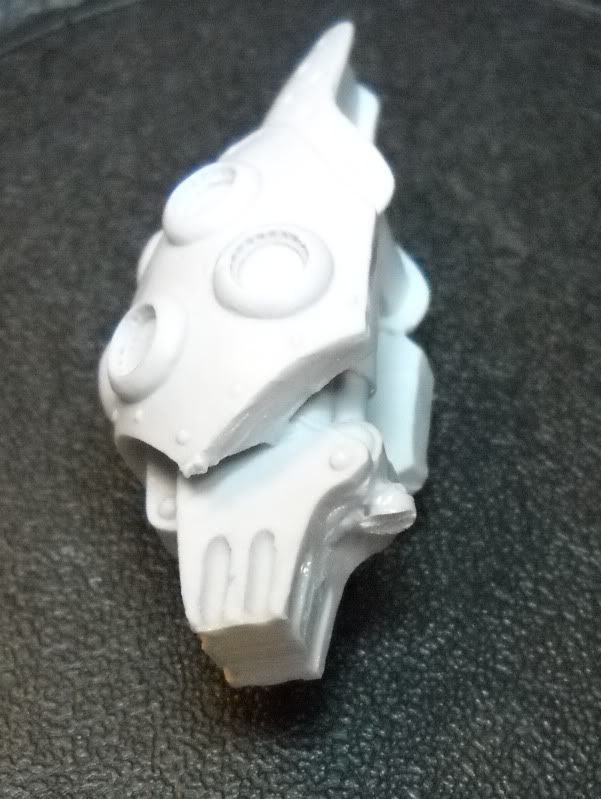
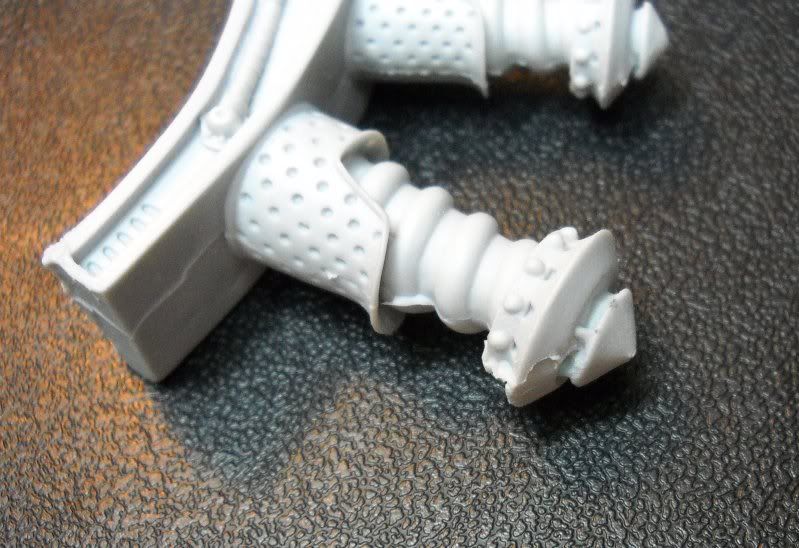
The "outside" of each looks great.  There's a touch of flash in the lowermost corners of the "eggshell" part, but overall these are beautiful pieces.  The tip of the feet will also need some work, but that could very well be hidden by the basing anyway.

Flipping them over shows us where the resin was poured.  There's a nasty chunk of the fill tube left on each foot:


Luckily, that can be clipped off, and the area filed smooth.  Nothing tragic or irreparable, just time and oh-so-lovely resin dust.

Moving up, we get to the metal upper leg portions.  These are pretty similar, however you'll notice that two are open just a bit more than the other two.

The two that are closed most are the ones that correlate to the corner with the raised leg, and the corner opposite.  Cool - I don't have to remember to put the right leg onto the right corner.  So long as they bend down and then back up and point away from the hips, I'm golden!

They have very little flash on them - nothing more than you would see on any other metal PP product:


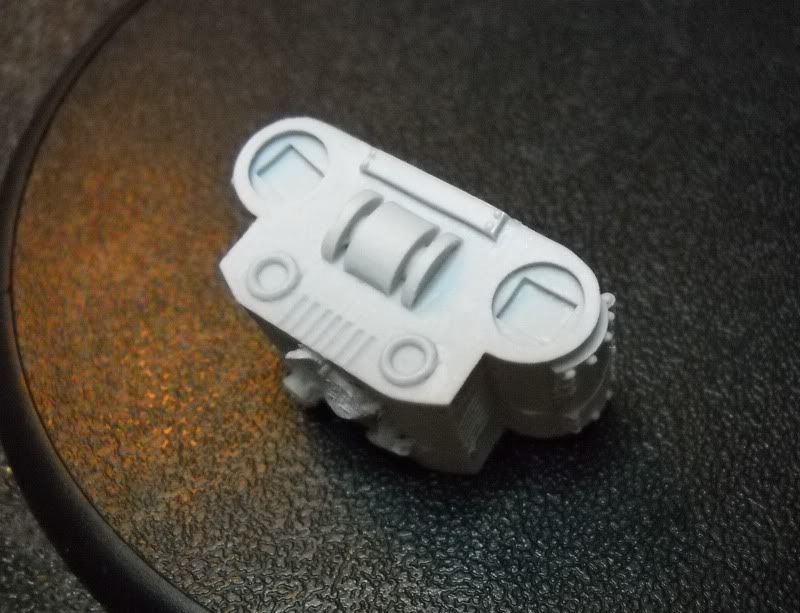
The leg bone is connected to the... hip bone!  The hips here is really just a box with several keyed holes for each leg, as well as a huge one on the top for the gantry.  This part had three pour tubes, and they're all on the bottom.  Awesome!  I can clip them, file them and forget about them.


So, that's all the parts involved in the lower half.  The resin pieces need the most work, but it's nothing that can't be fixed.  So far so good!

The Gantry is the next piece, and it's pretty solid.  Cast as one piece, mine was a tad warped, but a little pressure in the right places and it lines up like a champ.  The Gantry itself is very thick - it shouldn't have any problem standing the test of time.


A little flash here and there, but a single piece this large molded as one piece is bound to have some flash somewhere.

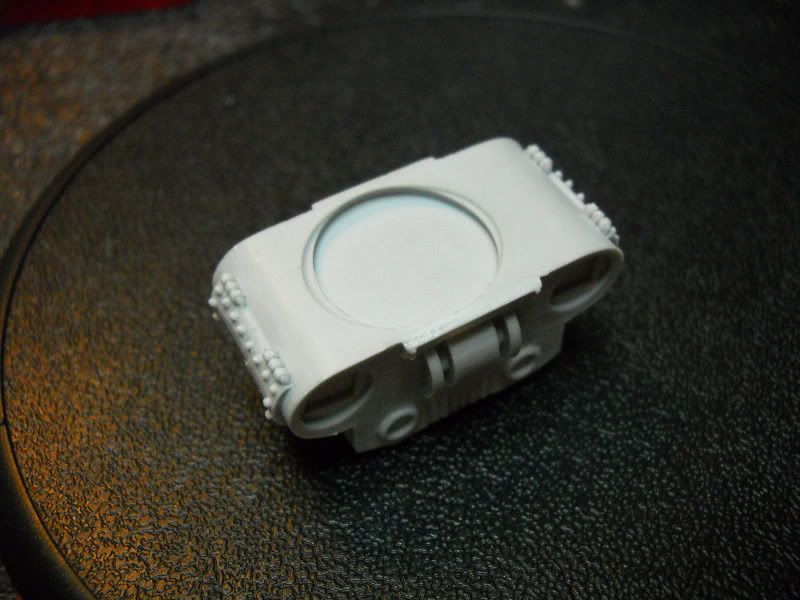
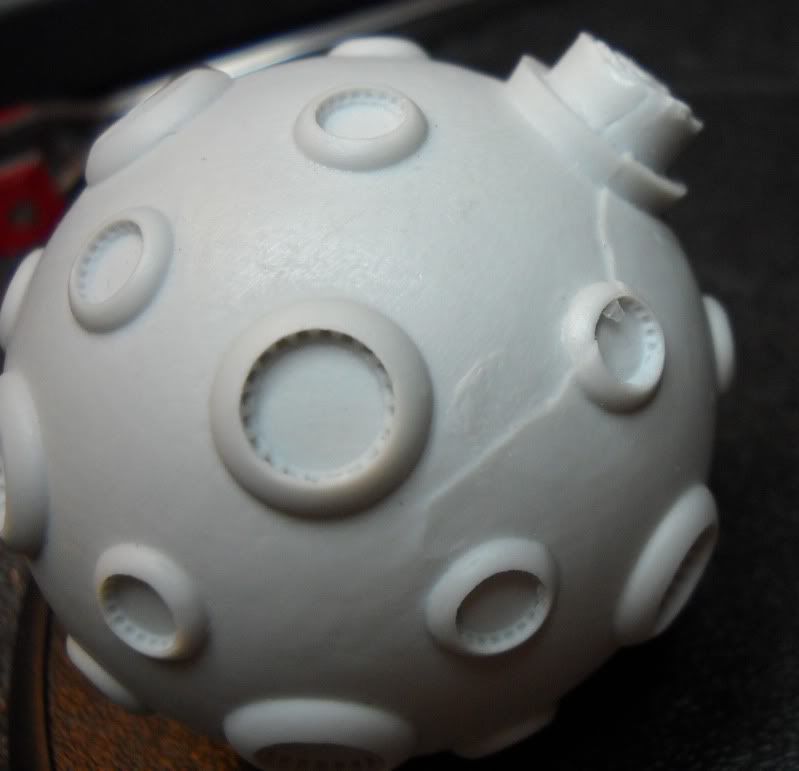
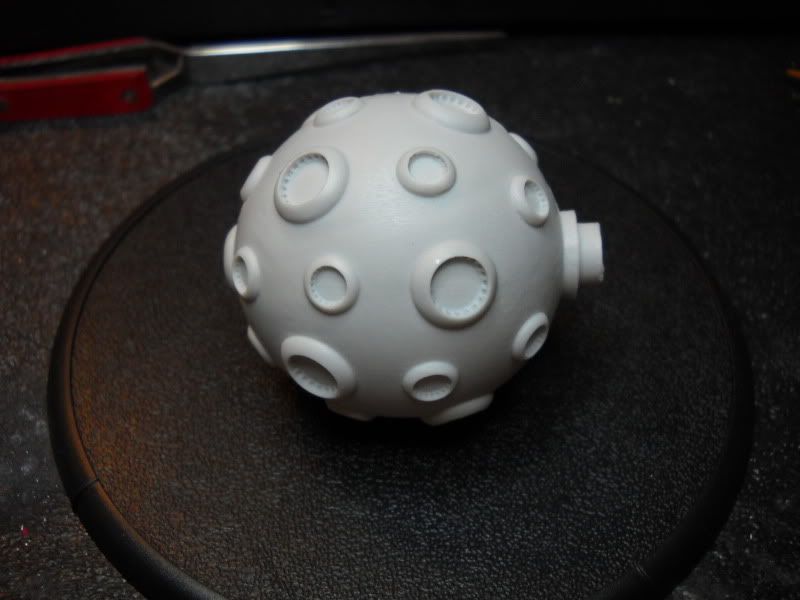
Next, we have the generator ball.  It's a decent size, it's just about the dame size as a large base.  Mine has a pair of mold lines, one of which goes through one of the little nodes.  However, the mold lines are on the bottom half of the sphere, so I can just bury that node in the back by the gantry and buttress, and no one will see it!  Here's some detailed pictures:


The next piece is the "buttress" or that things that wraps over the ball and has coils on it.

As you can see, mine has a big chunk attached where the mold pour was.  Luckily, this area is where the buttress connects to the gantry, so all I have to do is clean it up enough to get a clean join.  Cool!

The Coils themselves have a bit of flash and bits that need to be cleared up, but overall, this is about as clean as the legs, maybe just a tad worse.


The last parts are the crew and their hand railings.  Unlike the Death Star, the Storm Strider has hand railings so the driver and gunner can't fall.  These look great and don't appear to need any clean up except for the rare bit of flash.  The control rods on the driver are a bit delicate though, so I may see about swapping them out for wire if they aren't too thin.


So, overall, 20 pieces, and they all look pretty damn good.  The resin pieces need some work, but resin always needs a bit more work than plastic or metal.  Someone has to be the problem child.  Honestly, I'd much rather have to spend a bit of time working on the model than sacrifice the details.  The resin pieces are all super highly detailed and look fantastic.

The next Storm Strider post will cover cleanup, specifically working on the ball.  Round surfaces scare people, as does working on resin, so I'll go over a few of the techniques I use to clean up difficult areas.

Friday, August 5, 2011

Resistance

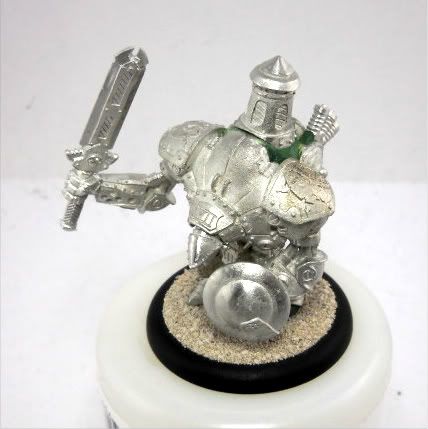
... is futile.


A detailed unboxing and look at the parts, soon.  I'm also considering not building a trench for the base.  *gasp*

Lastly, I'll have Hexeris & Razorwurm WIP pictures up before the weekend is out.

The swing?  I am back into it.

Tuesday, July 19, 2011

A change of pace

As I mentioned in my last post, I wanted a change of pace from the red and bronze of my Skorne.

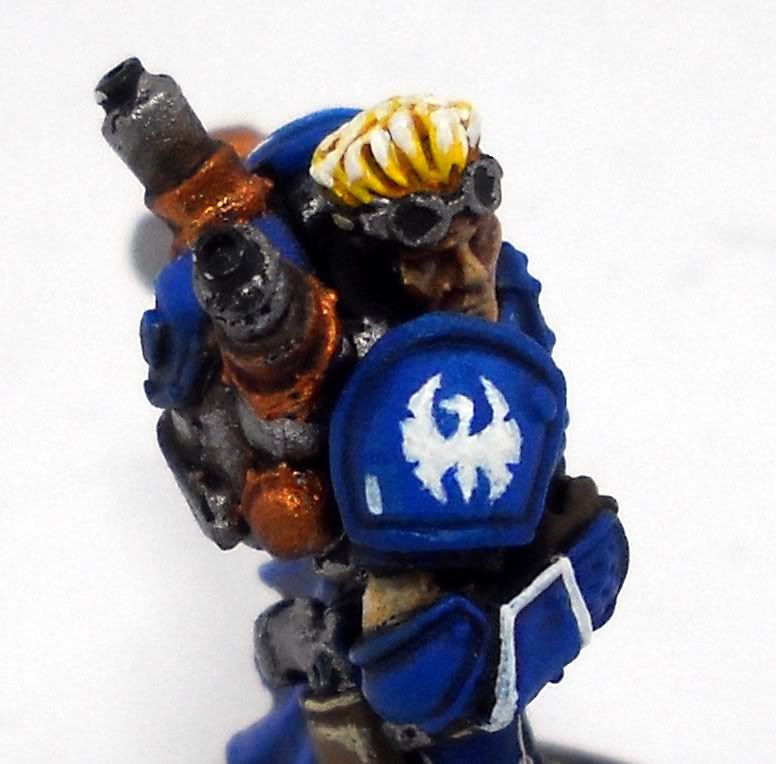
So, I picked my half finished Journeyman Warcaster off my side table and spent a bit of time on him last night.  I painted his base (Scorched Brown -> Graveyard Earth -> Bleached Bone) and did all his under armor (khaki pants, leather pistol holster, gloves, shirt, etc).  I then tried to figure out where to put my white.  I'm using white as my primary accent color for my Cygnar, and I want it played pretty heavy on my characters.  Luckily, most of Jr.'s armor has rims, so those were picked out in white.
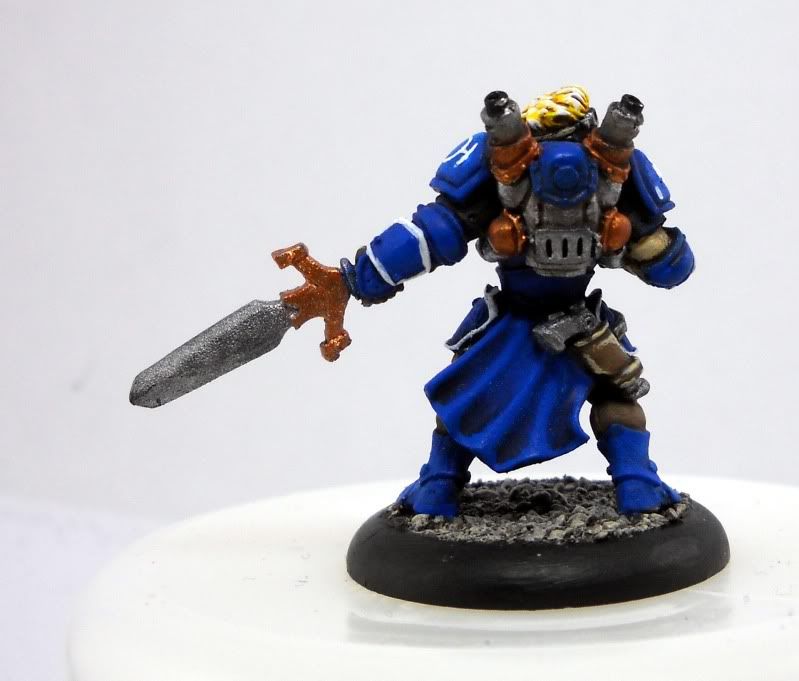
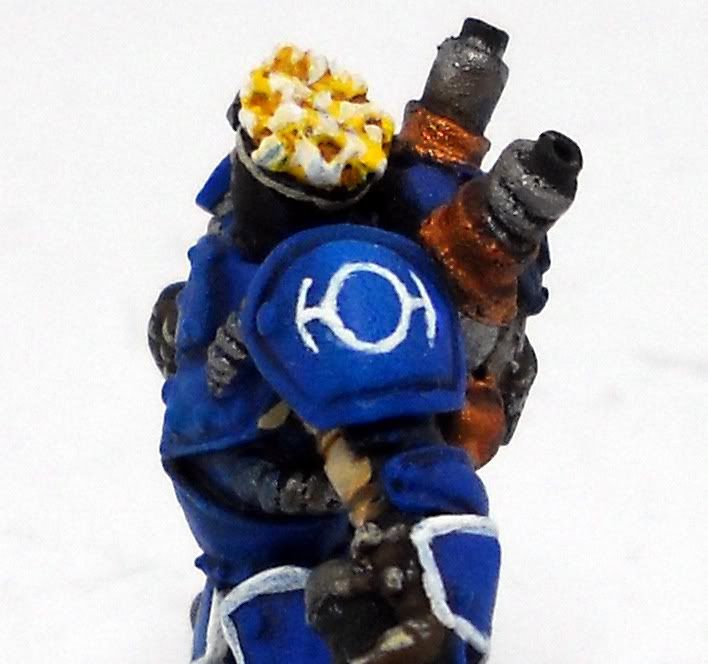

I thought about doing the rims on his shoulderpads, but I wasn't sure if it's look too Space Marine or not.  Instead, I went all out and did some freehand painting on his shoulderpads.  For what is essentially my first attempt at freehand, I'm very pleased with the results.

Let me know what you think.


The TIE Fighter looking symbol is seen on the Journeyman Warcaster's art, and I believe is a symbol indicating that he is in the warcaster academy.  If you are a fluff person and can give me more details on the symbol and it's meaning, I'd love to hear about it so I'm knowledgeable when asked..

The Swan is obvious, and the little hash mark was primarily to help fill out the extra space on his armor, but it could be a sub-ranking.  He's only allowed one 'jack?  He has one kill under his belt?  Not sure.

To Do:
 - Static Grass
 - Base markings
 - More defined corners on the armor.  Likely a 50/50 Enchanted Blue and Ice Blue mixture to pick out edges to define the armor plates better
 - Lighten the face a bit - it looks too dark to me.
 - Backpack exhaust tips need some attention

Saturday, May 28, 2011

New Lightbox Lighting

So, as you may have noticed, my pictures have been off lately.  I wasn't happy with the lighting in my lightbox.  The bulbs were too warm in color, casting orangish light, which messes up the colors on everything.

A trip to Lowe's fixed that.  I picked up a pack of four daylight halogen bulbs, and three small metal reflector housings.  This way, I can put lights into each side, and through the top of the lightbox.

Here's how my battleboxes look under the new lighting:

Rawr!  Om nom nom!  *hiccup*
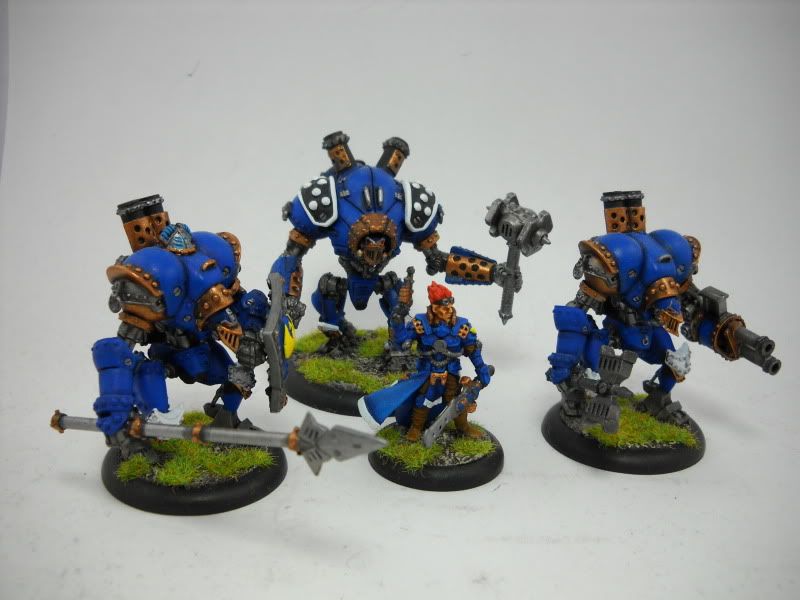
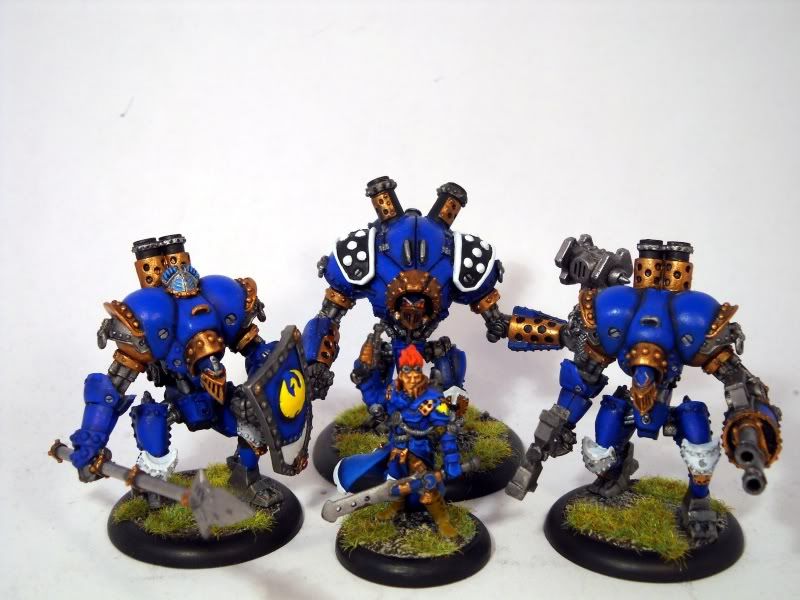
Go, go boys in blue!
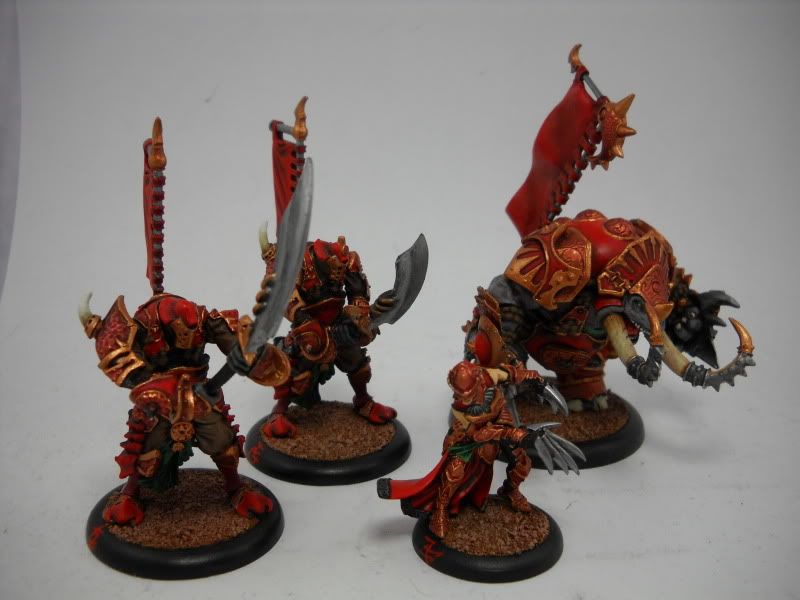
Skornergy at its finest!

Friday, April 15, 2011

Cygnar Battlebox

Nothing too special.  Table top quality, but at least they're done.

Tuesday, April 5, 2011

Progress!

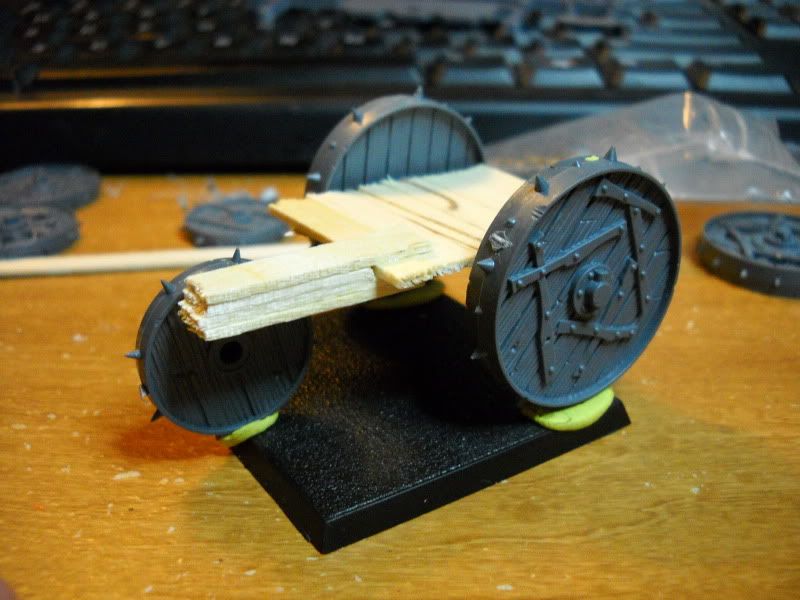
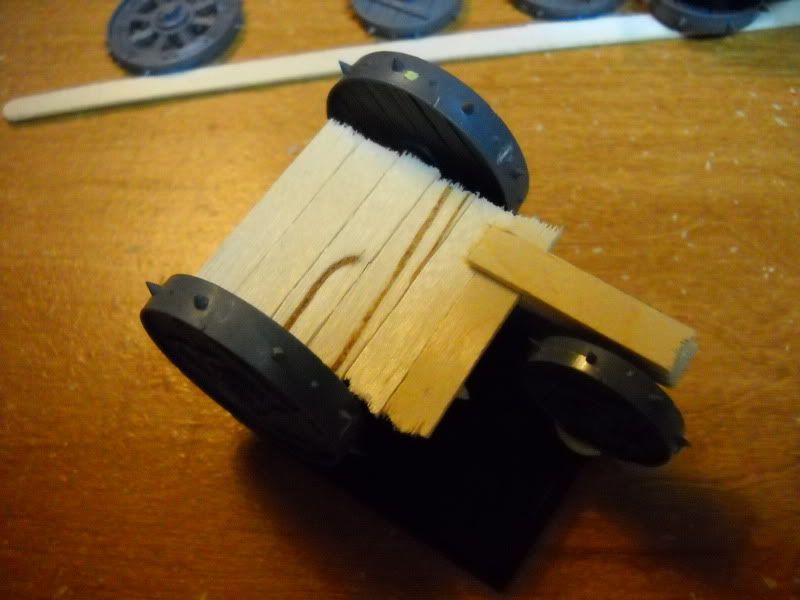
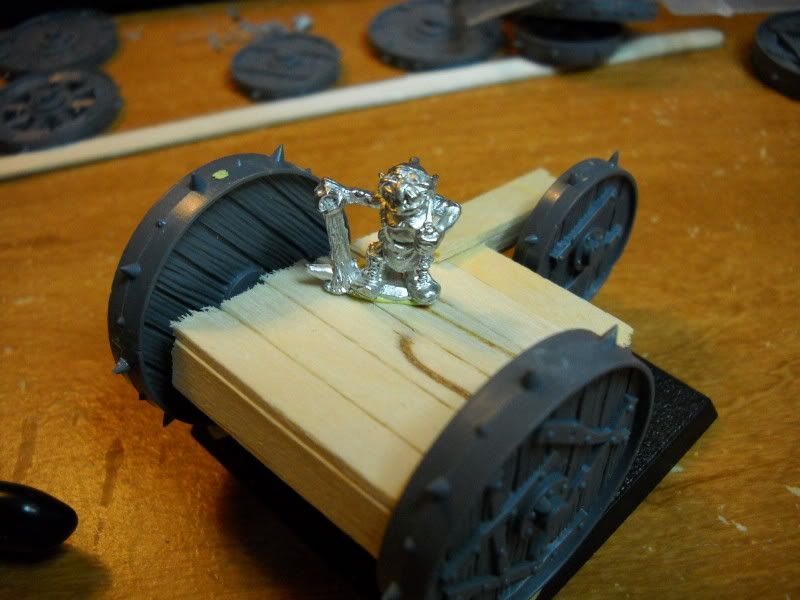
... on the Snotling Pump Wagons!  I finally got all my parts in (except for the snotlings themselves).  Between the 50mm bases, Skaven Screaming Bell wheels and Starbucks Stirring sticks, here's what I came up with after about two hours of fiddling around.


The snotling in the last picture was provided by the client along with lots of extra spiky bits and stuffs.

Right now it almost feels too big.  The front wheels are almost twice the size of a snotling.  However, that fits right into the comical nature of the orcs and goblins.

Tell me what you think about it!  For reference, the studio model can be viewed here.

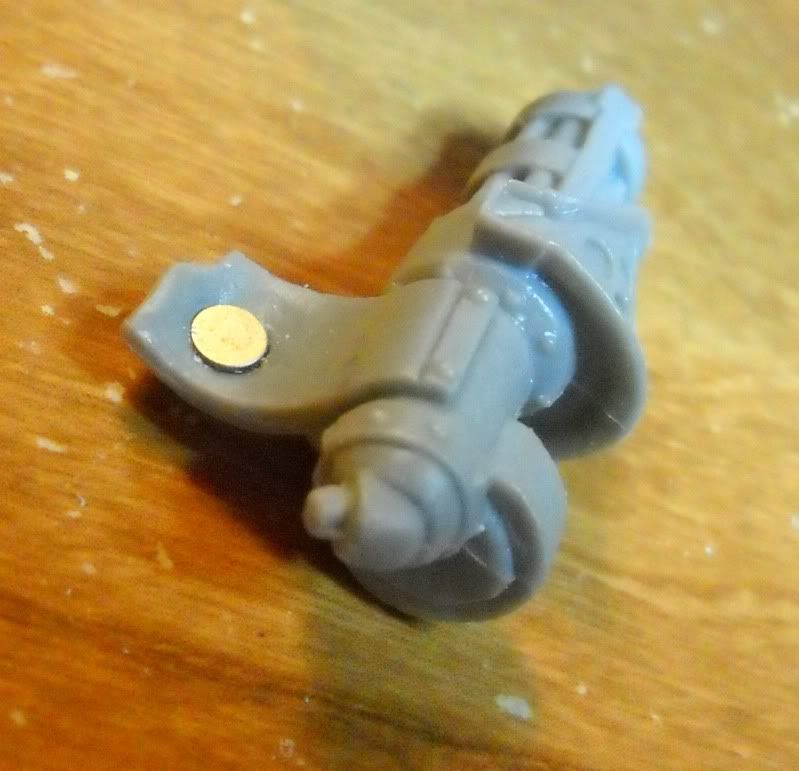
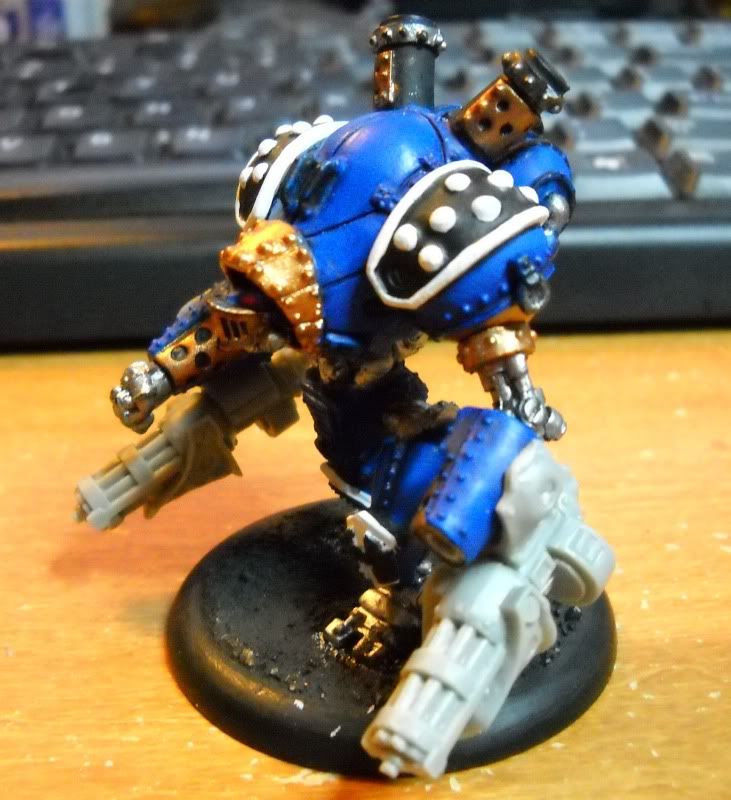
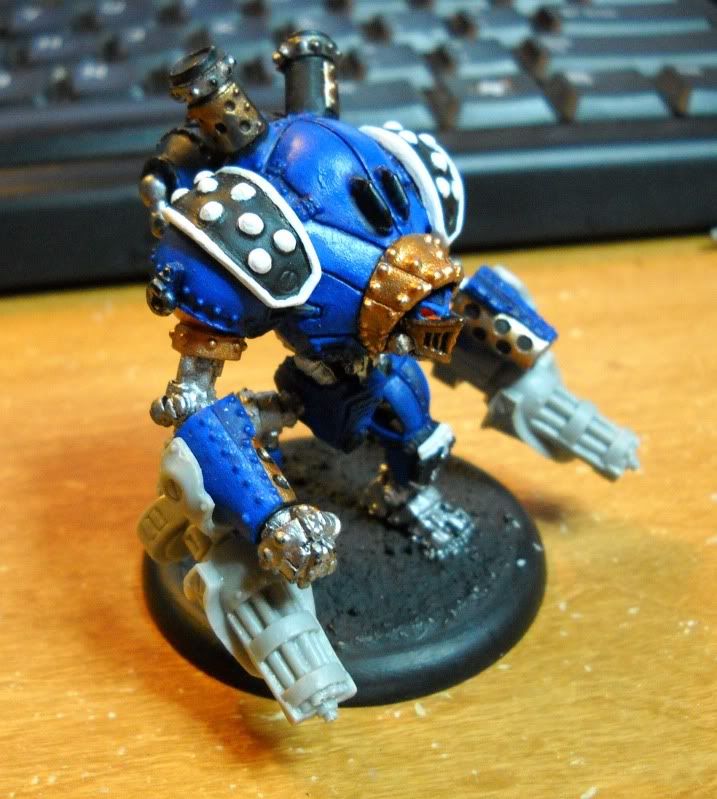
When ordering the bits for the Pump Wagons, I stumbled across a pair of Cyclone Chain Guns for my magnetized Cygnar Heavy ''jack.  Some thin magnets later, and viola:


You may notice that the left hand is missing.  Since this model originally came from the battle Box, the only right fist I have is for the Ironclad and has a giant mace in it.  Thus starts the quest to find the bit!  Bartertown.com, here I come!