Showing posts with label Genteel Gatorfolk. Show all posts

Wednesday, August 17, 2011

Ironback Scoffer

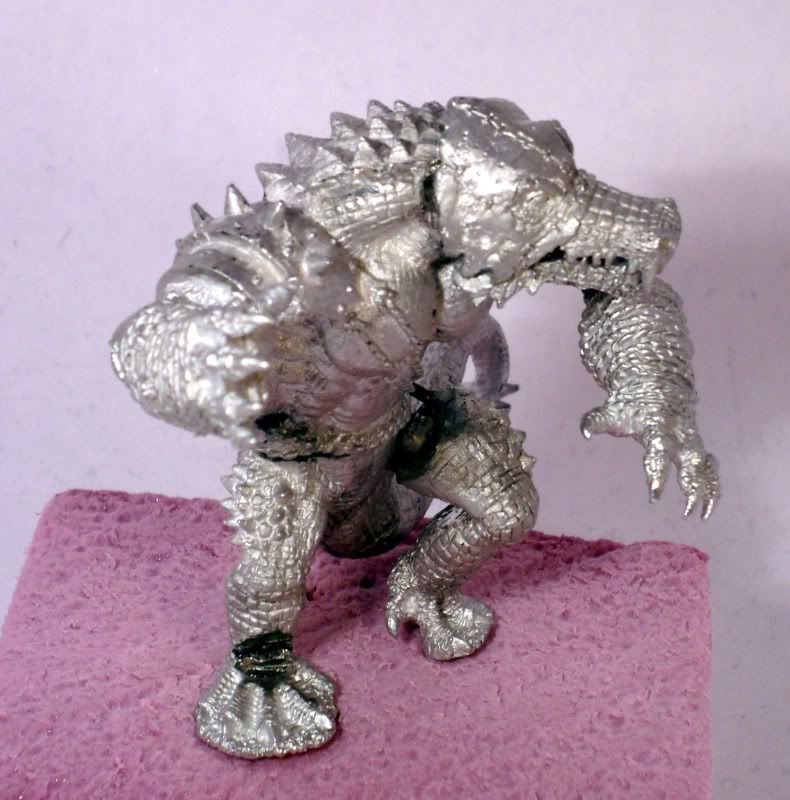
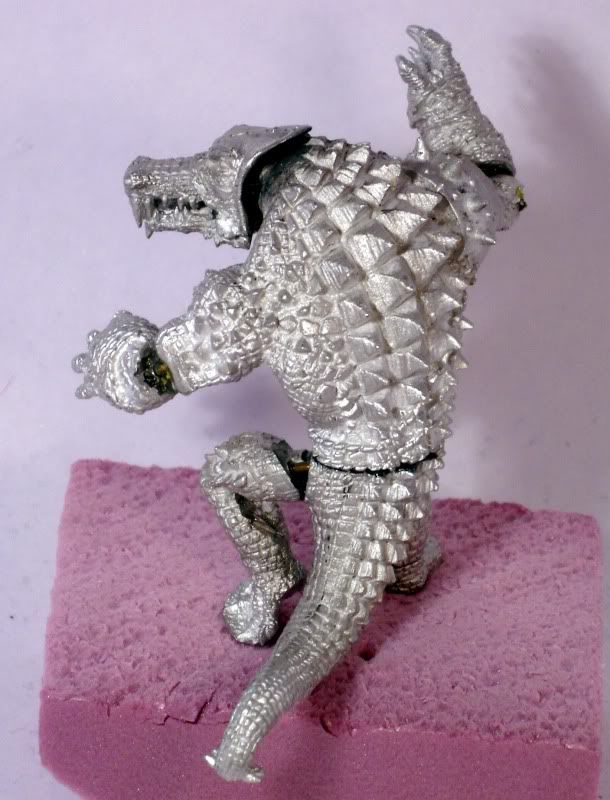
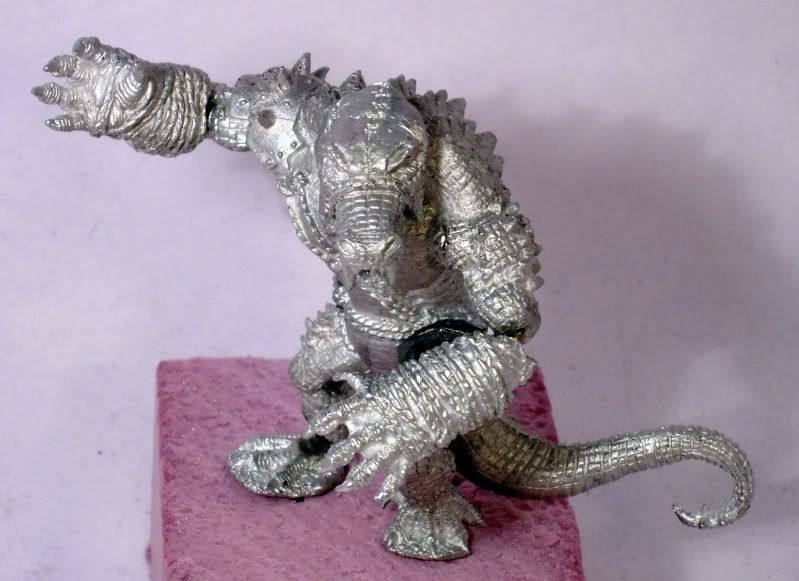
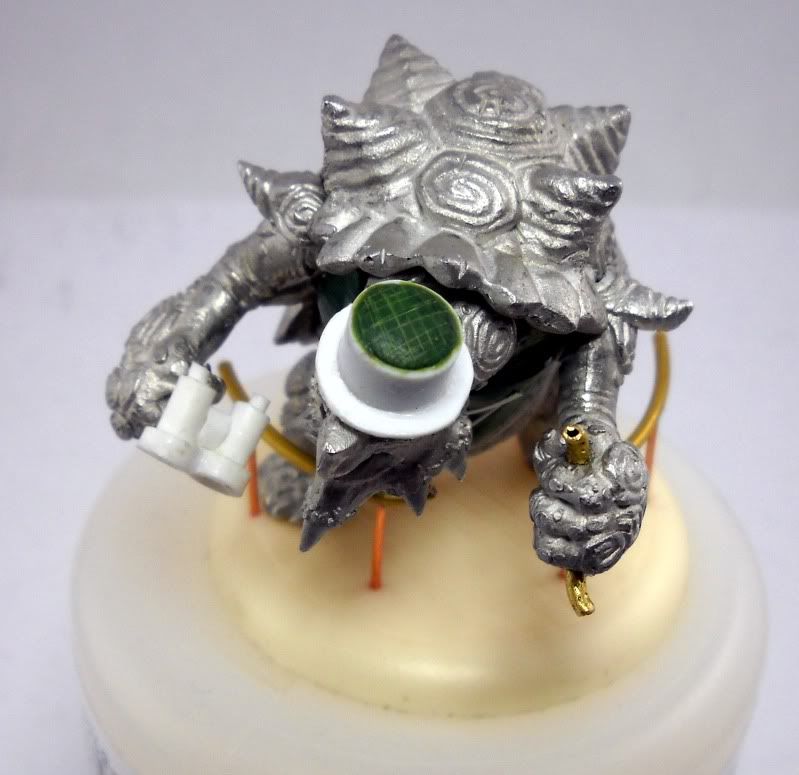
Following along with the Blacktie Wrastler in the Collective of Genteel Gatorfolk, Faultie has worked up this wonderful character:

Those who cannot do become critics. In the high-society world of the gatorgents, jealous of the acting and combat capacity of the Blackties, the Ironhide spews vitriolic criticism at his enemies, with the capacity to physically kill. Despite his foul demeanor, he is a true patron of the arts, and is never seen without his Playbill and opera glasses.

Faultie has done all mod work to the model itself, however I was charged with manifesting his anger with an Opera Box style railing, which he has ripped apart in his fury.
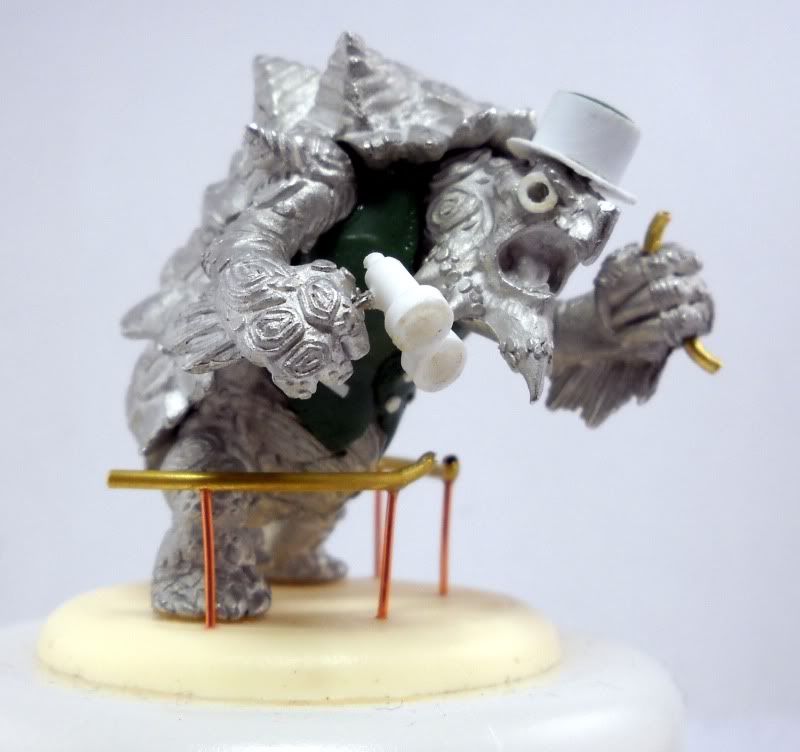
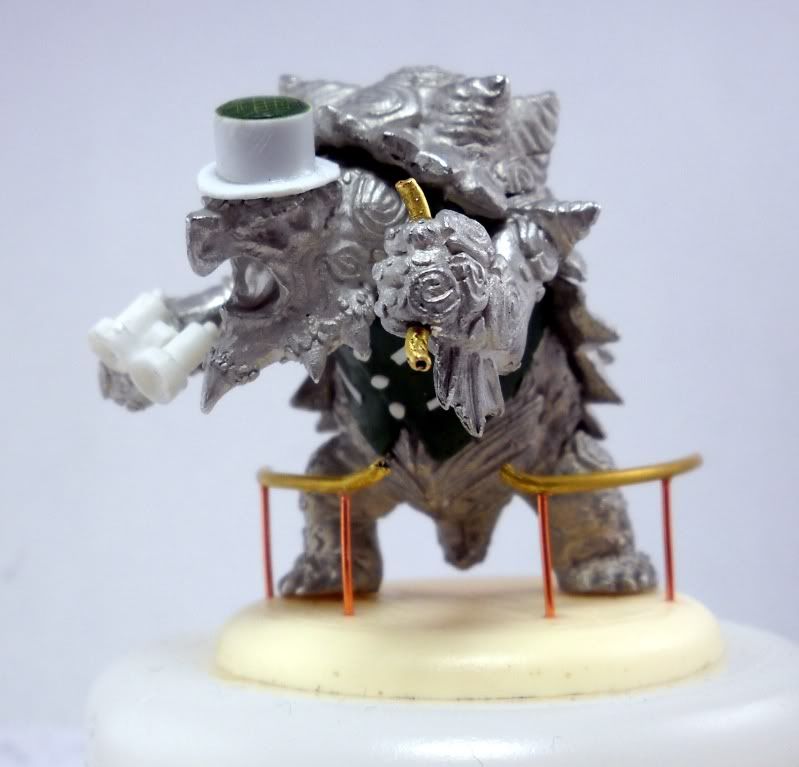

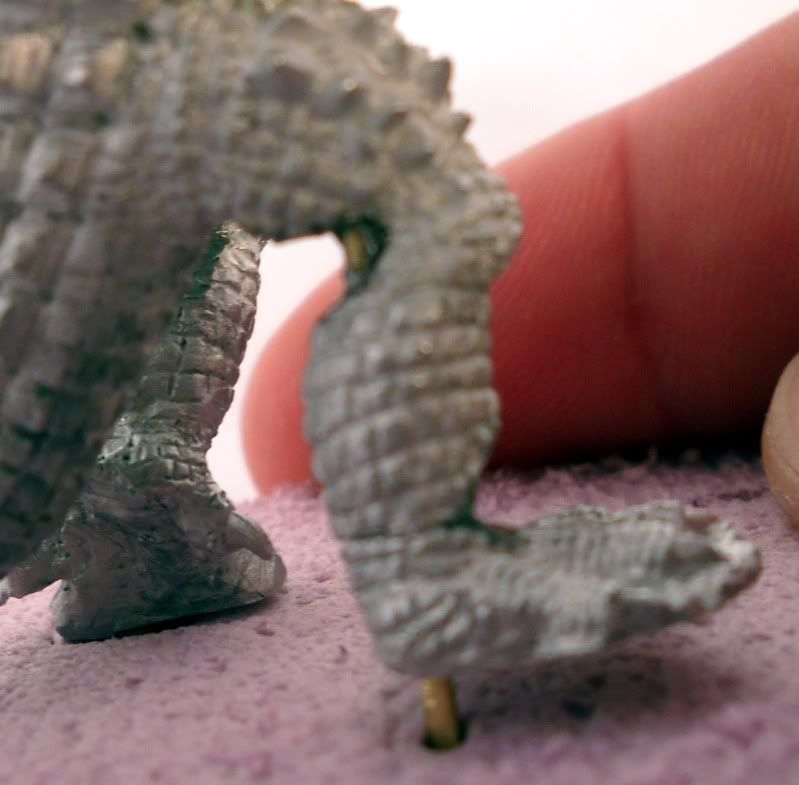
The railing is made from 1/8" (3/64"?) brass tube and 22 GA copper wire.  I bent the tube around my Master's Brush Cleaner top, which has the same diameter as a can of soda.  I then used my fingers and carefully tightened the curve, so that it roughly conformed to the curve of the base.  I then set it back on the base, towards the model's feet, to give the impression that he is leaning over the railing yelling at whomever is unlucky enough to warrant his attention.

I marked four spots on the tube, and drilled four holes.  I then cut four pieces of copper wire and glued them into the holes.  Four holes were drilled into the resin decking base, and the railing glued into place.


At this point, I pulled the model off the base (since Faultie will likely paint them separately) and used my jeweler's saw to cut out a section roughly the same size as the model's fist.  I used a super small pair of channel-lock pliers to warp the tube so it looked like it has been bent prior to being ripped apart.

A pair of pins went into the model's fist, so that the tube bits would have something to hold on to.  I then too the chunk of tube I had removed, beat up the ends and then chopped off the bent up ends.  After cleaning the hole in the tube with a drill bit (so it would fit over the pins) the two tube bits were glued onto each side of the fist, giving the illusion that the broken part of the railing is crushed in his grip.
I think Faultie's modifications came out splendidly, and I'm very happy I was able to contribute something to this awesome, unique model.  Look for it completely painted in the next Clash of the Titans entry on Lost Hemisphere!

Friday, June 10, 2011

Spats and Snotlings

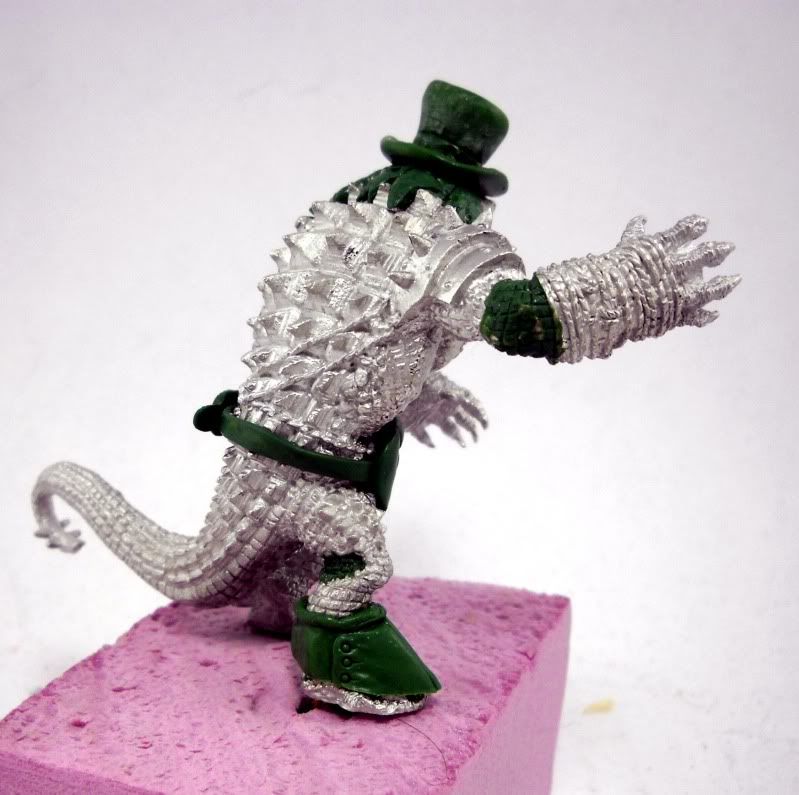
Yay for some dedicated modelry time!  I primed some snotlings and an Eldar Guardian white last night.  While they were drying, I sculpted a spat, which is a form of ornamental footwear, usually worn over the shoe by military (or marching bands).


EDIT:  I got the other spat sculpted.  Since he's up on his tippy toes, I put a fold in the front, much like what happens with shoes.


Once I had the basic shape, I used a hobby knife down the middle to represent the seam.  I used some spare brass tubing to put the three buttons on, and then used the hobby knife again to make the little split next to each button (ie the hole the button has to go through).  I'm not 100% sure how I like the tuft or roll at the top. It just sort of formed as I was working, and I went with it.  I can always cut it off.

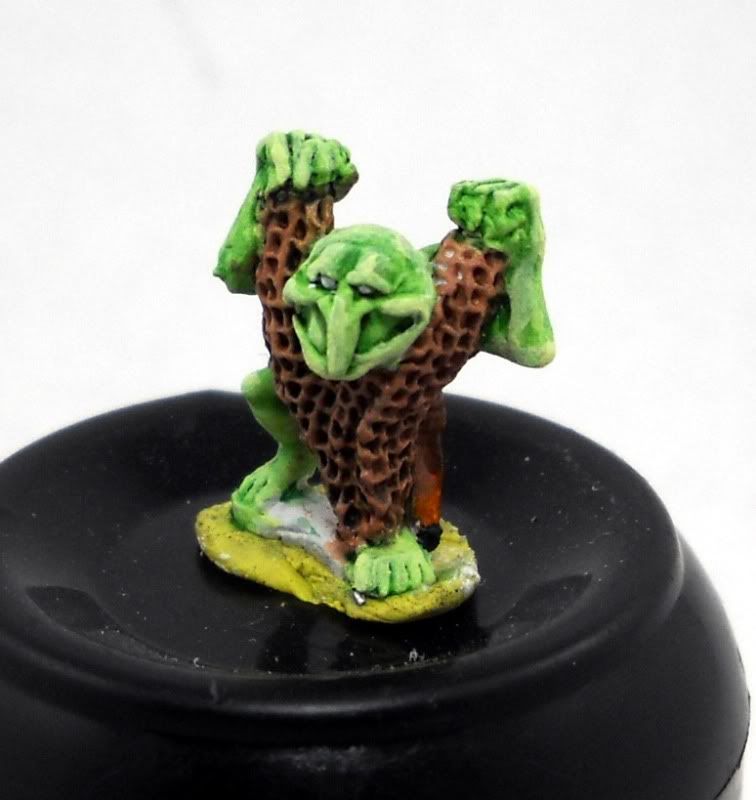
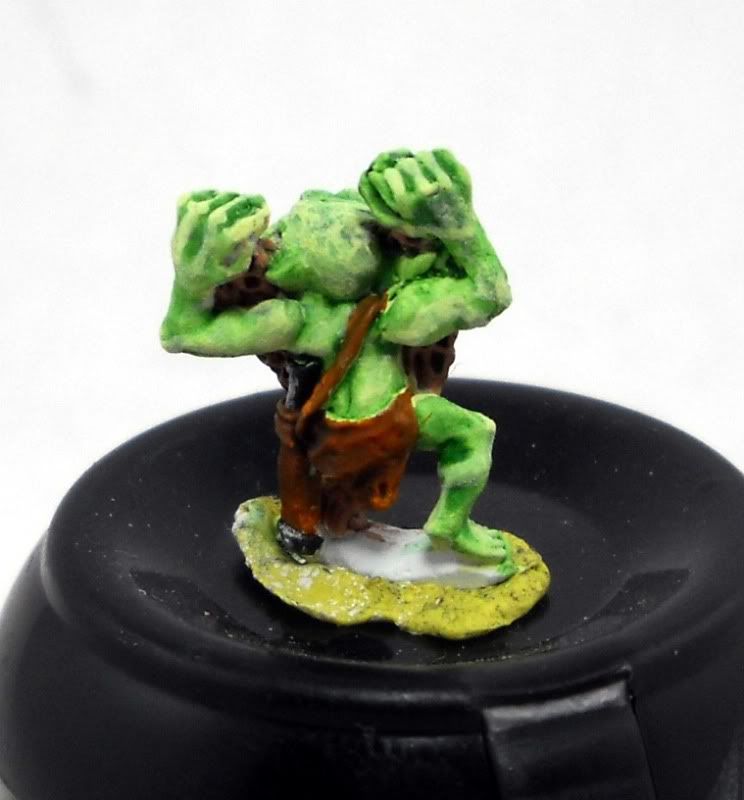
As far as snotlings go, this little guy was done in less than half an hour.  A very light green for the skin, a (human) flesh color for the net, and leather fro the leather.  The net and leather got Devlan Mud, the skin got ab Thrakka Green wash.  I then picked out the highlights on the skin with the original shade, and drybrushed the net a bit.


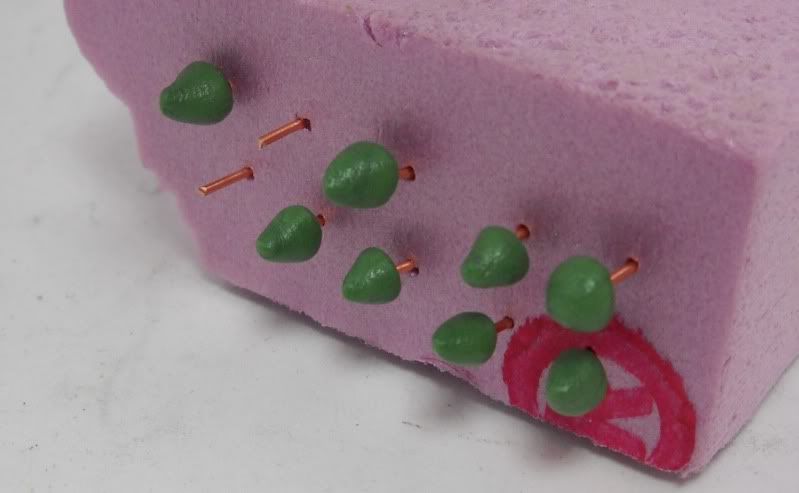
I also had quite a bit of green stuff left over (because I couldn't sculpt two spats fast enough) so before it solidified into a useless lump, I used my spare greenstuff to make a bunch of mushrooms, which will go on the front of the Pump Wagons.


They're rather simple.  Just a ball of GS, roll it a bit into a cone, then squish onto a pin.  When they're solid, pull the mushroom head off, and glue it back onto the pin.  I'll then curl the pins a bit and trim them shorter, and they'll become the stalk of the mushroom.  When painted bright red with white spots, they'll be instantly recognizable!

Lastly, while I was waiting on all of these projects to dry, I got some time in on Aptimus Marketh.  I'll save photos until he's 100% done.

Sunday, May 15, 2011

Top Hats and Titans

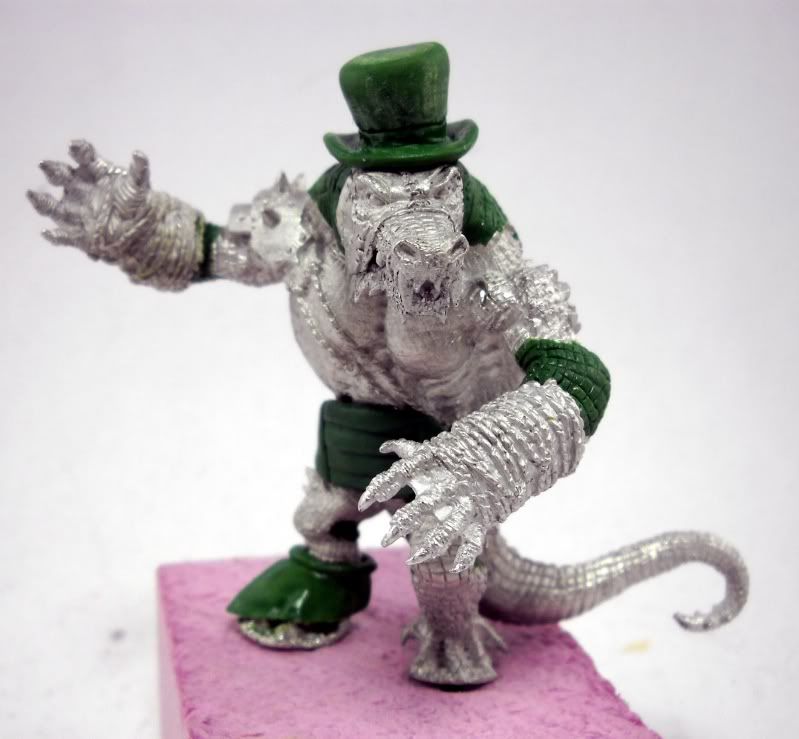
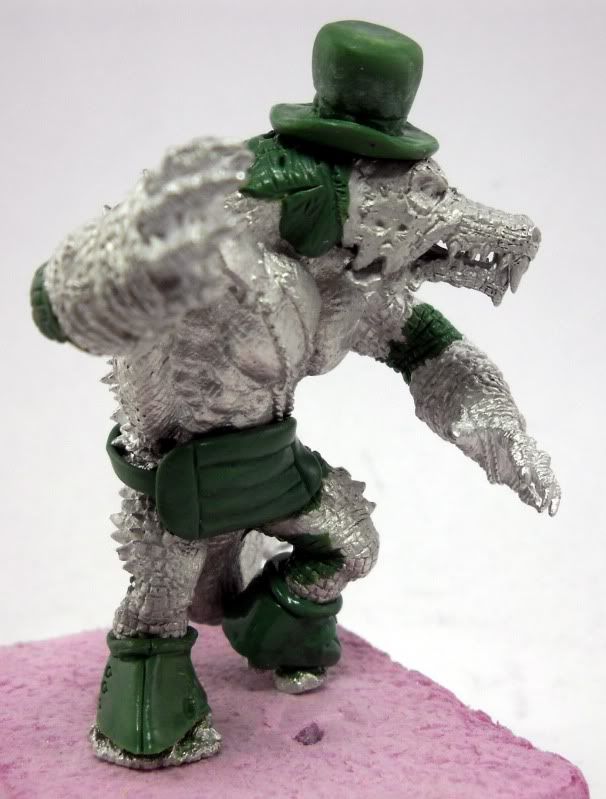
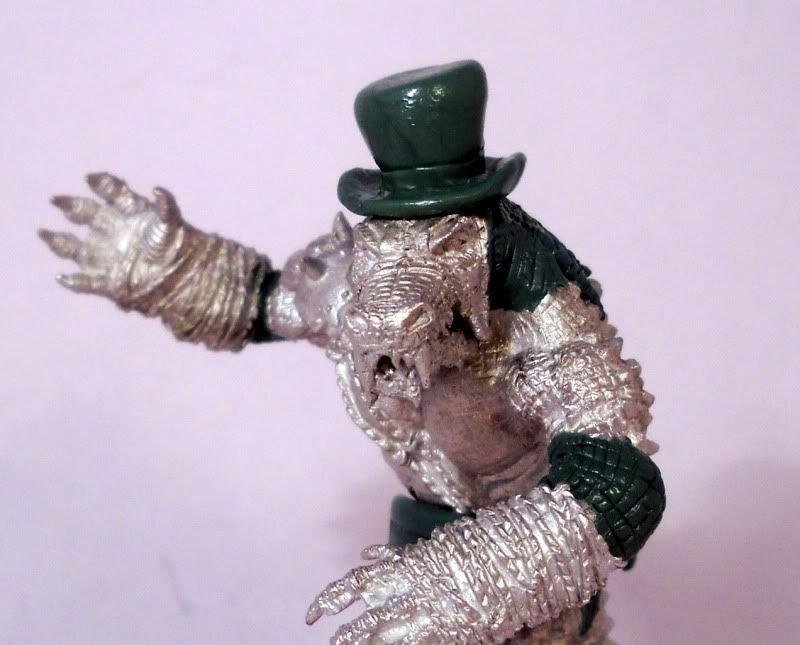
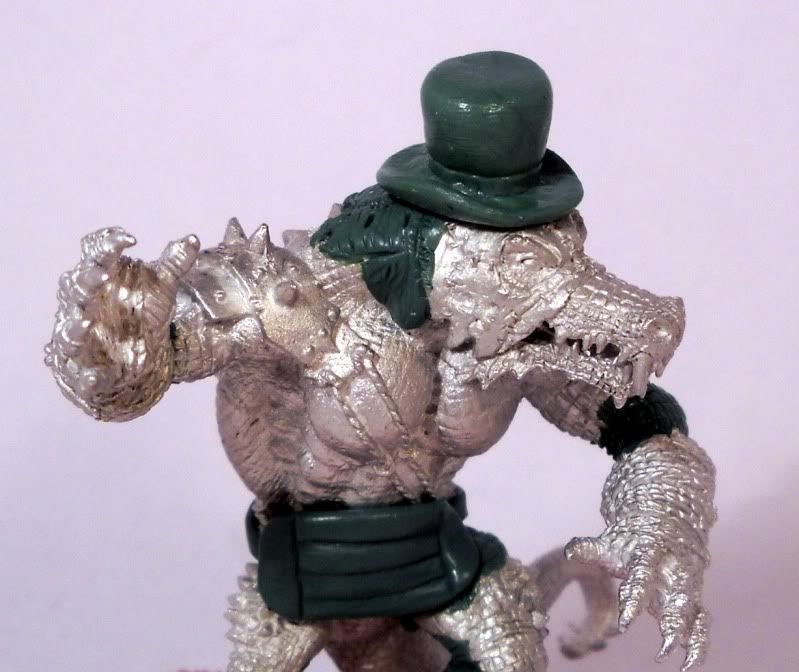
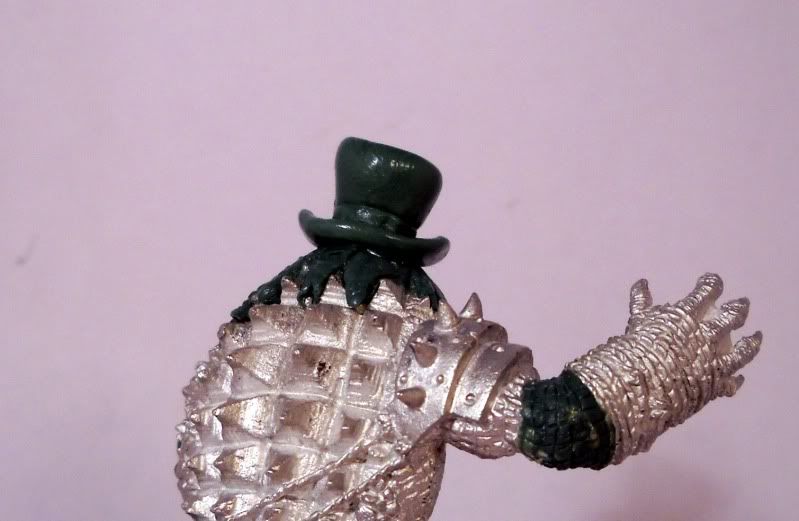
Hey!  An update!  I decided to try my hand at making a Top Hat.  Tell me what you think!


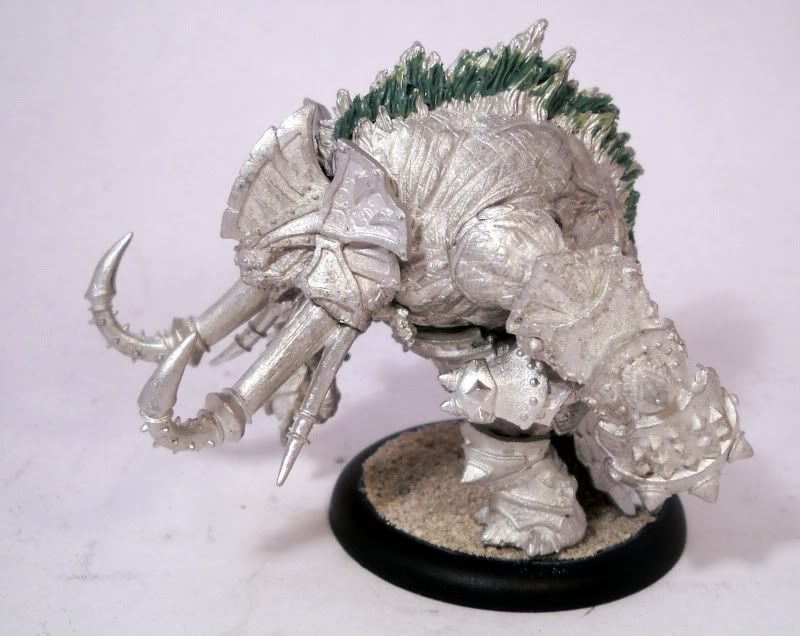
I also finished assembly on the Bronzeback!  He went together much easier than the Gladiator.


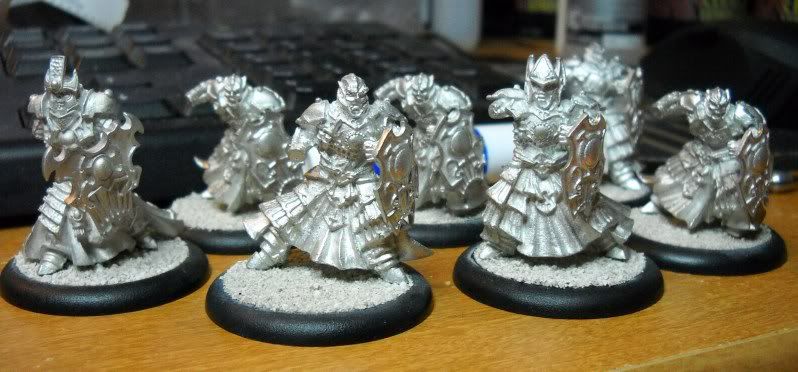
Lastly, the Cetratii are on their bases and carrying shields.  The weapons and shoulderpads will go on after I get my brass rod in the mail for weapon shaft replacements.  Yes, there'll be a tutorial when I do so!


So, tell me what you think of the Top Hat!!

Tuesday, May 10, 2011

Pump Wagon Bases

Because De-motivational posters are hip, right?
It's been a while!  Sorry for that.


Wednesday, May 4, 2011

Of Conversions and Cummerbunds

So, it's been a while without a model related update, so I have a good set of stuff for you!

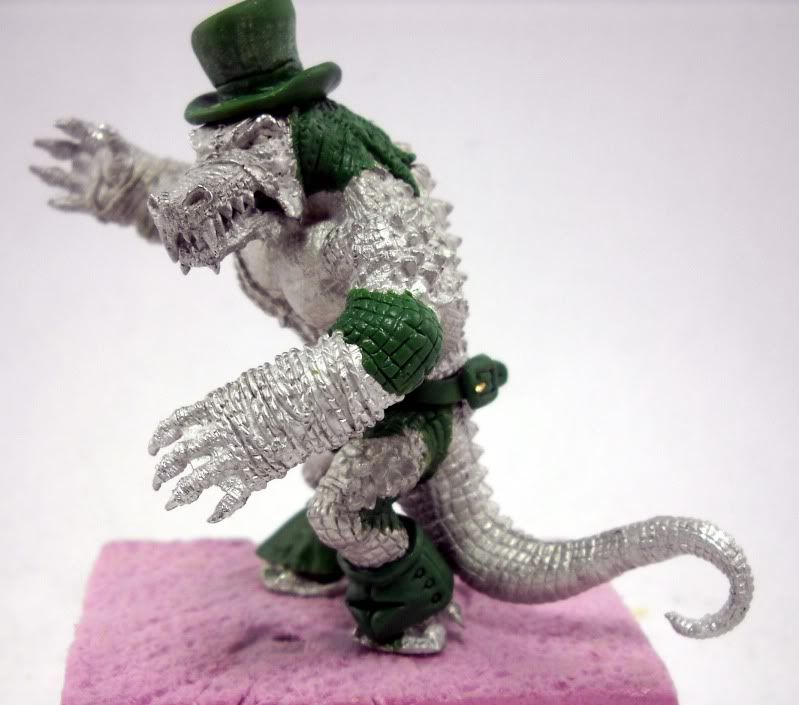
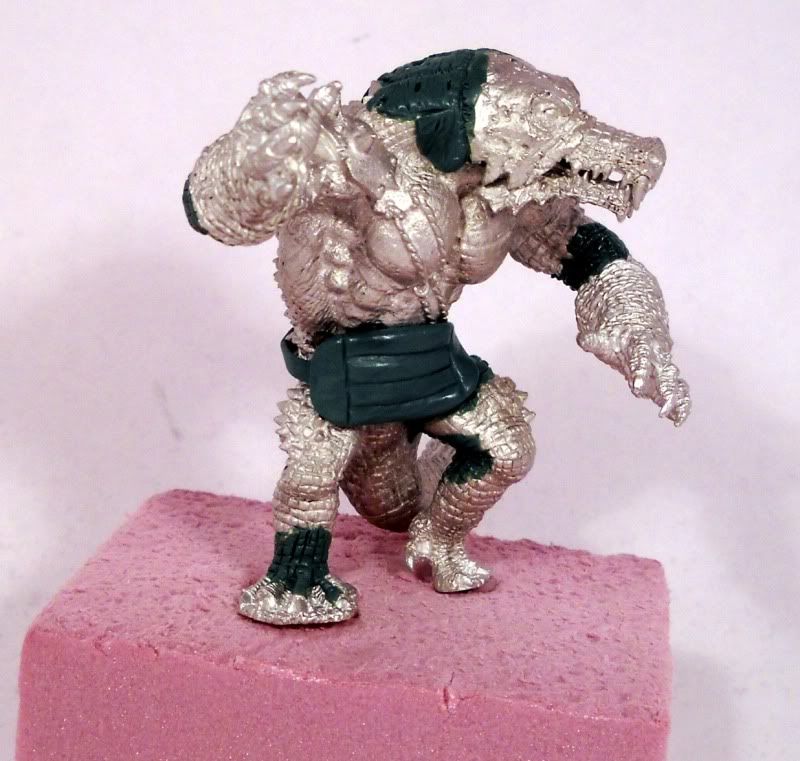
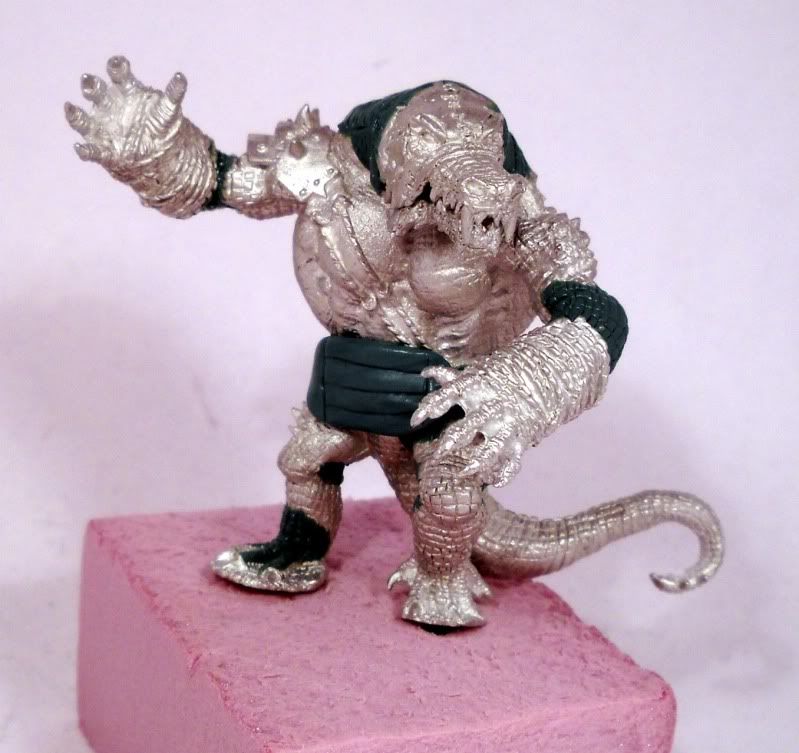
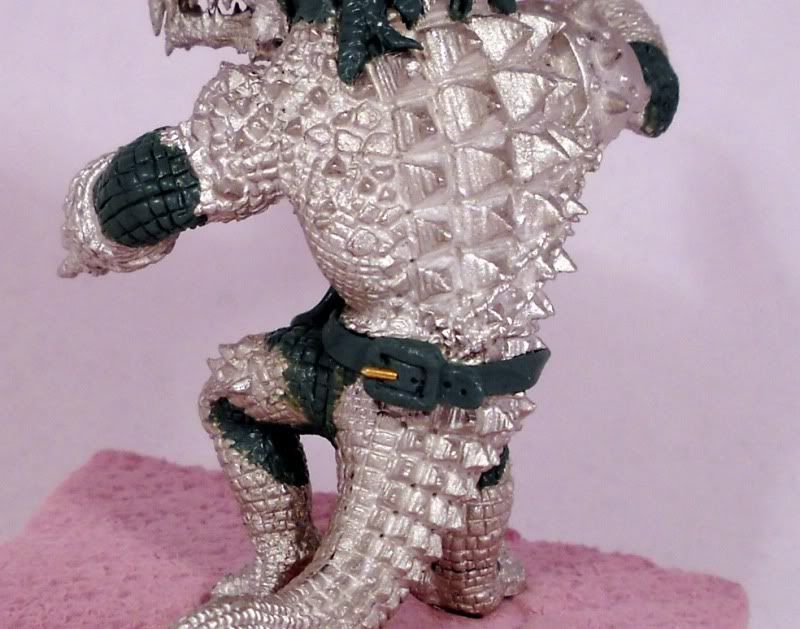
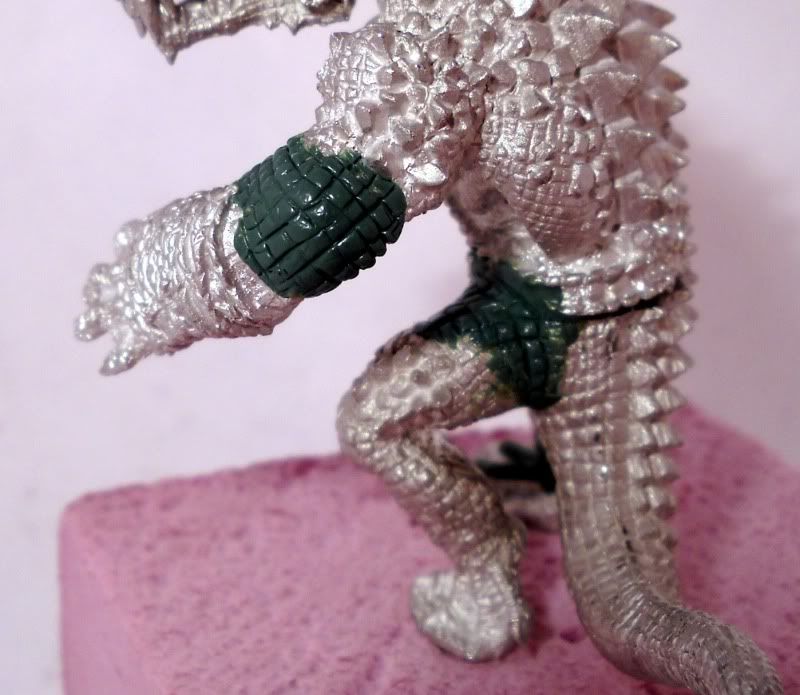
First, some progress on the highly anticipated Collective of Genteel Gatorfolk.  Yes, I'm talking about a cummerbund!  


The strap was the first piece to go on.  It was simply a flattened sausage that I let cure for about an hour before supergluing in place.  Next, the cummerbund was rolled out, shaped and let cure for about half an hour while I worked on the buckle.  After getting the buckle where I wanted it, I added the lines on the cummerbund.  I then glued the buckle on and then laid the cummerbund into place.  I used my size 6 color shapers (Thanks, Mom!) and gently pressed it so it fit into the form of the model.  It's not glued into place yet, but once it dries I'll glue it if it feels too loose.

Next up, I have a Carnivean turned Ravagore!  

Tuesday, April 19, 2011

Gatorfolk update!

Progress!

Since I finally have Greenstuff, I was able to start with some gap filling and scales.  Nothing ground breaking, but hey, progress is progress!


I'd love to get more done, but the more Greenstuff I add, the harder it is to hold the model without getting fingerprints all over.  1-2 more sessions of gap filling and scales, and then I can start adding the fun stuff.

w00t!

Saturday, April 2, 2011

Wrastler Repose

So, as some of you may no by now, one of my side projects is to help Faultie with his Collective of Genteel Gatorfolk.  One of the first things on the to-do list was a repose of the Blackhide Wrastler.  The best part about this particular repose was that there was already a tutorial on how to do it.  Gentleben, of BelloflostSouls.net wrote about how he did a repose for his Blackhide Wrastler back in November.

So with that article in mind, here's what I came up with:


You may note that it's not exactly the same as Gentleben's.  A few modifications were made so that it can be further converted to better represent what a proper Genteel Gatorfolk would look like.

First, I re-used the bottom jaw.  Gentleben gave his a completely new one out of greenstuff.  After a few minutes of playing with the head pieces, I noticed that the bottom jaw fits inside the teeth of the top jaw rather nicely.  A pin and some glue later, and it looks pretty good.  The top two pictures show how well the pieces fit.  No modifications were done to the pieces to get them that way.  I did have to file down the back where it attaches to the head, but that'll get covered up with greenstuff, so it didn't have to be pretty.

Just like in the tutorial, the legs were modified to raise the body up.  The ankle and knee of the model's right leg were cut, and the knee of the left leg was cut too.  Here's detailed shots:


I first cut into the ankle joint.  I went about halfway in.  I then went and cut the knee joint.  The scales and muscles give you a very clear line to cut on.  It was fairly obvious when to stop.  I then wedged my hobby knife in each cut and wiggled it around a but to pry stuff apart.  It was too scary though - I felt like the blade would snap and go everywhere.  So, I pulled out a set of pliers, and started working the joints.

After getting the right leg where I thought it should be, I cut into the left leg.  This was a long cut - you can see where the leg looks too thin.  I'll have to rebuild the calf and thigh muscle with greenstuff.


This leg was awful.  It was so hard to bend.  I had to use a small screwdriver and wedge it into the cut.  By twisting it, I was able to open it bit by bit.  At one point it slipped and the sharp bits on the thigh and the toe nails cut my thumb and finger.  &#*&^ thing drew blood.

Once I had both legs opened up, I put pins in and began testing to be sure the flat parts on the bottom of the feet would line up.  Thus the foam block you see under the miniature.  If you look back at the right leg, you can see that the pin goes all the way up through the foot, calf and into the thigh.  These joints were weak because they were thin and I wanted to be sure it would hold up.  A big brass rod helps.

From there it was much simpler.

The right arm comes in two pieces, joining at the elbow.  I just shaved the top and bottom of the arm part and then pinned the forearm at the right angle.  Again, greenstuff will make the join smooth.  The left arm is all one piece, so I had to cut it in order to change it.  I hacked it apart at the elbow and then pinned it back where I wanted it.

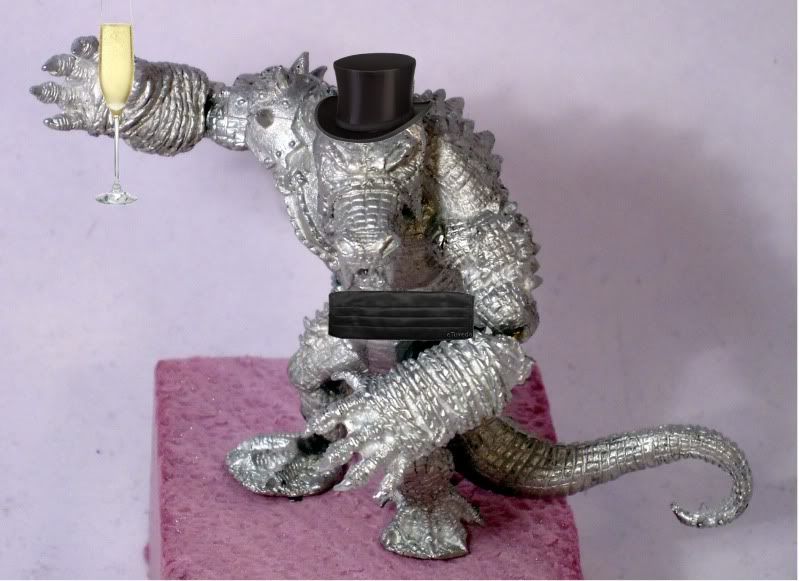
So, the next step is to greenstuff all the gaps and make it look like a gatormans.  Then we'll add the fun stuff.  Here's a concept artist rendering.  The artist may or may not have been sober.

A top hat, cummerbund and glass of chapagne...  Why yes!

Tuesday, March 29, 2011

Superglue and Sand

Huzzah!  I assembled some models!  Look!


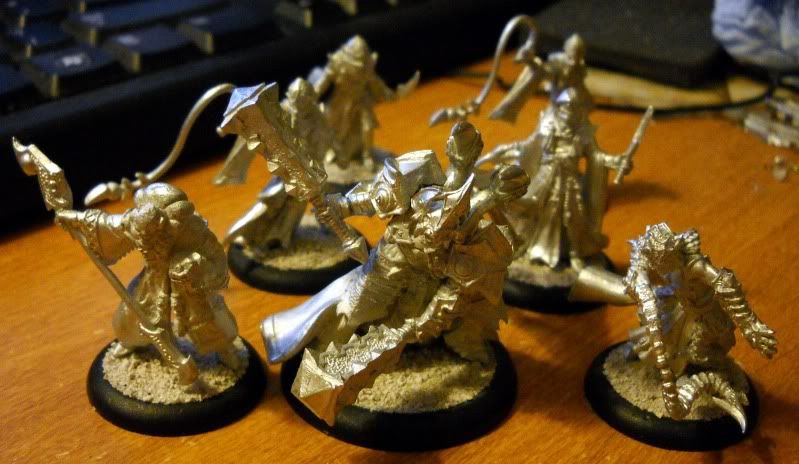
There's Tyrant Xerxis, Aptimus Marketh, a minimum unit of Beast Handlers and a Master Tormentor.   Xerxis was a pain.  several of his parts are very close and don't give much wiggle room for getting pins in, etc.  The model is awesome though.  

Painting:
The two Cyclops Savages are done and count for a total of 10pts for March.  Yay!  My 10pts for April will be the rest of the battlebox: pMorghoul and the Titan Gladiator.

I'll be sticking with the standard scheme - but I'm not 100% sure about how I'll do the Gladiator's skin.  I'm thinking a nice grey with lots of brown washes for the scars and wrinkles.  Suggestions?

Converting:
The Blackhide Wrastler will be on the dissection table.  I've been instructed to follow this tutorial, but since this is the Genteel Collective of Gator Folk, we won't be stopping there.  This guy is also getting a top hat and french cuffs (at the very least).

Lastly, the Snotling Pump Wagons are under way.  I've tested a theory on manufacturing wheels, and I'll have a post about it once I've followed a wheel through to completion.  

Wonderful things are coming.  Stay Tuned!