
First, a look at the parts involved. Here's all the parts roughly laid out in their places.

Since it looks like everything's there, I started from the bottom and worked my way up. The two feet pieces have a pair of nubs and holes. I used them as locators for a pair of pins. Not quite satisfied yet, I also put a third pin in the back.

Despite all my pinning, there's still a gap after assembling the two parts. Oh well, a thick layer of superglue on the bottom takes care of it.
The two torso pieces have a nub and hole each, making it hard to put them together wrong.

Again, some nasty gaps where the small arms join the back.
 | 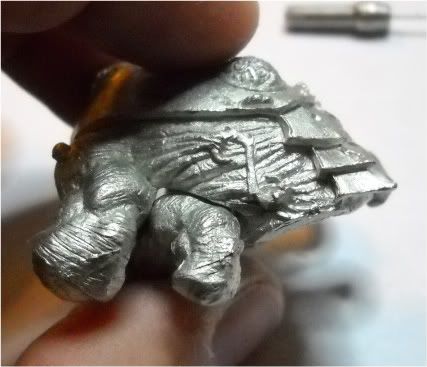 |
I tried pins in the nubs, but with the weird angles, they didn't work out. Instead, I used the flat sections at the front. They mate somewhat squarely, so it's much easier to use pins there.

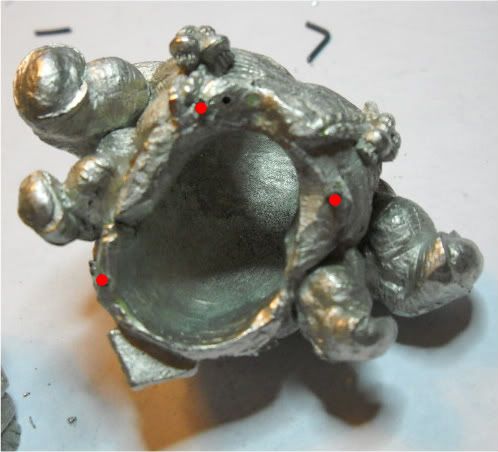
Once the upper torso was glued, I started figuring out how to get the torso and legs to come together. Again, lots of pins. I started with one above where the left leg is.

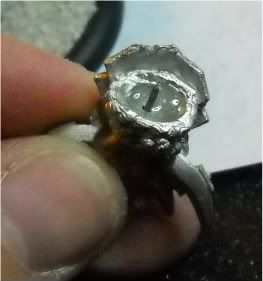
I put a pin into the hole and cut it about a quarter inch above the pewter. I then used a "press technique" to see where the mating hole should be. Basically, you line up the two pieces as best you can, and then press really hard on the exposed pin. This should create a divot or mark. That's your drill location.

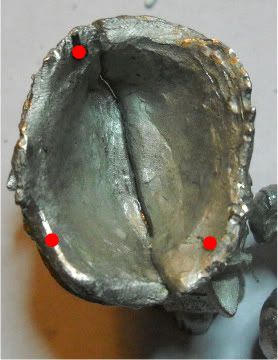
I ended up with three pins connecting the torso to the legs. The drill locations are marked with red dots.
 |  |
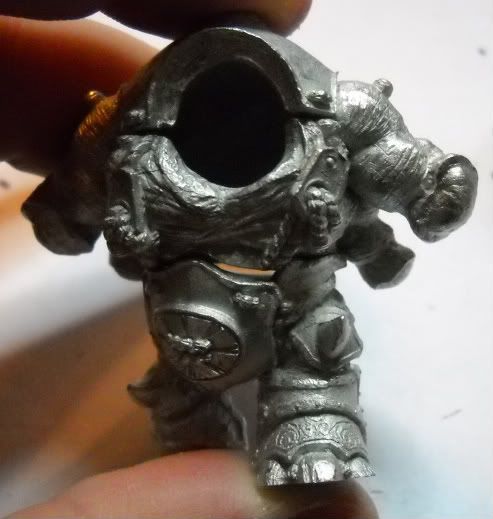 |
| You can see straight through the model... |
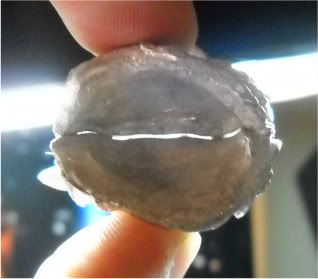
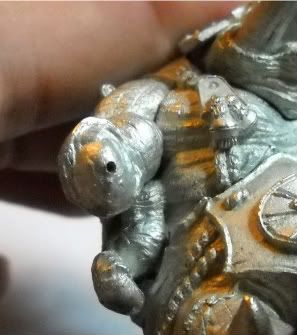
Letting the torso dry, I started on the head. I glued the jaw to the head without pins. I just roughed up the surface and was liberal with the glue. The two pieces had a bit of a snap when they connected, so I felt pins would have been superfluous, plus the angeled surfaces would be a paint to figure out. Sometimes it's just not worth it.
A pin into each tusk, and a mating pin hole in the center of each tusk hole was in order.

A bit of glue, and the head's done. Again, I was liberal with the glue.
 |
| This would look great mounted in a wall... |
 |
| Always with the temper tantrums... |
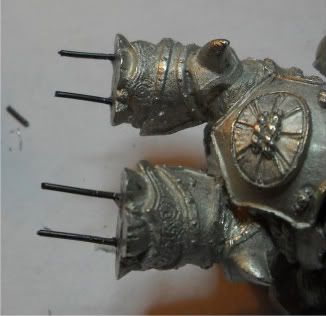
Since he's so dang big, I went with two pins per foot. I also did my best to cut them to the same length.
 |  |

This left quite a big space in the front. If it's not covered up by his many arms, it'll be a great spot for a cactus, tumbleweed or other desert paraphernalia.

At this point I broke out the greenstuff. Small bits were put in where the worst gaps were and using my color shapers

After hitting the gaps with greenstuff, I went and glued on the four hands. These were fairly simple. One pin in the middle, and one pin hole in the arm.
|
|
|
|


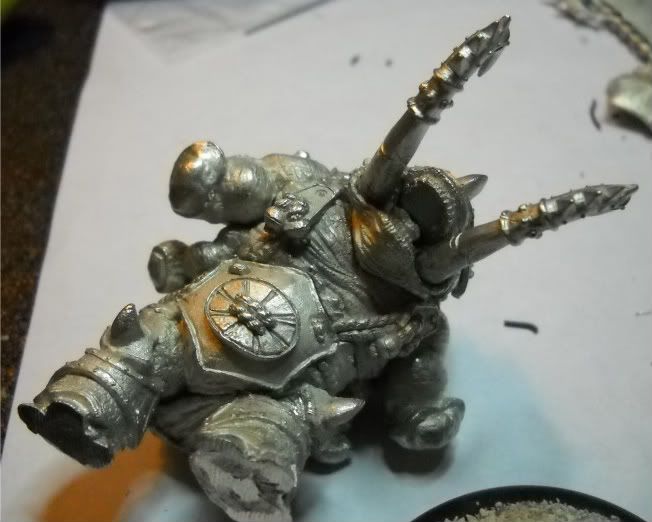
The back banner was put on in the exact same way as the Cyclops'.

Lastly, I glued on the shoulder pads. No pins since the pads are too thin. Just lots of superglue.
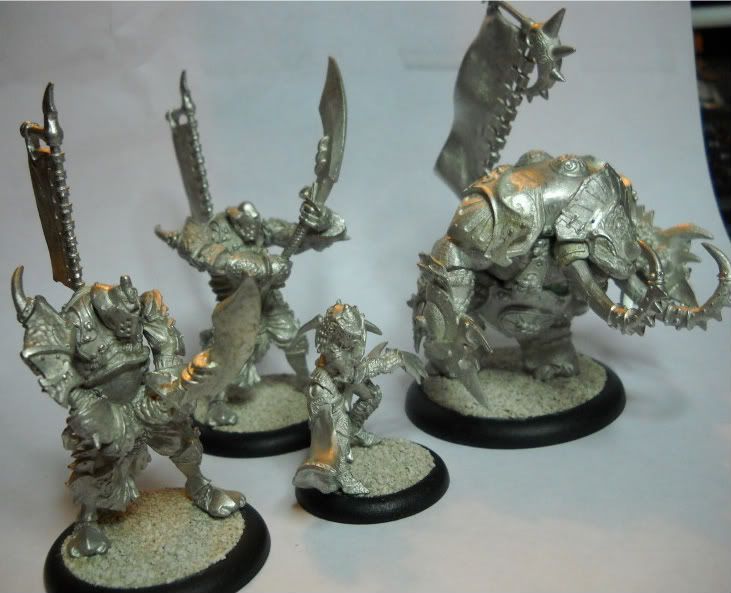
Overall, some gorgeous models, but what a pain to out together. They really do mean it when they say the Battlebox is a preview for the faction's mentality. If you can make it through that...
I enjoyed the challenge though.
No comments:
Post a Comment