Sunday, November 14, 2010

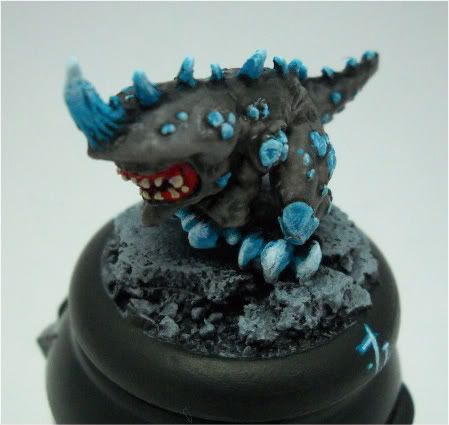
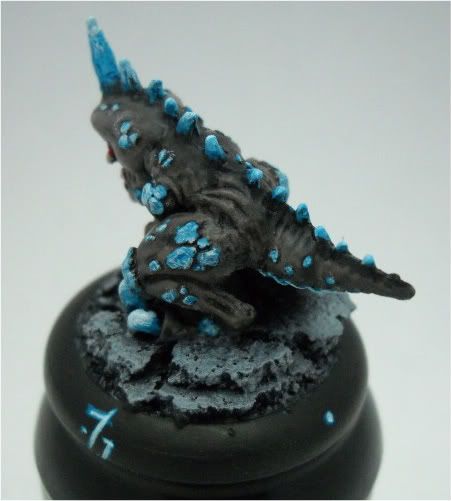
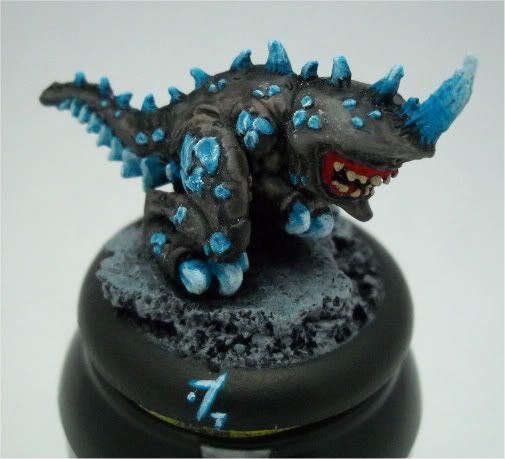
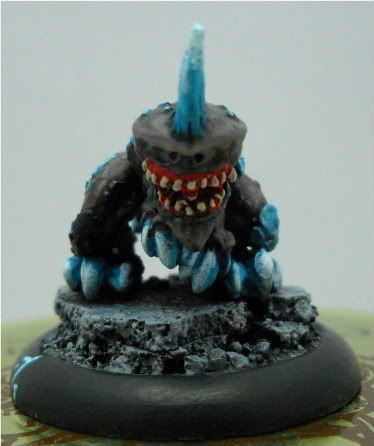
Legion Test Model

So, I've been beating myself up trying to figure out how I wanted to paint my legion. I knoew I wanted to go with a dark skin, and bright armor, like tonyzahn's. Then, I was reading the awesome article on Nephilim in No Quarter 33 by DC, and when I got to the painting article by Todd Arrington, I liked the "Blackfrost Spawn" scheme. So, here's my interpretation using my current paint palette.

PhotobucketPhotobucket
Photobucket

So, tell me what you think! Lylyth is next in order to figure out the scheme on a warrior model.

Does the scheme work for you? How should it be laid out on a warrior model?

Friday, November 12, 2010

Imperial Fist Test Model v2

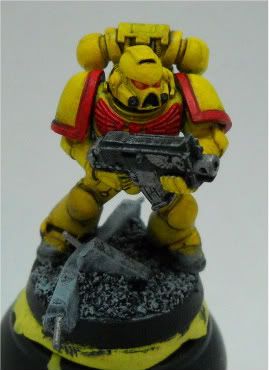
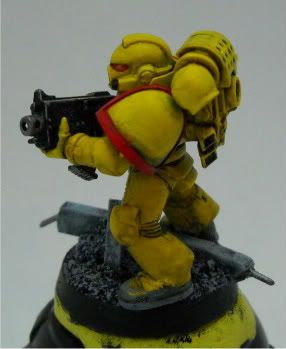
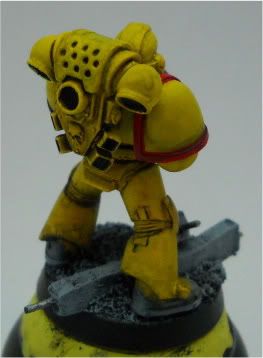
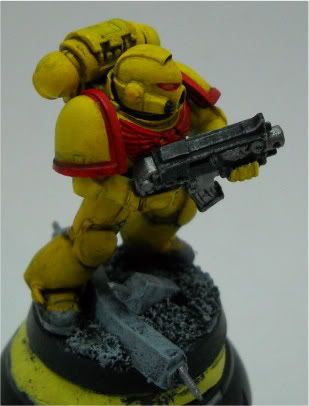
Ok, so the first try with straight Badab Black went horribly.  I've stripped the mini, primed white and tried again. I followed the same steps as the previous try, but the wash here used the following mixture as a wash:

1:1:2 - Badab Black : Gryphonne Sepia : Water

I also carried the drybrushing from the base onto his boots to help continue the "in the midst of battle" look the semi-dirty wash gives. I hate seeing pristine paint jobs on war-torn bases. I always feel the model looses cohesion.

I was also told the eye lenses on the previous incarnation lacked depth, so this time I've ten them up from Blood Red through Blazing Orange to just a touch of the Sunburst Yellow used on the rest of him. I think it really helps tie the red to the yellow and give a slight glow effect.

Here's the (much better) result:

PhotobucketPhotobucket

Unfortunately, I don't have any Imperial Fist decals to put the logo on his shoulder.

What do you think about the model?

Monday, November 8, 2010

Imperial Fist Test Model

So, I was contacted by the same client that had the centaurs done, and he wanted to see if I could paint some Imperial Fist marines. We agreed that I should emulate these models that are already a part of his army:


And so here was my process. I cheated by priming the base black and the mini white:

Photobucket
Next, I hit the majority of the model with two layers of GW's Sunburst Yellow:

Photobucket

Next, I hit the desired areas with black and red, and used Boltgun Metal for the metallics:

PhotobucketPhotobucket


Lastly, a wash with watered down GW Badab Black wash. These final photos were taken in the new lightbox. I definitely think I need a warmer light. What do you think?

Photobucket

Photobucket

Photobucket

So, once the wash dries, I can drybrush the urban rubble base, and he'll be done.  Unfortunately, the wash foamed up on me and dried far too quickly and in all the wrong ways.  I may spray him white and take a second shot at it - I'm not very happy with this guy.